Okay, let’s chat about sanity-saving desserts, friends! How about a simple, comforting recipe that even the most frazzled mom can pull off? I’m talking about a Halloween No-Bake Icebox Cake. Yes, you read that right – NO baking involved! This is a game-changer when you’re juggling school lunches, after-school activities, and the general cozy chaos of family life. Trust me; this Halloween No-Bake Icebox Cake will become your go-to treat for a stress-free holiday. If you’re anything like me, you are going to love this Halloween No-Bake Icebox Cake.
Comfort Food Memories
I still remember the first time I made this Halloween No-Bake Icebox Cake. It was a week before Halloween, my kids were bouncing off the walls with excitement, and I was drowning in costume prep. My oldest daughter asked to make a Halloween dessert, and I knew I needed something fast and easy. I found a basic icebox cake recipe and put a spooky spin on it.
The family went wild for this cake. Its layers of creamy goodness and crunchy cookies were a hit. The best part? It took me hardly any time to make! My husband said this Halloween No-Bake Icebox Cake was the best cake I’ve ever made.
This Halloween No-Bake Icebox Cake became a total comfort food win. It was a quick dessert that required minimal effort. It was also a fun activity to get the kids involved with. I know a lot of you busy mamas want to make something special for your family without spending all day in the kitchen, and I promise this recipe will help you do just that!
I wanted to share this Halloween No-Bake Icebox Cake recipe with you because it brings my family comfort. This is a recipe you can make with minimal baking skills. You can also customize the ingredients to suit your tastes.
I’m all about sharing sanity-saving comfort food recipes with fellow busy moms. Let’s get started and create some delicious memories together!
INGREDIENTS You’ll Need:
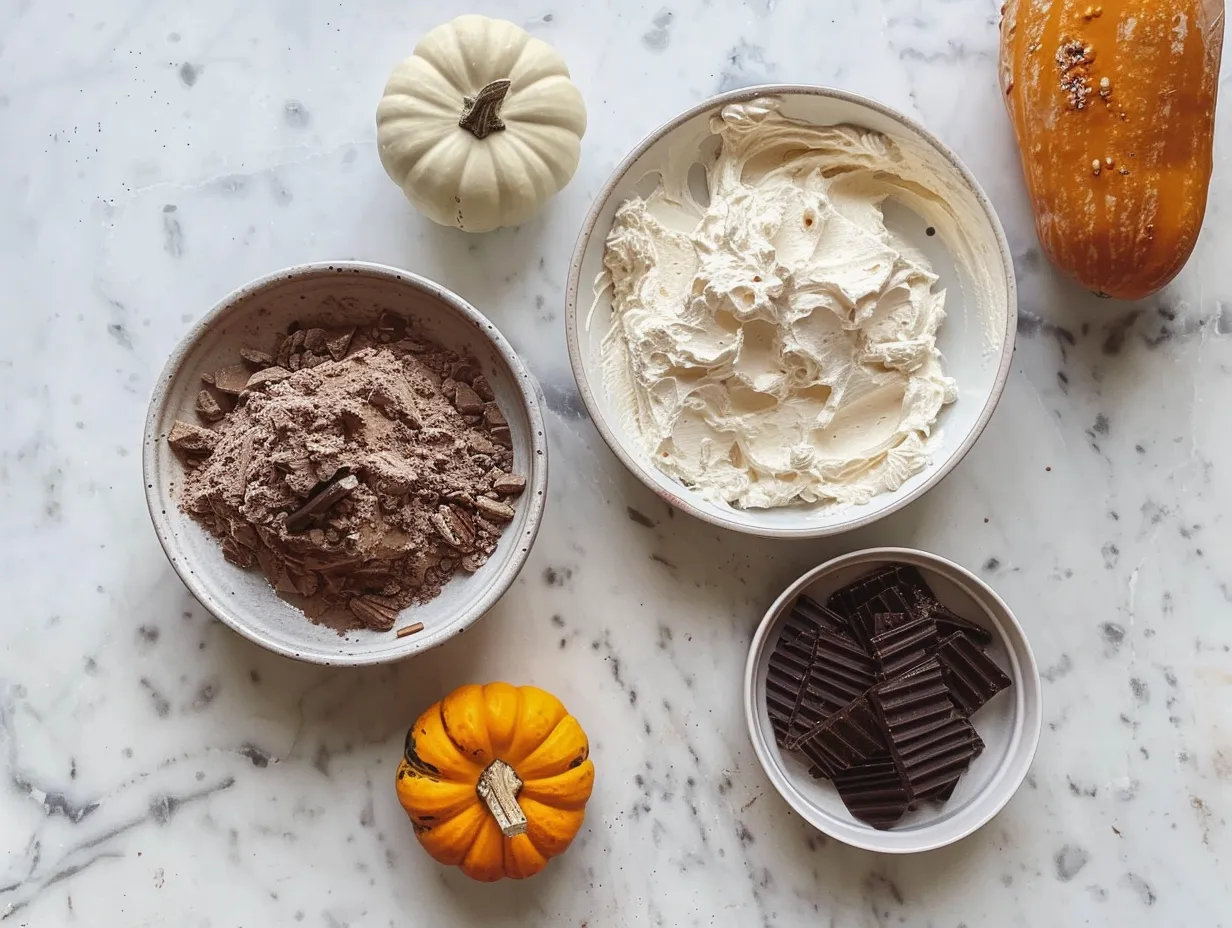
- 1 (15 ounce) package of Halloween-themed Oreo cookies: The star of our show! These give the cake its spooky, festive look and a delicious chocolatey crunch. My family gets extra comfort when I use double-stuffed Oreos in my Halloween No-Bake Icebox Cake.
- 8 ounces cream cheese, softened: This forms the creamy base of our cake. Make sure it’s softened for easy mixing!
- 1 (14 ounce) can sweetened condensed milk: This adds sweetness and helps create a smooth, decadent filling.
- 1 teaspoon vanilla extract: A touch of vanilla enhances the flavors and adds a hint of warmth.
- 1 (8 ounce) container of whipped topping, thawed: This lightens the filling and adds a fluffy texture.
- Optional toppings: Sprinkles, chocolate shavings, gummy worms – let your creativity run wild!
Trust me, this Halloween No-Bake Icebox Cake ingredient list is simple because busy moms need comfort without complexity! I have seen Halloween No-Bake Icebox Cakes made with pudding. However, my family prefers the taste of cream cheese.
You can find these simple ingredients at your regular grocery store. If you don’t have vanilla extract, you can skip it. I often do if I’m in a rush!
This Halloween No-Bake Icebox Cake proves delicious doesn’t mean expensive. You can also adjust the amount of sugar based on your preference.
Here’s a comfort hack that changed our family’s dessert time: crush the cookies in a food processor for even faster prep. You can also buy pre-crushed Oreo crumbs if you are in a hurry!
Let’s Make it Happen!
- First, we are going to gently crush the Oreo cookies. I like to place my Halloween Oreos into a large ziplock bag and crush them with a rolling pin. This is a perfect job for the kids.
- Next, in a large bowl, beat the softened cream cheese until it’s smooth and fluffy. This is important because it ensures a creamy, lump-free filling for our Halloween No-Bake Icebox Cake. In my busy kitchen, this comforting Halloween No-Bake Icebox Cake usually takes me about 10 minutes to beat to perfection.
- Gradually add the sweetened condensed milk to the cream cheese, mixing until well combined. This step creates a rich and decadent sweetness that makes this Halloween No-Bake Icebox Cake so irresistible. This should take another 5 to 7 minutes.
- Stir in the vanilla extract. Remember, if you don’t have any vanilla extract on hand, don’t worry about it!
- Gently fold in the whipped topping until everything is evenly mixed. Be careful not to overmix, as this can deflate the whipped topping. This helps to keep your filling light and airy, for the best Halloween No-Bake Icebox Cake.
- Now, it’s time to assemble our Halloween No-Bake Icebox Cake! In a 9×13 inch dish, spread a thin layer of the cream cheese mixture on the bottom.
- Top with a layer of crushed Oreo cookies. I like to use about half of the crushed Oreos for this layer.
- Repeat the layers of cream cheese mixture and crushed Oreos, ending with a final layer of the cream cheese mixture.
- Cover the dish with plastic wrap and refrigerate for at least 4 hours, or preferably overnight. This allows the cookies to soften and the flavors to meld together, resulting in a truly divine Halloween No-Bake Icebox Cake. While your Halloween No-Bake Icebox Cake is chilling, take a moment to appreciate creating comfort for your family!
- Before serving, decorate with your favorite Halloween toppings, such as sprinkles, chocolate shavings, or gummy worms. Don’t worry if your Halloween No-Bake Icebox Cake looks a little messy – that’s part of the fun!
Here’s where I used to struggle with my Halloween No-Bake Icebox Cake: getting the layers even. I have learned that it’s ok if the layers aren’t perfect!
How We Love to Eat This!
My family loves this comforting Halloween No-Bake Icebox Cake chilled, straight from the fridge. It’s the perfect dessert after a long day of school and activities. The kids devour this comforting Halloween No-Bake Icebox Cake when I serve it with a glass of milk.
This Halloween No-Bake Icebox Cake is perfect for those busy weeknights when we need comfort food fast! We also love bringing it to Halloween parties.
For presentation, I like to sprinkle extra crushed Oreos on top and arrange a few gummy worms for a spooky touch. For more simple comfort food ideas for busy families, check out my recipe for Kielbasa Potato Soup.
If there are any leftovers (which is rare!), I store them in an airtight container in the fridge. They’re just as delicious the next day!
During the fall, I sometimes add a layer of pumpkin puree to the cream cheese mixture for a seasonal twist. This Halloween Icebox Cake Recipe | Kardea Brown | Food Network is another great recipe to check out if you are wanting to add even more variety!
My guests always rave about how easy and delicious this Halloween No-Bake Icebox Cake is. It’s a guaranteed crowd-pleaser! This comforting Halloween No-Bake Icebox Cake reminds me of another family favorite, Mexican Street Corn Soup.
FAQs: Your Questions Answered
- Is this Halloween No-Bake Icebox Cake really filling enough for growing kids? Absolutely! The combination of cream cheese, sweetened condensed milk, and Oreo cookies provides plenty of energy to keep them going. Plus, you can always serve it with a side of fruit or yogurt for a more balanced snack.
- What if my picky eater won’t try this Halloween No-Bake Icebox Cake? Try letting them help with the preparation. Kids are often more willing to try things they’ve helped make. You can also customize the toppings to their liking. This cake is fun to make!
- Can I meal prep this Halloween No-Bake Icebox Cake for busy weeks ahead? Yes! In fact, it’s best to make it at least 4 hours in advance to allow the cookies to soften. You can easily make it the night before and have it ready to go for a party or gathering.
- Can I use different types of cookies? Of course! While Halloween Oreos add a festive touch, you can use any type of cookie you like. Chocolate chip cookies, graham crackers, or even peanut butter cookies would all work well. No Bake Halloween Dirt Cake – Liv’s Little Muffins is a great recipe for more variety!
- How long will this Halloween No-Bake Icebox Cake last in the fridge? It will last for up to 3 days in the refrigerator, stored in an airtight container. However, it’s best to eat it within the first 24 hours for optimal freshness.
- Can I freeze this Halloween No-Bake Icebox Cake? I don’t recommend freezing it, as the texture of the cream cheese filling may change when thawed.
- Is this recipe budget-friendly? Yes! All of the ingredients are relatively inexpensive and easy to find at your local grocery store. You can also save money by using store-brand cookies and whipped topping. If your kids love this hearty recipe, they’ll go crazy for Potsticker Soup.
- Can I make this cake gluten-free? You can substitute the Oreo cookies for gluten-free chocolate sandwich cookies.
Final Thoughts:
This Halloween No-Bake Icebox Cake supports my family’s comfort food goals because it’s quick, easy, and satisfying. It’s a treat that everyone enjoys, and it doesn’t require me to spend hours in the kitchen. It’s a win-win! I also love using this Halloween Icebox Cake – Lemon Blossoms recipe.
Here are my Halloween No-Bake Icebox Cake Comfort Hacks:
- Use a food processor to crush the cookies quickly.
- Soften the cream cheese in the microwave for a few seconds to speed up the mixing process.
- Let the kids decorate the top with their favorite Halloween candies.
Here are a few family-tested variations:
- Pumpkin Spice: Add pumpkin puree and pumpkin pie spice to the cream cheese mixture.
- Chocolate Peanut Butter: Use chocolate Oreos and add peanut butter to the cream cheese mixture.
- Mint Chocolate: Use mint Oreos and add a few drops of peppermint extract to the cream cheese mixture.
My oldest daughter prefers the pumpkin spice version, while my son loves the chocolate peanut butter. I personally love this Halloween No-Bake Icebox Cake. I encourage you to make it your own way!
I hope this recipe brings your family as much joy as it brings mine. Remember, cooking should be fun and stress-free. Enjoy the process and savor the delicious results! I know this is one of those recipes that can provide relief from all the holiday stress.
Now go and make this satisfying Halloween No-Bake Icebox Cake! You got this!
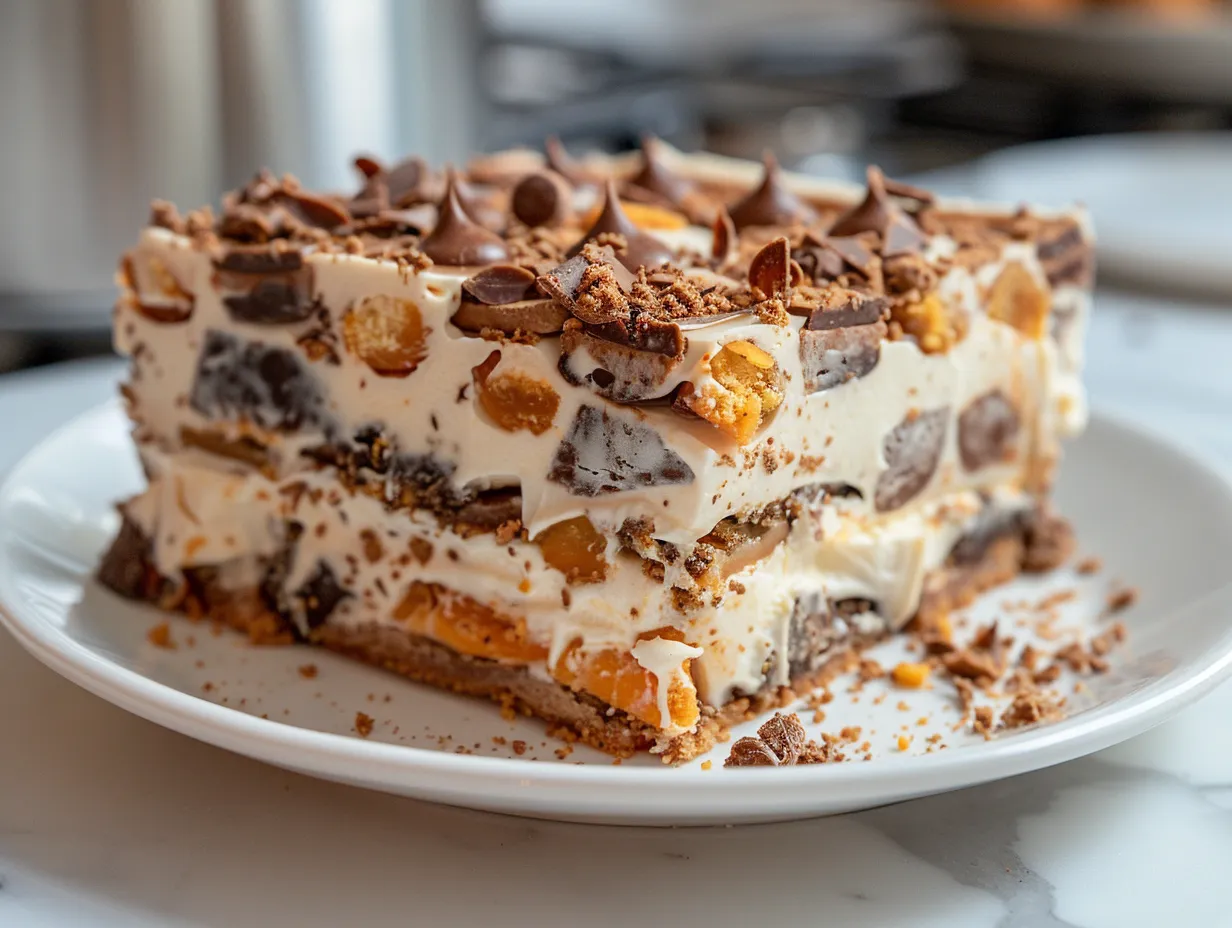
Halloween No-Bake Icebox Cake

This spooky Halloween No-Bake Icebox Cake is a fun, easy dessert perfect for parties! Layers of chocolate graham crackers, creamy pudding, and festive Halloween candy make it a guaranteed crowd-pleaser.
- Prep Time: 20 minutes
- Cook Time: 0 minutes
- Total Time: 20 minutes
- Yield: 12 servings
- Category: Dessert
- Method: No-Cook
- Cuisine: American
Ingredients
- 1 (16 ounce) package chocolate graham crackers
- 2 (3.4 ounce) packages instant chocolate pudding mix
- 4 cups cold milk
- 1 (8 ounce) container frozen whipped topping, thawed
- Assorted Halloween candy (e.g., candy corn, gummy worms, chocolate candies), for decoration
Instructions
- In a large bowl, whisk together the chocolate pudding mix and cold milk until smooth. Let stand for 5 minutes to thicken.
- Gently fold in the thawed whipped topping.
- Line the bottom of a 9×13 inch baking dish with a single layer of chocolate graham crackers. You may need to break some crackers to fit.
- Spread a layer of the pudding mixture over the graham crackers.
- Repeat layers of graham crackers and pudding mixture until all ingredients are used, ending with a layer of pudding.
- Decorate the top of the cake with assorted Halloween candy.
- Cover the baking dish with plastic wrap and refrigerate for at least 4 hours, or preferably overnight, to allow the graham crackers to soften.
- Cut into squares and serve chilled.
Notes
For an extra spooky touch, add a few drops of green or orange food coloring to the pudding mixture before assembling the cake.