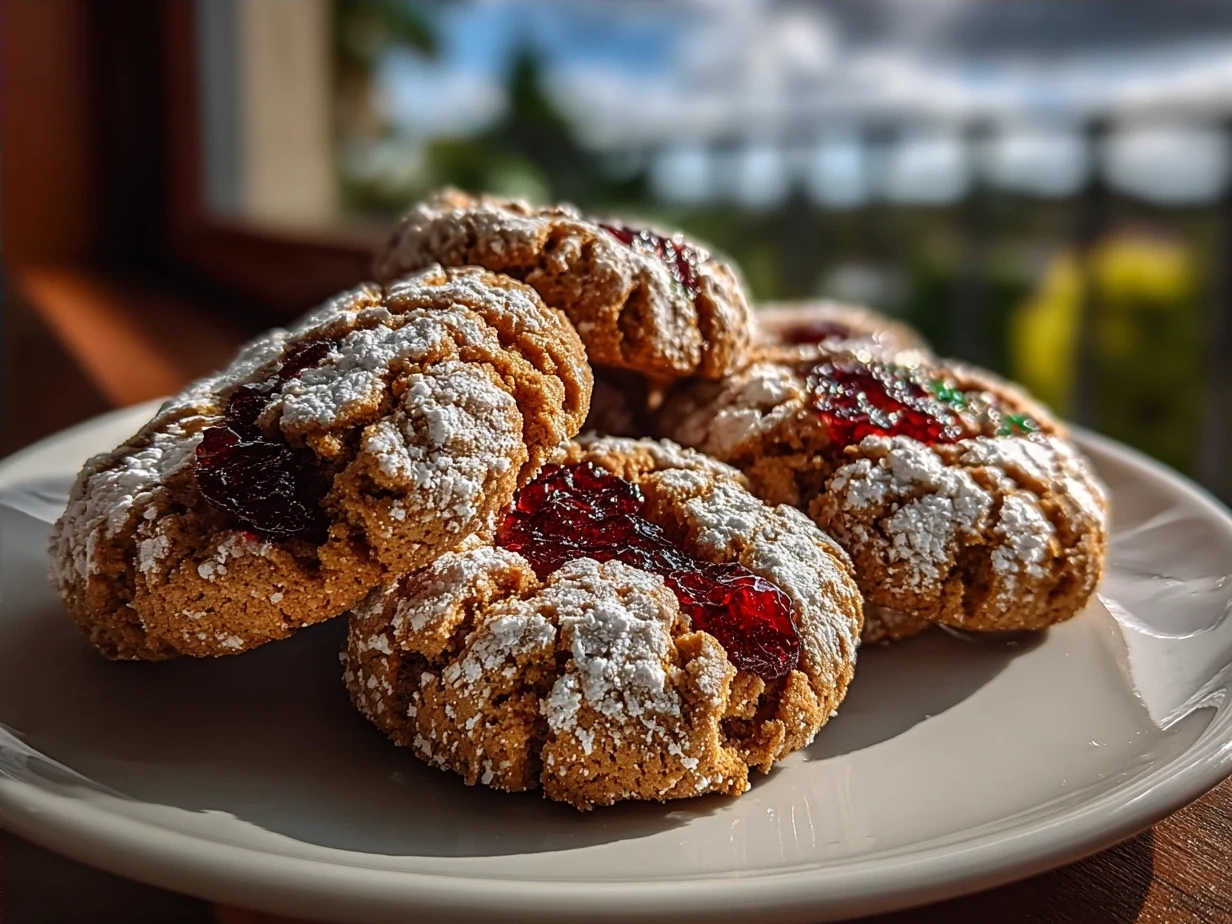
Okay, let’s dive into making some beautiful and comforting Stained Glass Cookies! These cookies aren’t just delicious; they’re a fun family activity that brings a little sparkle to any day.
I remember the first time I attempted Stained Glass Cookies. My daughter was having a rough week, and I was searching for a way to cheer her up. I saw a picture of these cookies online and thought, “Why not?” It was a bit of a learning curve, let me tell you! My first batch looked more like abstract art than stained glass. But the joy on my daughter’s face as she helped me smash the candies and arrange them in the cookies was worth every burnt edge and cracked cookie. From that moment on, Stained Glass Cookies became a symbol of comfort and connection in our home.
I’ve tweaked and simplified the recipe over the years to make it manageable for even the busiest of weeknights. These aren’t about perfection. They are about creating sweet memories (pun intended!) with your family, one colorful cookie at a time. It’s amazing how something so simple can bring so much joy.
And that’s what MommiesMore is all about – finding simple, comforting solutions for feeding our families without losing our minds. So, if you are a busy mom looking for a delicious and fun activity to share with your kids, keep reading! These Stained Glass Cookies are calling your name!
INGREDIENTS You’ll Need:
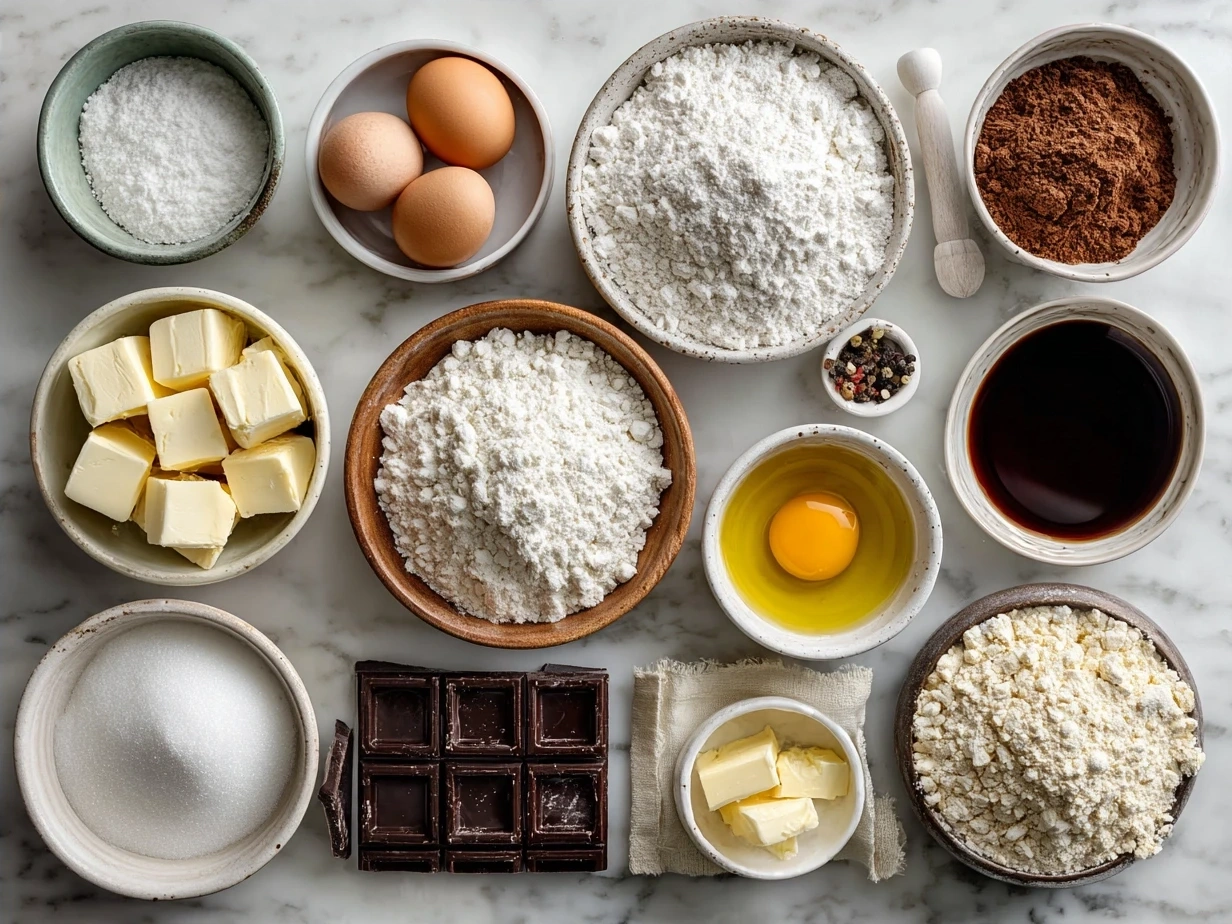
Trust me, this Stained Glass Cookies ingredient list is simple because busy moms need comfort without complexity! You can find these simple ingredients at your regular grocery store. This Stained Glass Cookies proves delicious doesn’t mean expensive. A quick tip: Buy the candies in bulk or after a holiday for cost savings.
One comfort hack I discovered? I crush the candies in a food processor. It’s a sanity-saving comfort food step that changed our family’s baking routine. Now the kids can help and crushing all those candies is so much faster.
- 2 ½ cups all-purpose flour: This forms the base of our Stained Glass Cookies.
- 1 teaspoon baking powder: Gives the sugar cookies a bit of lift.
- ½ teaspoon salt: Balances the sweetness.
- 1 cup (2 sticks) unsalted butter, softened: Makes the sugar cookies tender and rich. No worries if you only have salted butter. Just omit the added salt for a similar comforting result in your Stained Glass Cookies.
- 1 cup granulated sugar: Sweetness is a must.
- 1 large egg: Binds the dough together.
- 1 teaspoon vanilla extract: Adds a comforting flavor. My family gets extra comfort when I add a half teaspoon of almond extract too.
- Hard candies (like Jolly Ranchers), assorted colors: This is where the “stained glass” magic happens!
Let’s Make it Happen!
- Get Started: Preheat your oven to 375°F (190°C). Line baking sheets with parchment paper. This prevents sticking and makes cleanup easier – a total win!
- Combine Dry Ingredients: In a medium bowl, whisk together the flour, baking powder, and salt. Set aside. These are the base flavors of your comforting Stained Glass Cookies.
- Cream Butter and Sugar: In a large bowl, cream together the softened butter and sugar until light and fluffy. This usually takes about 3-5 minutes with an electric mixer.
- Add Egg and Vanilla: Beat in the egg and vanilla extract until well combined.
- Gradually Add Dry Ingredients: Gradually add the dry ingredients to the wet ingredients, mixing until just combined. Be careful not to overmix! Overmixing can lead to tough cookies. This is a crucial stage in making excellent Stained Glass Cookies.
- Chill the Dough: Wrap the dough in plastic wrap and chill for at least 30 minutes. This helps the dough firm up and makes it easier to roll out. Perfect time to prep tomorrow’s lunch!
- Roll Out the Dough: On a lightly floured surface, roll out the dough to about ¼ inch thickness.
- Cut Out Shapes: Use cookie cutters to cut out your desired shapes. Remember to cut out a smaller shape inside each cookie (like a circle or star) to create the space for the “stained glass.”
- Place on Baking Sheets: Carefully transfer the cookies to the prepared baking sheets.
- Crush the Candies: Place different colors of hard candies in separate zip-top bags and crush them into small pieces using a rolling pin or a mallet. I told you that food processor made this easier!
- Fill the Centers: Carefully fill the centers of the cut-out cookies with the crushed candy. Don’t overfill; a single layer is best. Your Stained Glass Cookies should look amazing by now!
- Bake: Bake for 6-8 minutes, or until the sugar cookies are lightly golden brown and the candy is melted and smooth. Here’s where I used to struggle with my Stained Glass Cookies – learn from my experience! Watch them closely. The baking time can vary depending on your oven.
- Cool Completely: Let the cookies cool completely on the baking sheets before transferring them to a wire rack. The melted candy needs to harden completely.
While your Stained Glass Cookies are baking, take a moment to appreciate creating comfort for your family! In my busy kitchen, this comforting Stained Glass Cookies usually takes about an hour from start to finish, but it’s totally worth it. This is one sugar cookie recipe your kids will be sure to love and ask you to make over and over!
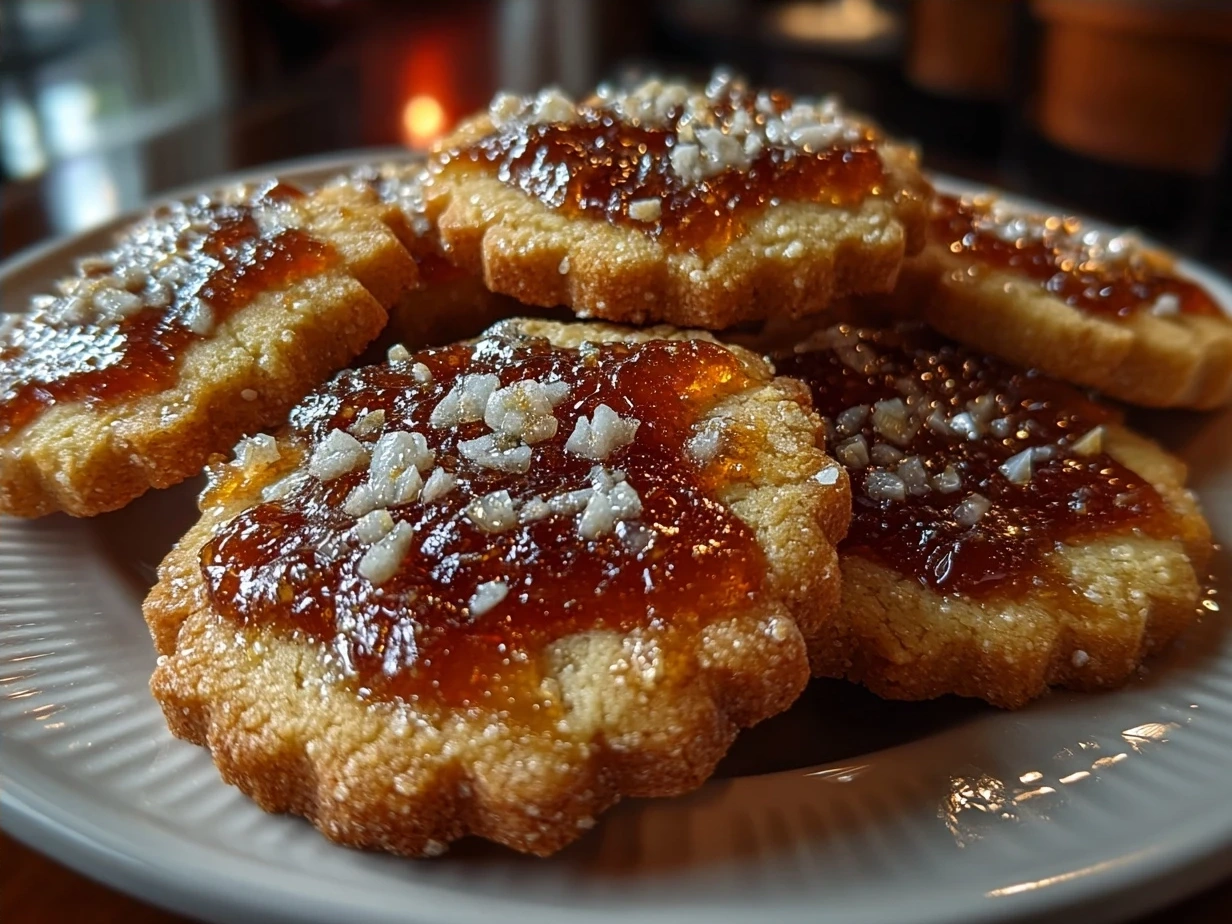
How We Love to Eat This!
My family loves these Stained Glass Cookies any time of year, but they are especially popular during the holidays. They make a beautiful and delicious addition to any cookie platter. The kids devour this comforting Stained Glass Cookies when I serve it with a glass of cold milk. It’s the perfect sweet treat after a long day at school or a cozy night in.
These Stained Glass Cookies are also a great activity for birthday parties or playdates. Kids love helping to crush the candies and fill the cookies. To present this holiday baking recipe in a fun way, I like to arrange them on a tiered serving platter with different colored candies in small bowls. It makes the whole process feel extra special.
If you have any leftover Stained Glass Cookies (which is rare!), store them in an airtight container at room temperature. They will stay fresh for several days. The most comforting part is that they remind us of the time we spent together making them. I even love to give them as Christmas cookies gifts. The beautiful candy design is sure to spread cheer to anyone who receives them.
This Stained Glass Cookies is perfect for those busy weeknights when we need comfort food fast! For more simple comfort food ideas for busy families, check out these yummy Halloween Crinkle Cookies!
FAQs: Your Questions Answered
- Is this Stained Glass Cookies really filling enough for growing kids?
While these are definitely a treat, the sugar cookies provide a little substance. Serve them with a balanced snack, like fruit and yogurt, for a more filling option. - What if my picky eater won’t try this Stained Glass Cookies?
Involve them in the process! Let them choose the colors of candy or help cut out the shapes. Sometimes, just being involved makes them more willing to try something new. - Can I meal prep this Stained Glass Cookies for busy weeks ahead?
Yes and no. You can make the sugar cookie dough ahead of time and store it in the refrigerator for up to 2 days. However, it’s best to bake the cookies and fill them with the candy right before serving, as the candy can get sticky over time. - Can I use different types of candy?
Absolutely! I have seen many variations on what can be used to make these holiday baking cookies. As long as the candy melts evenly and creates a smooth “glass” effect, feel free to experiment. Some people have even asked, “Can I use rock candy powder on sugar cookies?” with great results. - What if my candy doesn’t melt evenly?
Make sure the crushed candy is in small, even pieces. If some pieces are larger than others, they may not melt at the same rate. If you notice this happening, you can try placing the cookies back in the oven for a minute or two to help the remaining candy melt. - Can I freeze the Stained Glass Cookies?
I don’t recommend freezing them after baking, as the candy can become sticky and the sugar cookies can lose their texture. If you want to prepare in advance, freeze the dough instead. - My dough is too sticky to roll out! What do I do?
Don’t worry! Just add a little more flour, one tablespoon at a time, until the dough is easier to handle. Be careful not to add too much, or the cookies will be dry. Also, chilling the dough for a longer period (even overnight) can help.
These are common concerns, and I have faced each of these hurdles myself when learning how to create these Stained Glass Cookies. I hope these answers help you on your journey to comfort food stardom!
Final Thoughts:
These Stained Glass Cookies support my family’s comfort food goals by providing a fun, creative, and delicious activity we can all enjoy together. It’s a way to slow down, connect, and create sweet memories that will last long after the last cookie is eaten.
- Use pre-made sugar cookie dough: If you’re really short on time, don’t be afraid to use store-bought dough! It’s a perfectly acceptable shortcut.
- Let the kids decorate: Let your little ones get creative with the candy colors and arrangements. It doesn’t have to be perfect. It’s about having fun!
- Make mini cookies: Use smaller cookie cutters to create bite-sized versions that are perfect for little hands.
We have created many family-tested Stained Glass Cookies variations! My daughter loves the classic version with Jolly Ranchers, while my son prefers when I use peppermint candies during the holidays. I’ve even tried adding a touch of lemon zest to the sugar cookie dough for a bright, citrusy twist. Many home bakers are creating fun variations. Check out this group of bakers sharing their Stained glass sugar cookies with Jolly Ranchers or this recipe from Sally’s Baking Addiction, Stained Glass Window Cookies – Sally’s Baking.
No matter how you make them, I hope these Stained Glass Cookies bring your family as much joy and comfort as they bring mine. Don’t be afraid to experiment and make them your own. Baking should be fun and relaxing!
I hope your family enjoys this satisfying Stained Glass Cookies recipe and you create sweet memories that will last a lifetime! For other delicious cookie ideas, try these Lemon Glazed Zucchini Cookies or these Carrot Cake Oatmeal Cookies.
\n \n Print
Stained Glass Cookies

These Stained Glass Cookies are as beautiful as they are delicious! Melted hard candies create a stunning stained glass effect within these buttery, sweet cookies, perfect for the holidays.
- Prep Time: 30 minutes
- Cook Time: 10 minutes
- Total Time: 40 minutes
- Yield: 24 cookies
- Category: Dessert
- Method: Baked
- Cuisine: American
Ingredients
- 1 cup (2 sticks) unsalted butter, softened
- 1 cup granulated sugar
- 1 large egg
- 1 teaspoon vanilla extract
- 3 cups all-purpose flour
- 1/2 teaspoon baking powder
- 1/4 teaspoon salt
- Assorted hard candies (Jolly Ranchers, Life Savers, etc.)
Instructions
- In a large bowl, cream together the butter and sugar until light and fluffy. Beat in the egg and vanilla extract.
- In a separate bowl, whisk together the flour, baking powder, and salt. Gradually add the dry ingredients to the wet ingredients, mixing until just combined.
- Divide the dough in half, flatten into discs, wrap in plastic wrap, and chill for at least 1 hour.
- Preheat oven to 350°F (175°C). Line baking sheets with parchment paper.
- On a lightly floured surface, roll out one disc of dough to about 1/8 inch thickness. Use cookie cutters to cut out desired shapes. Use a smaller cookie cutter to cut out a shape in the center of each cookie for the “stained glass” effect.
- Place the cookies on the prepared baking sheets. Crush the hard candies into small pieces using a food processor or by placing them in a sealed bag and crushing with a rolling pin.
- Fill the center cutouts of the cookies with the crushed candy pieces.
- Bake for 8-10 minutes, or until the edges of the cookies are lightly golden and the candy is melted.
- Let the cookies cool completely on the baking sheets before removing. The candy will harden as it cools.
Notes
For a festive touch, use different colored candies to create a rainbow effect. Store cooled cookies in an airtight container at room temperature.