I still remember the very first time I made Polish Sernik. It was a chilly weekend, and I wanted something to bring a little warmth and comfort to my family’s table. I found an old family recipe tucked away online that promised a rich, creamy texture with just the right hint of sweetness. My kids were skeptical at first—cheesecake isn’t what we normally think of for family dessert—but after that first bite, their eyes lit up, and my kitchen felt like a cozy hug. This Polish Sernik quickly became our go-to for celebrations and even those rushed weeknights when everyone craves something familiar and soothing.
Making Polish Sernik wasn’t smooth sailing for me in the beginning. I learned quickly that this Polish cheesecake isn’t just about mixing ingredients; it’s about patience and understanding the delicate balance of flavors. The smoothness of the cheese, the subtle tang, and the light sweetness all play together beautifully when you get the sernik ingredients just right. Over time, I figured out how to adjust the recipe so it works for my family’s taste buds and our crazy schedule. If you’re a fellow busy mom looking for a comforting yet uncomplicated dessert, this Polish Sernik recipe is a bright spot in the everyday kitchen hustle.
The beauty of Polish Sernik isn’t just in its comforting flavor but also in how it brings my family around the table. It’s a reminder of those quiet moments we share, even amid the chaos of school runs and after-school activities. If you want a dessert that feels like a warm, understanding friend, this Polish sernik is where you’ll find it. Let me walk you through this cozy, twice-baked sernik, so you can add a little magic to your family’s meals, too! If you’re curious about the roots of sernik or want to see how it can fit into your family’s comfort food lineup, check out this Traditional Polish Cheesecake {Sernik} recipe. It’s been a great inspiration in my cooking journey.
Ingredients You’ll Need:
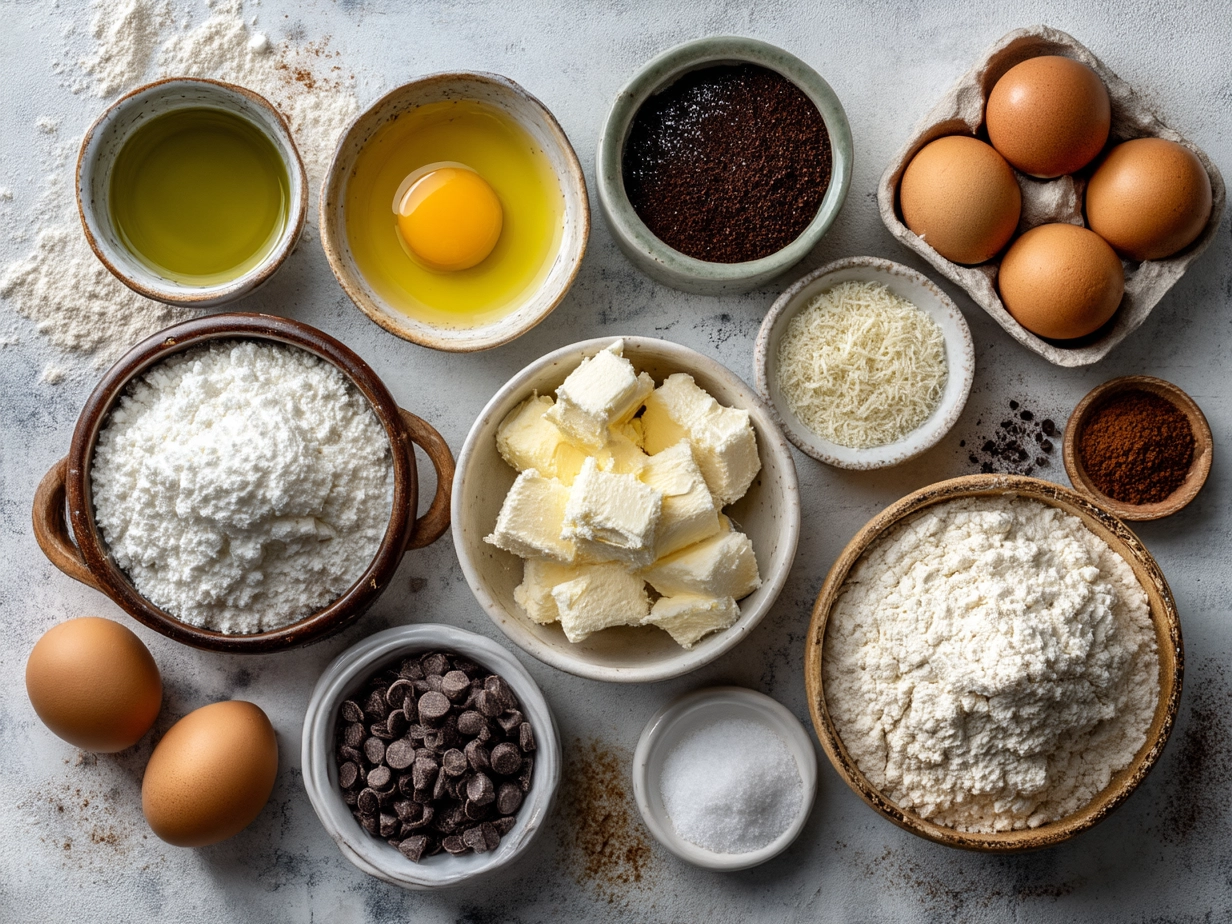
Here’s a Polish Sernik ingredient list that’s straightforward and friendly to your busy life:
- 24 ounces Polish curd cheese (twaróg) – If you can’t find traditional twaróg, a mix of ricotta and cream cheese works great for extra comfort.
- 1 cup granulated sugar – My family likes it on the sweeter side, but you can dial this down for a less sugary finish.
- 4 large eggs – These give the Polish cheesecake structure and richness.
- 1 teaspoon vanilla extract – Brings warmth and depth to the flavor.
- 1/2 cup sour cream – Adds creaminess and smooth texture.
- 1/4 cup all-purpose flour – Helps hold the cake together but not too heavy.
- Zest of one lemon – This little zest brightens up the Polish sernik and balances the richness.
- Butter for greasing the pan – Makes sure your twice-baked sernik comes out clean and intact.
No worries if you don’t have everything on hand! I often swap sour cream with Greek yogurt, which gives the Polish Sernik a touch of tang. These ingredients are no strangers to your local grocery store, so no last-minute specialty store runs. This Polish cheesecake proves that comfort doesn’t need to break the bank or take all day. Sometimes, I sneak in a bit of cinnamon or even raisins because my family loves that extra cozy twist. It’s all about making sernik your own family’s comforting favorite.
For more sweet inspiration to pair with your Polish Sernik, you might enjoy this Mushroom Gruyere Pasta recipe, which always gets rave reviews here.
Let’s Make it Happen!
1. Preheat your oven to 350°F (175°C). It’s the perfect temperature to get your Polish Sernik baking slowly, helping that cozy texture develop without cracks.
2. In a large bowl, beat the Polish curd cheese and sugar until smooth and creamy. This is where you’ll notice your kitchen filling with that gentle, inviting aroma of a classic Polish cheesecake.
3. Add eggs one at a time, beating well after each to keep your Polish Sernik nice and fluffy. I used to worry about over-mixing here, but a gentle hand keeps this dessert just right.
4. Stir in vanilla extract, sour cream, and lemon zest. This step is where the magic softens and brightens the flavor in a calm, comforting way.
5. Fold in the flour slowly, so your Polish Sernik batter stays light. Your twice-baked sernik will rise more beautifully when it’s gentle here.
6. Grease a 9-inch springform pan with butter and pour your mixture in. Smooth the top with a spatula so everyone gets an even slice of comfort.
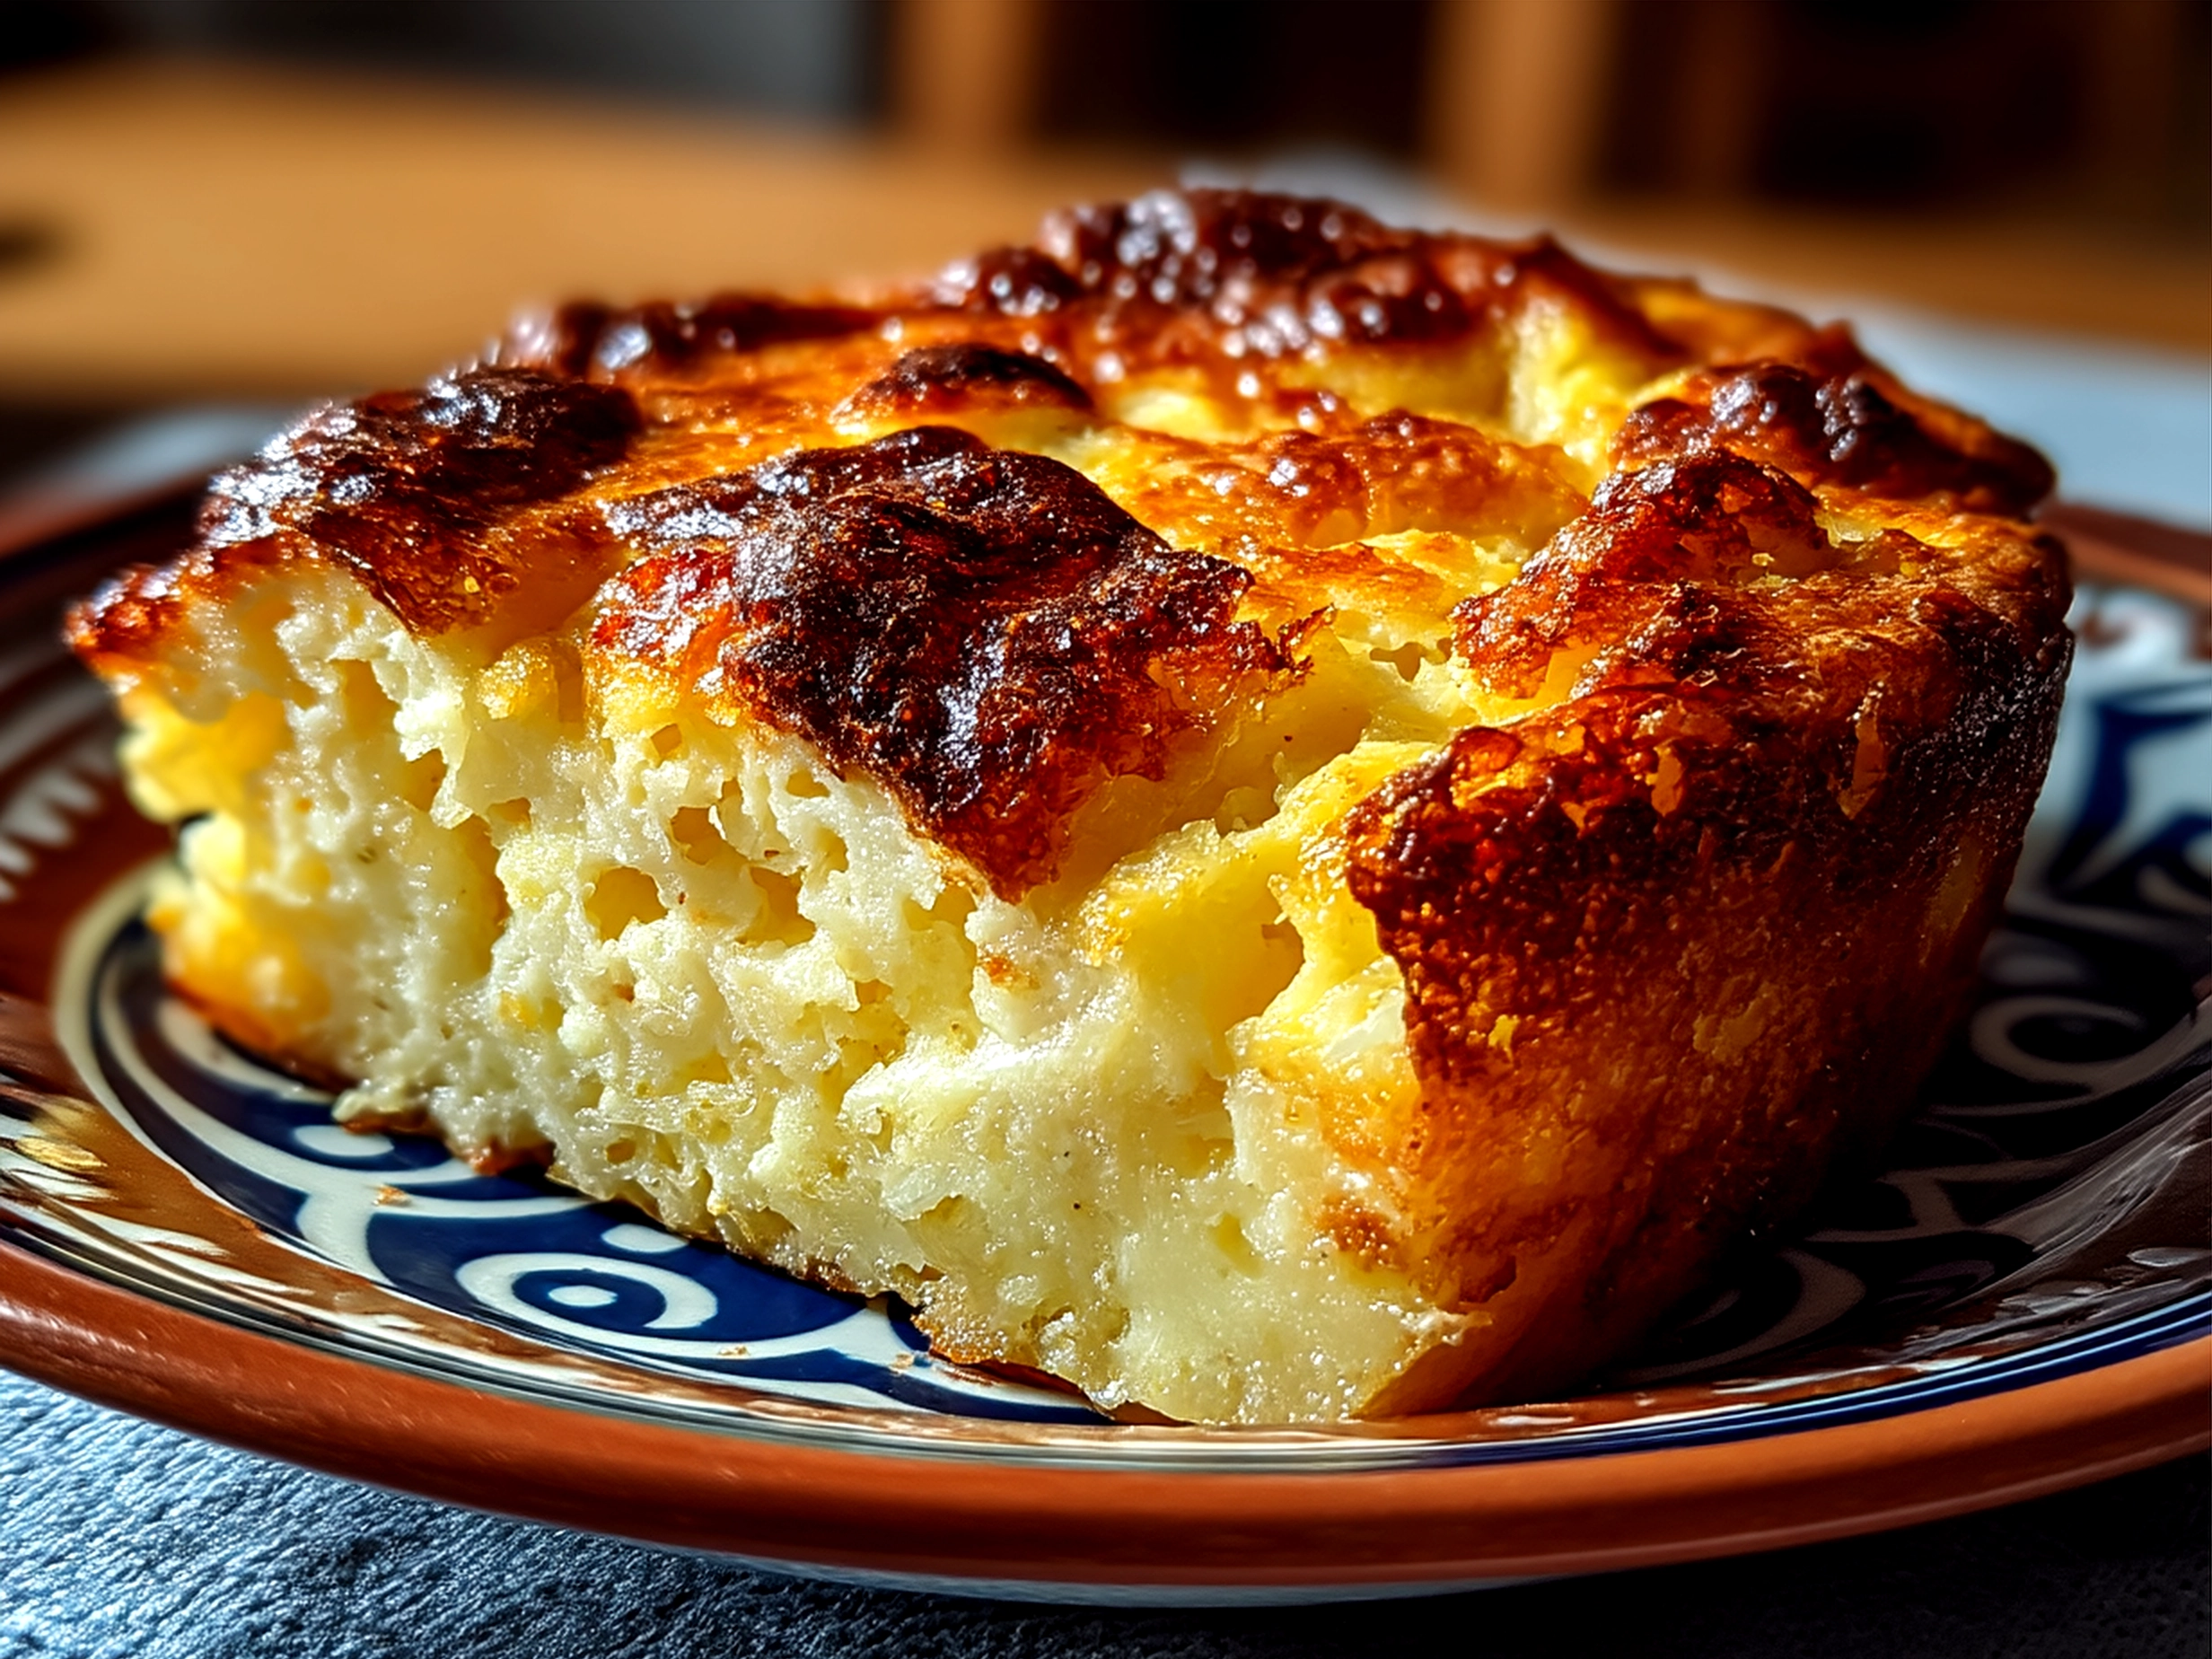
7. Bake for about 60 minutes. Your Polish Sernik should be golden and just barely jiggle in the middle when you gently shake the pan. If it looks a bit wobbly, no stress—it will set as it cools.
8. Take it out and let it cool completely. I find this is a perfect moment to prep lunches for the next day or breathe in the smell of success.
9. For the classic twice-baked sernik finish, lower the oven to 300°F (150°C) and bake another 20 minutes after cooling for a tastier, more dessert-like texture. My family loves this final step—it brings a lovely density without losing softness.
I’ve learned over time to trust the process and remind myself that the imperfections in Polish Sernik only make it more inviting. If you want to see a beautifully detailed Traditional Baked Polish Cheesecake (Sernik), these step-by-step instructions helped me feel more confident before trying my own.
How We Love to Eat This!
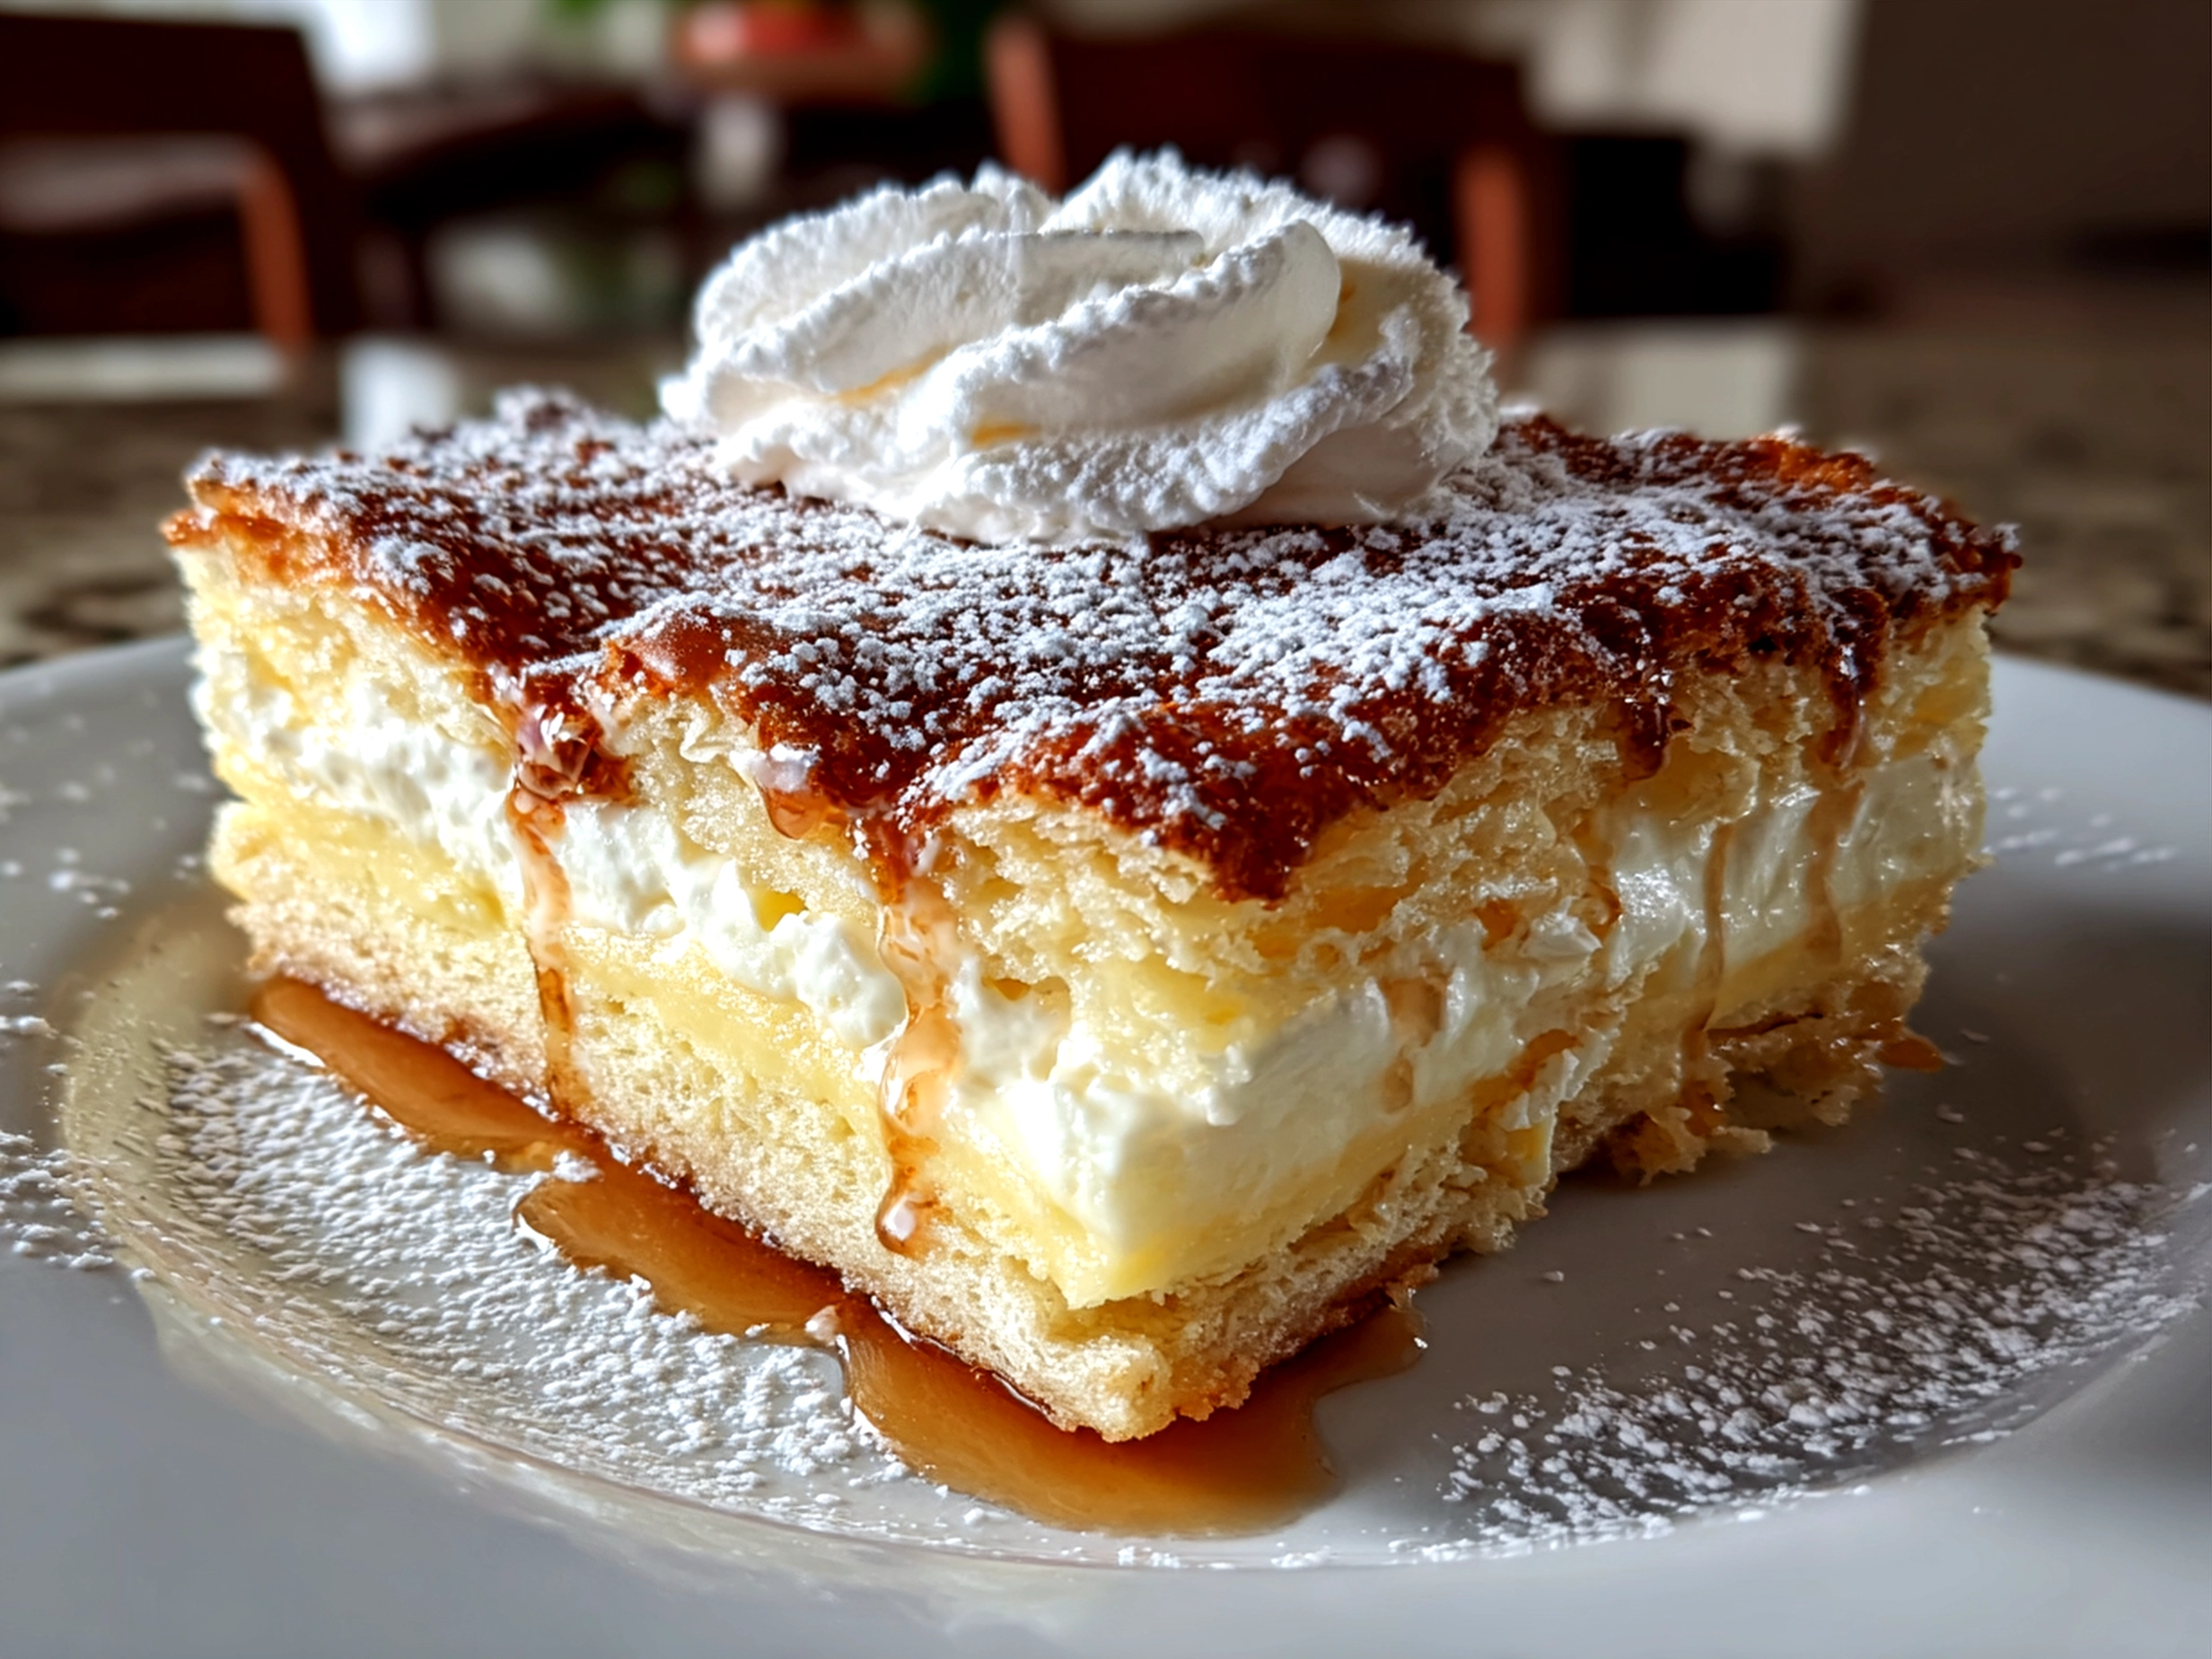
My kids devour this comforting Polish Sernik with a simple dusting of powdered sugar or fresh berries. Sometimes, I serve it up with a dollop of whipped cream or a light drizzle of honey to keep things kid-friendly and balanced.
This Polish cheesecake is perfect for weekend brunch or winding down after a chaotic day. We’ve even taken slices to family gatherings, where friends always ask for the recipe—it’s that crowd-pleasing! For after-school snacks, I like to slice Polish Sernik into small squares and pair it with sliced apples or carrot sticks to keep things wholesome.
Presentation doesn’t have to be fancy. A clean plate and a sprinkle of cinnamon make this twice-baked sernik feel special without any extra fuss. Leftovers? No problem. Polish Sernik keeps well in the fridge for a few days and tastes even better after a night or two—talk about sanity-saving comfort food for busy weeks.
If you want even more cozy dinner wins, take a peek at this Ground Beef Bulgogi recipe my family adores alongside comforting desserts like Polish Sernik.
FAQs: Your Questions Answered
Q: Is this Polish Sernik filling enough for growing kids?
A: Absolutely! This Polish cheesecake balances protein and a touch of carbs perfectly. My kids find it satisfying without weighing them down before homework time. It’s a dessert that doubles as a light meal!
Q: What if my picky eater won’t try Polish Sernik?
A: Try adding a favorite topping like fresh fruit or a drizzle of chocolate syrup. Sometimes, the presentation makes all the difference. My son was hesitant until I served it with a sprinkle of cinnamon sugar, and now he asks for it often.
Q: Can I meal prep Polish Sernik for busy weeks ahead?
A: Yes! I make it on Sundays, then portion it out for snacks and dessert throughout the week. It keeps well, and you save yourself evening stress. For reheating, a few seconds in the microwave works wonders without drying it out.
Q: Can I freeze Polish Sernik?
A: You can! Wrap it tightly and freeze for up to a month. Thaw in the fridge overnight before serving. It’s a great way to extend this comfort food’s shelf life while keeping it delicious.
Q: Is there a gluten-free version of Polish Sernik?
A: Definitely. Swap the all-purpose flour with almond flour or gluten-free blend. The texture will be slightly different but still comforting and creamy.
Q: My Polish Sernik cracks on top—what happened?
A: That’s common. It usually means it baked a bit too fast or cooled down too quickly. Let it cool slowly in the oven with the door cracked after baking to avoid cracks next time.
Q: Where can I find quality Polish curd cheese?
A: If your local store doesn’t carry twaróg, cream cheese mixed with ricotta makes a good substitute. Check out this helpful Recipe for Polish Cheesecake Sernik at Home for tips on finding the right cheese for beginners.
Final Thoughts:
This Polish Sernik perfectly fits my family’s comfort food goals because it’s easy to make, nourishing, and always warmly welcomed. My Polish Sernik Comfort Hacks include swapping sour cream for Greek yogurt for a tangy twist, folding the flour gently to keep the texture soft, and always adding lemon zest to lift the flavors.
Over time, I’ve tried family-tested Polish Sernik variations: plain with fruit topping for easy weekdays, chocolate chip-infused for birthday treats, and a lemon-poppyseed twist that’s surprisingly fresh and loved by my husband. Each version has its fans here, proving that Polish Sernik can be beautifully flexible.
I encourage you to make Polish Sernik your own. Take these ideas, mix in your family’s tastes, and enjoy watching this twice-baked sernik become your new comfort food tradition. There’s something so satisfying about serving a dessert that feels both homemade and meaningful. Here’s to many cozy moments and a happy, well-fed family table with Polish Sernik! For more family-friendly recipes that simplify your cooking journey, check out Homemade Green Bean Casserole and keep your comfort food wins coming.
You’ve got this, fellow comfort seekers!
Polish Sernik

Polish Sernik is a classic baked cheesecake made with creamy twaróg cheese, combining a rich texture with a subtly sweet flavor perfect for any dessert occasion.
- Prep Time: 20 minutes
- Cook Time: 65 minutes
- Total Time: 5 hours 25 minutes
- Yield: 12 servings
- Category: Dessert
- Method: Baked
- Cuisine: Polish
Ingredients
- 2 pounds twaróg cheese (or farmer’s cheese), well drained
- 1 cup granulated sugar
- 4 large eggs
- 1 teaspoon vanilla extract
- 1/2 cup unsalted butter, melted
- 1/2 cup all-purpose flour
- 1/4 cup sour cream
- Zest of 1 lemon
- Pinch of salt
- Powdered sugar for dusting (optional)
Instructions
- Preheat the oven to 350°F (175°C). Grease and flour a 9-inch springform pan.
- In a large bowl, beat the twaróg cheese until smooth.
- Add sugar and continue beating until combined well.
- Beat in eggs one at a time, mixing thoroughly after each addition.
- Stir in vanilla extract, melted butter, sour cream, lemon zest, and salt.
- Gradually fold in flour until fully incorporated.
- Pour the batter into the prepared pan and smooth the top.
- Bake for 60 to 70 minutes until the cheesecake is set and lightly golden on top.
- Turn off the oven and let the cheesecake cool inside with the door slightly open for about 1 hour.
- Remove from the oven, allow to cool completely, then refrigerate for at least 4 hours or overnight.
- Before serving, dust with powdered sugar if desired.
Notes
For an extra touch, serve with fresh berries or a dollop of sour cream to complement the creamy texture and flavor.