
I remember the first time I saw a Magic Candy recipe. It was on a day when I needed something… well, magical! My kids were having a rough week, homework was piling up, and I felt like dinner was the same old song and dance. I stumbled upon this Magic Candy recipe, and the idea of creating something colorful and fun was exactly what our family needed. The kids were mesmerized watching the layers set, and the rainbow colors brought instant smiles. That Magic Candy recipe became a comfort food win because it turned a stressful week into a sweet memory.
INGREDIENTS You’ll Need:
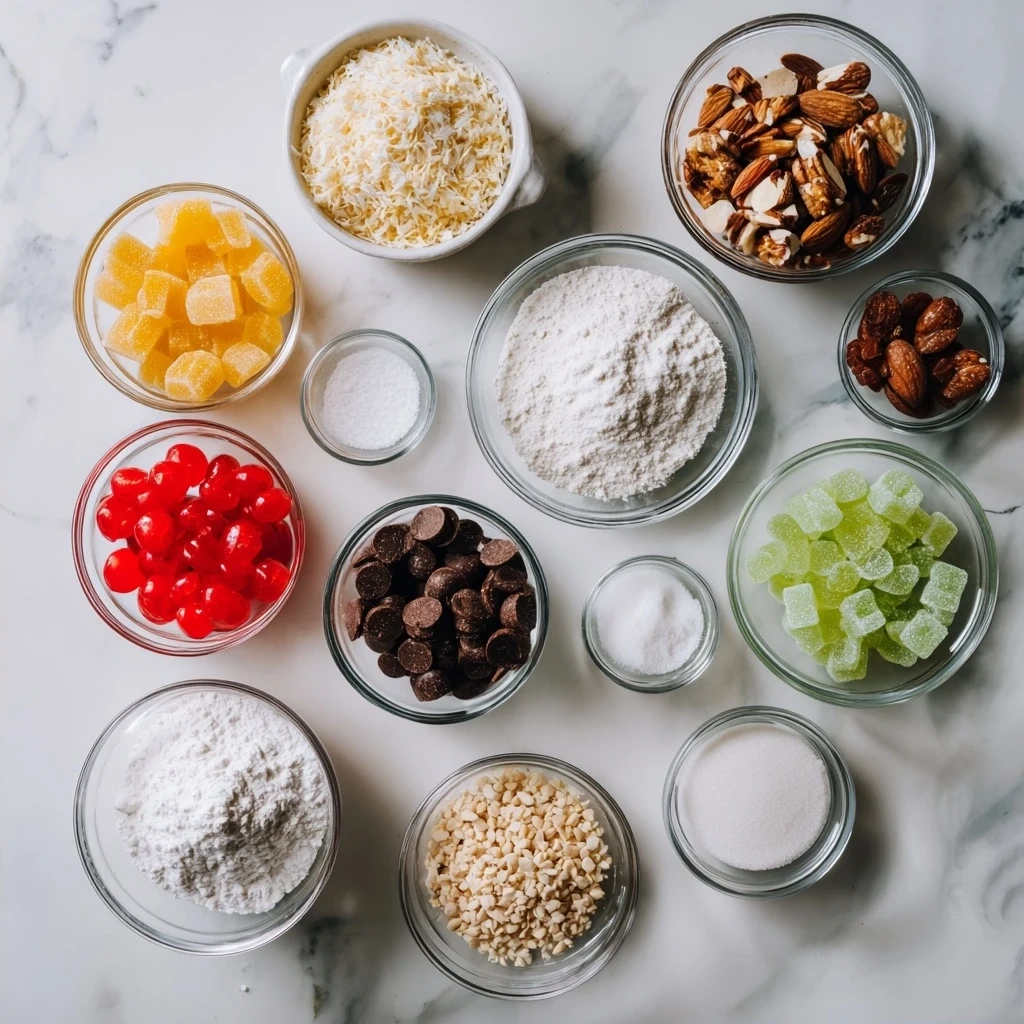
Trust me, this Magic Candy recipe ingredient list is simple because busy moms need comfort without complexity! You can find these simple ingredients at your regular grocery store. Don’t worry if you don’t have ALL the colors, I use whatever is available and adjust the layers to my liking for extra comfort in my Magic Candy recipe. My family gets extra comfort when I add a bit of vanilla extract to the sweetened condensed milk – it elevates the flavor (without making it complicated!). This Magic Candy recipe proves delicious doesn’t mean expensive.
- 6 boxes of flavored gelatin (different colors). Think grape, blue raspberry, lime, lemon, orange, and strawberry! For extra comfort, I sometimes sneak in black cherry for a deeper hue.
- 6 cups boiling water.
- 3 cups cold water.
- 1 (14-ounce) can sweetened condensed milk. This makes it creamy and dreamy.
- 1 packet (1/4 ounce) unflavored gelatin.
- 1/2 cup cold water (for the unflavored gelatin).
Let’s Make it Happen!
- First, grease a 9×13 inch pan. I use a little bit of coconut oil spray.
- Now, let’s tackle the gelatin layers! In separate bowls, dissolve each box of flavored gelatin in 1 cup of boiling water. Stir until the gelatin is completely dissolved.
- Stir in ½ cup of cold water into each bowl. Pour one color of gelatin into your greased pan.
- Pop it into the refrigerator for about 20-25 minutes, until firm but not completely set. It should jiggle slightly when you touch it. In my busy kitchen, this comforting Magic Candy recipe usually takes exactly as long as it takes me to unload the dishwasher!
- While the first layer is setting, it’s time to prepare the creamy layer! In a small bowl, sprinkle the unflavored gelatin over ½ cup of cold water. Let it sit for about 5 minutes to soften. This is a perfect time to prep tomorrow’s school lunches!
- In a saucepan, heat the sweetened condensed milk over low heat. Add the softened gelatin and stir until completely dissolved. Don’t let it boil!
- Let the creamy mixture cool slightly. This is crucial, so it doesn’t melt your gelatin layers.
- Once the first layer is firm, gently pour half of the creamy mixture over it. Return to the refrigerator for another 20-25 minutes, or until firm. Here’s where I used to struggle with my Magic Candy recipe – learn from my experience! The key is patience.
- Repeat layers! Pour the next color gelatin layer, chill, then the remaining creamy mixture, chill and repeat until you’ve used all your gelatin.
- Your Magic Candy recipe should smell amazing by now!
- Finally, refrigerate for at least 4 hours, or preferably overnight, to allow all the layers to set completely.
- Once set, cut into squares and serve.
While your Magic Candy recipe is setting, take a moment to appreciate creating comfort for your family! In my family, this comforting Magic Candy recipe usually takes about 3 hours from start to finish, including chill time. But remember, that’s active time! I’m usually juggling other tasks, so it fits perfectly into our cozy chaos.
How We Love to Eat This!
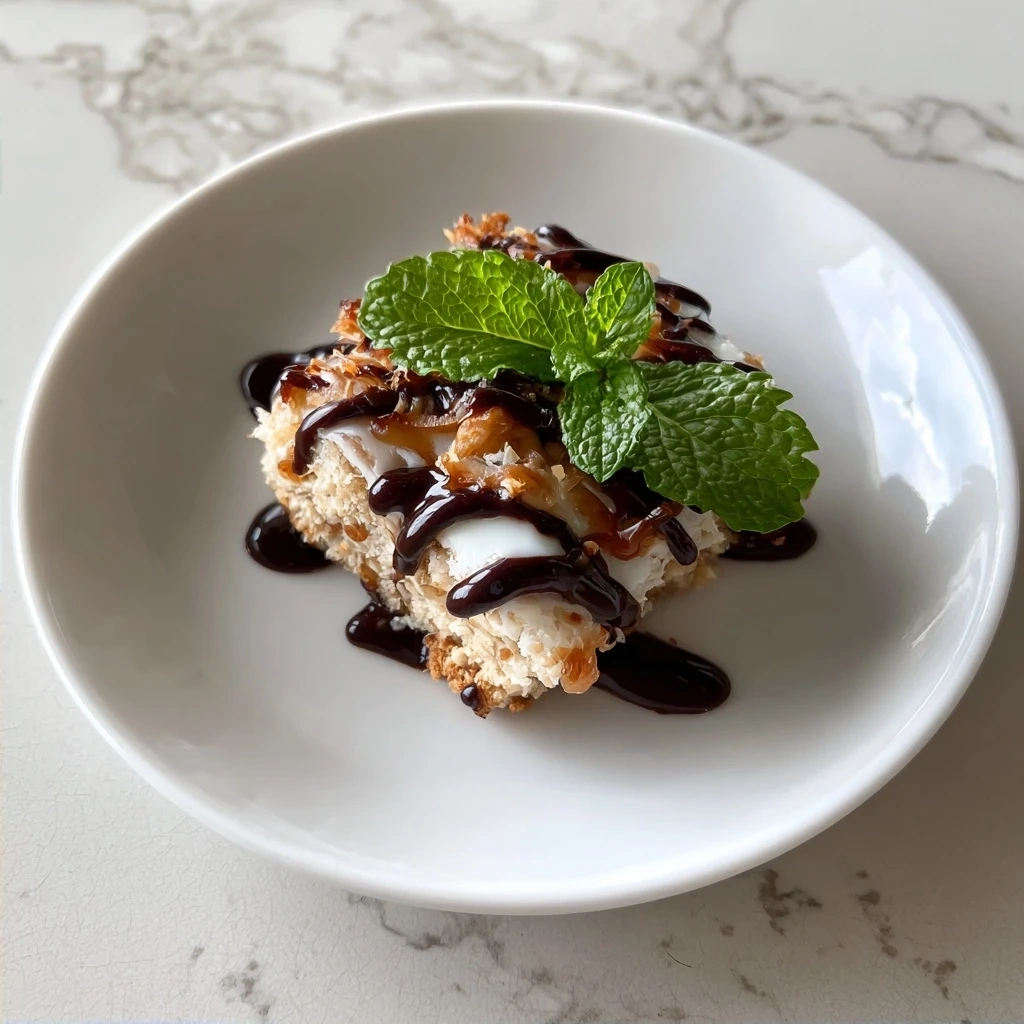
The kids devour this comforting Magic Candy recipe when I serve it with fresh fruit. Berries and sliced peaches are their favorites. This Magic Candy recipe is perfect for those busy weeknights when we need comfort food fast!
We love to bring it to potlucks and parties. I get so many compliments, and everyone is always amazed by the colorful layers of the edible prism candy. Presentation-wise, I like to arrange the squares on a platter in a rainbow pattern. Sometimes, I even use cookie cutters to make fun shapes.
If we have any leftovers (which is rare!), I store them in an airtight container in the refrigerator. They’re perfect for a quick after-school snack. This spring, I tried a version using all fruit-flavored gelatins, and it was a huge hit! My friend mentioned how unique this illusion candy dessert was! This comforting Magic Candy recipe reminds me of another family favorite, our Candy Corn Poke Cake – similar visual fun, different textures!
FAQs: Your Questions Answered
- Is this Magic Candy recipe really filling enough for growing kids?
It’s a sweet treat, so it’s not a meal replacement! But the gelatin does have some protein, and the sweetened condensed milk adds a bit of substance. I usually serve it as a dessert after a balanced meal. If you are looking for a hearty dessert, try my Strawberry Cool Whip Candy. It is a great alternative.
- What if my picky eater won’t try this Magic Candy recipe?
Presentation is key! The rainbow colors can be really appealing. Let them help you make it. Sometimes, kids are more willing to try something they helped create. You could also try using their favorite flavors of gelatin.
- Can I meal prep this Magic Candy recipe for busy weeks ahead?
Absolutely! It keeps well in the refrigerator for several days. I often make it on Sunday evenings so we have a fun treat to look forward to during the week.
- Can you use sugar free gelatin?
Yes, you can. I find that sometimes it doesn’t set quite as firmly, but it still tastes great.
- Can I use different flavors of gelatin?
Of course! That’s the beauty of this recipe. Get creative and use your family’s favorite flavors.
- What is the best way to cut it?
I find that a sharp knife dipped in warm water works best. It helps to prevent the gelatin from sticking to the knife.
- Why is my creamy layer lumpy?
The key is to make sure the unflavored gelatin is completely dissolved in the sweetened condensed milk. Heat it gently and stir constantly until it’s smooth.
I often get asked about the color changing candy effect this dessert has. It isn’t truly color-changing, but the layers create a visual illusion that’s just as fun!
Final Thoughts:
This Magic Candy recipe has brought so much joy and color into our kitchen. It’s a simple, comforting dessert that’s perfect for any occasion. Plus, it’s a beautiful layered gelatin dessert. I hope it brings just as much joy to your family too!
- Easy Clean-Up: Line the pan with parchment paper for super-easy removal and clean-up.
- Flavor Boost: Add a teaspoon of vanilla or almond extract to the creamy layer for extra flavor.
- Kid-Friendly Fun: Let the kids pick the colors and help layer the gelatin.
- My son loves a tropical version with pineapple, mango, and coconut gelatin.
- My daughter prefers a berry version with strawberry, raspberry, and blueberry gelatin.
- My husband enjoys a citrus version with lemon, lime, and orange gelatin.
Remember to have fun with it and make it your own! For more inspiration, check out resources like the general-image-recognition model by clarifai | Clarifai – The World’s AI and a dictionary PDF.
I hope you enjoy making this satisfying Magic Candy recipe for your family. Happy cooking, fellow comfort seekers! I hope this Magic Candy recipe brings your family as much comfort as it has mine! Give this Magic Candy recipe a try this week!
Magic Candy recipe
This Magic Candy recipe is incredibly easy and fun to make! It transforms simple ingredients into a delightful, melt-in-your-mouth treat that everyone will love.
- Prep Time: 5 minutes
- Cook Time: 15 minutes
- Total Time: 20 minutes
- Yield: About 20 pieces
- Category: Dessert
- Method: No-Cook
- Cuisine: American
Ingredients
- 1 cup granulated sugar
- 1/2 cup light corn syrup
- 1/4 cup water
- 1 teaspoon flavoring extract (vanilla, almond, or peppermint)
- Food coloring (optional)
- Powdered sugar, for dusting
Instructions
- In a medium saucepan, combine the granulated sugar, light corn syrup, and water.
- Cook over medium heat, stirring constantly, until the sugar is dissolved.
- Once the sugar is dissolved, stop stirring and let the mixture come to a boil.
- Continue to cook until the mixture reaches the hard-crack stage (300-310°F or 149-154°C on a candy thermometer).
- Remove from heat and quickly stir in the flavoring extract and food coloring (if using).
- Pour the mixture onto a lightly greased baking sheet or silicone mat.
- Let it cool completely until hardened.
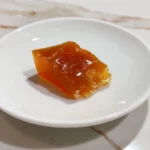
- Once hardened, break the candy into pieces.
- Dust with powdered sugar to prevent sticking.
Notes
For a festive touch, sprinkle the candy with edible glitter or chopped nuts before it cools completely.