Okay, here we go! Let’s chat about one of my favorite ways to bring a little holiday magic to the table without losing my sanity: the Christmas Tree Charcuterie Board! Picture this: a delicious, edible Christmas tree, piled high with all sorts of goodies.
I remember the first time I attempted a Christmas Tree Charcuterie Board. It was a week before Christmas. I felt completely overwhelmed. The kids were bouncing off the walls, holiday shopping was still undone, and I needed something festive for a last-minute get-together. I thought a Christmas Tree Charcuterie Board would be fun, but I felt intimidated by all the fancy ones online.
I learned very quickly that it doesn’t have to be perfect to be a hit! The kids loved helping me arrange everything. And the adults? Well, they loved grazing on it while we chatted. That’s when I realized the real magic of the Christmas Tree Charcuterie Board isn’t just how it looks, but how it brings everyone together. It was a dinnertime win!
Now, it’s a family tradition. Every year, we make our Christmas Tree Charcuterie Board. We tweak it based on what we have on hand and what everyone is craving. It’s a comforting way to kick off the holiday season.
Fellow comfort seekers, if you’re looking for a simple, festive, and surprisingly stress-free way to feed your family and friends this holiday season, you’ve come to the right place. Let’s make a Christmas Tree Charcuterie Board together. It’s easier than you think!
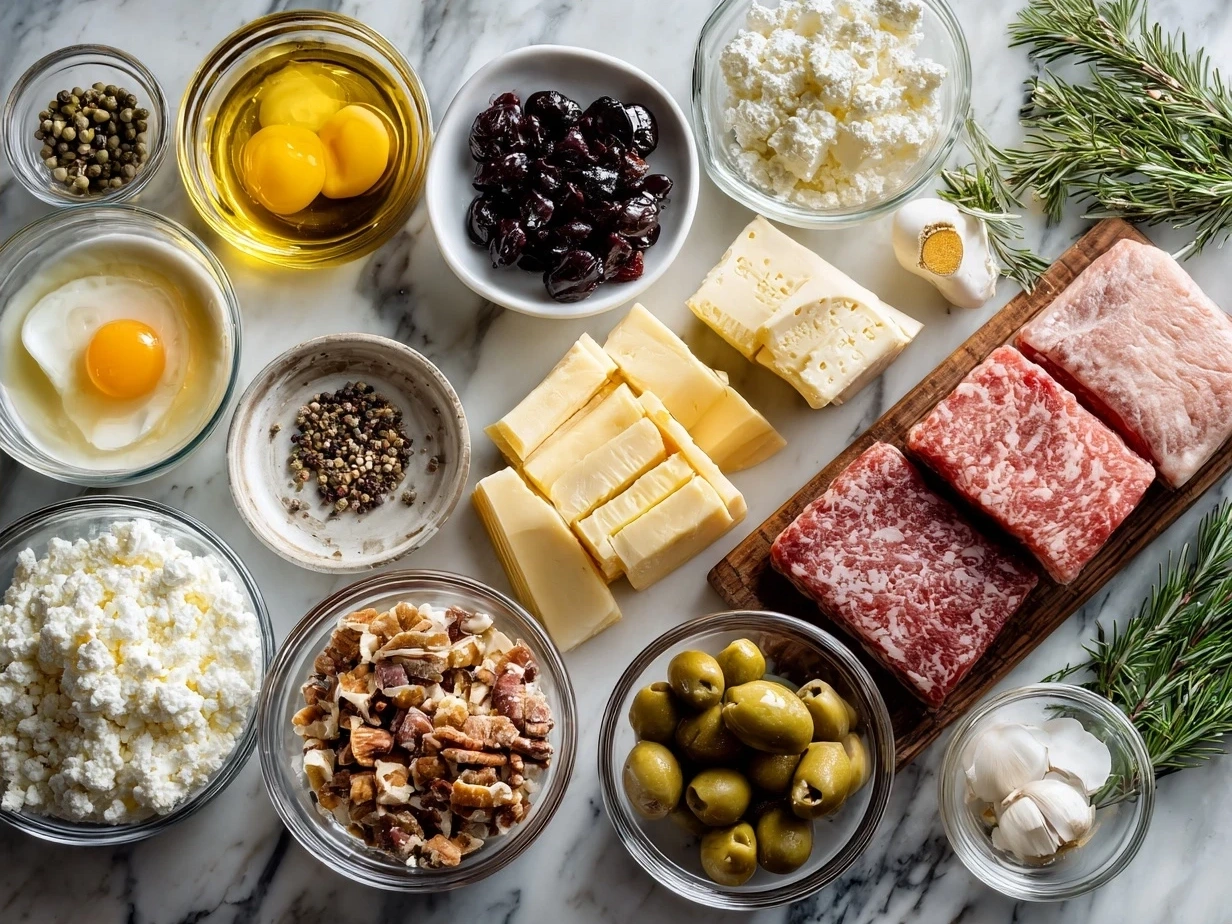
INGREDIENTS You’ll Need:
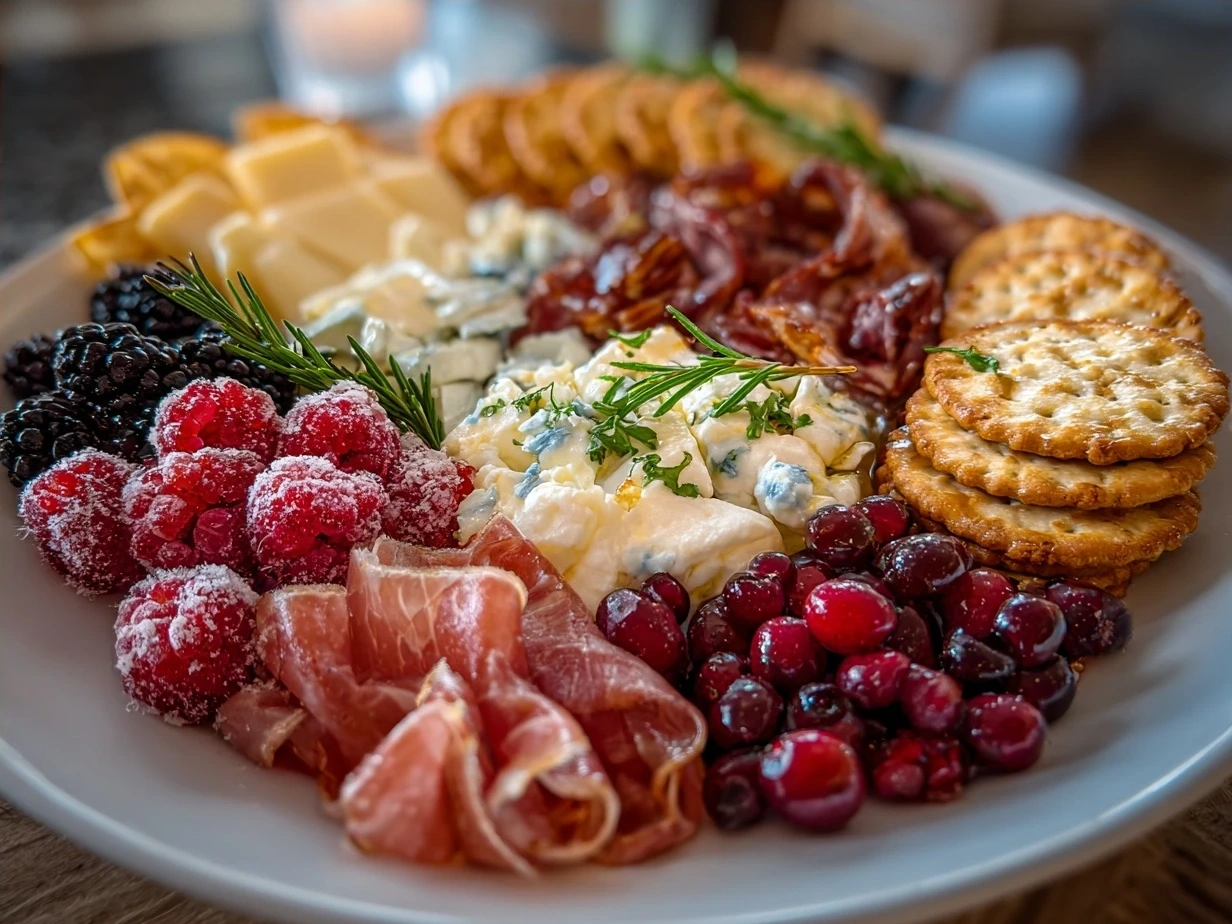
- Assorted Cheeses (cheddar, mozzarella, brie): 8 oz total, cubed or sliced. Trust me, this Christmas Tree Charcuterie Board ingredient list is simple because busy moms need comfort without complexity!
- Cured Meats (salami, pepperoni, prosciutto): 6 oz total, sliced. No worries if you don’t have prosciutto; I use cooked ham slices for extra comfort in my Christmas Tree Charcuterie Board.
- Crackers (various shapes and sizes): 1 box. You can find these simple ingredients at your regular grocery store.
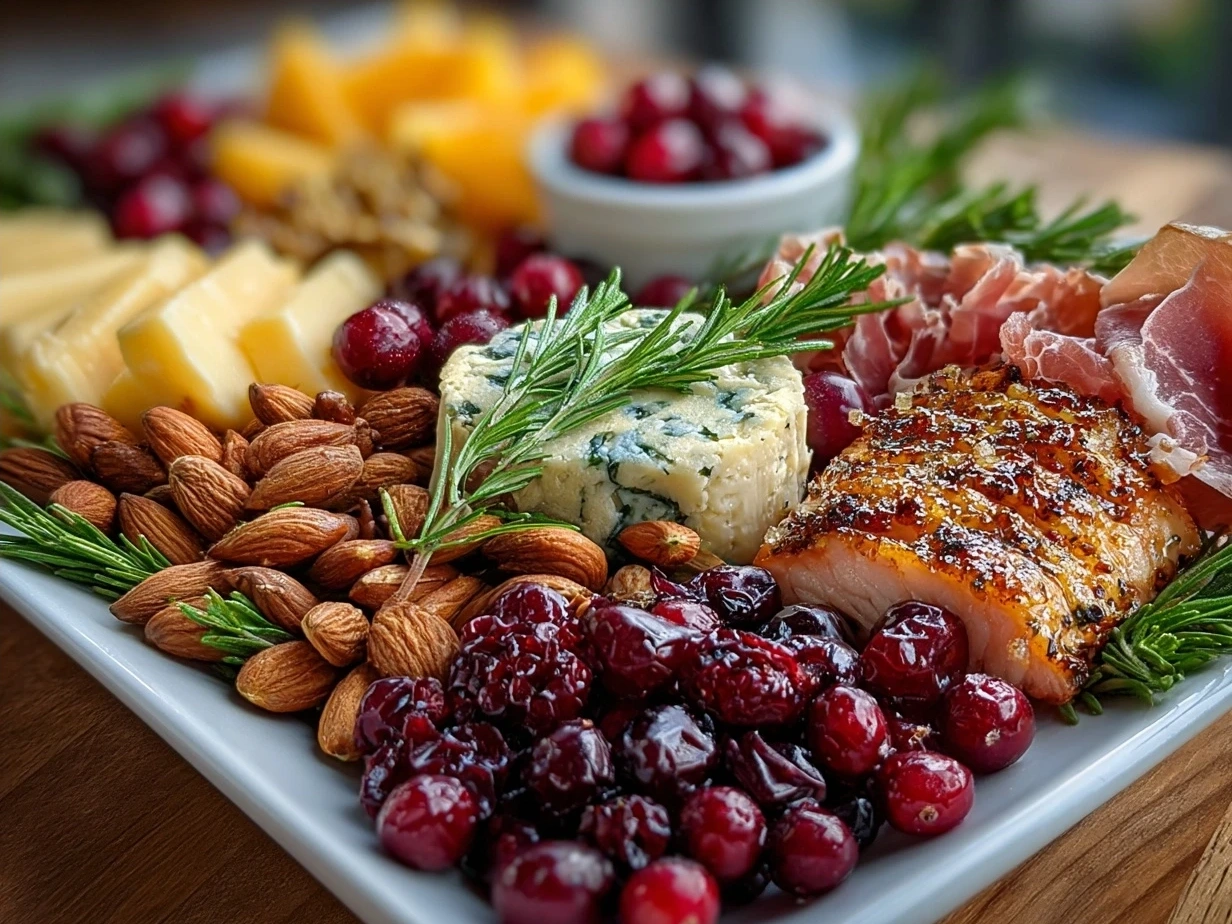
- Fresh Fruit (grapes, berries, apple slices): 1-2 cups total. My family gets extra comfort when I add some pomegranate seeds to the board.
- Vegetables (cucumber slices, baby carrots, bell pepper strips): 1 cup total. This Christmas Tree Charcuterie Board proves delicious doesn’t mean expensive.
- Olives (green and black): 1/2 cup. Here’s a Christmas Tree Charcuterie Board comfort hack that changed our family’s dinnertime: buying pre-sliced olives.
- Rosemary Sprigs: For decoration (optional). The rosemary adds such a festive touch and smells amazing!
- Small Star-Shaped Cookie Cutter: For cheese or fruit (optional). It makes the holiday grazing board even more festive.
- Wooden Cutting Board or Platter: At least 12 inches in diameter.
- Small bowl of your favorite christmas jam: Adds an extra touch to your DIY Christmas charcuterie.
Let’s Make it Happen!
- Prep Your Ingredients: Wash and dry all fruits and vegetables. Cut the cheese into cubes or slices. Slice the meats if they aren’t already sliced. This makes for easier assembly. In my busy kitchen, this comforting Christmas Tree Charcuterie Board usually takes about 30 minutes to assemble, so prepping everything beforehand is a sanity-saver.
- Create the Tree Shape: Start by placing a large piece of cheese or a small bowl at the bottom center of your board. This will be the base of your Christmas tree. This base helps lift the festive cheese board.
- Layer the Ingredients: Begin layering your ingredients around the base, working your way up in a triangular shape. Alternate between cheeses, meats, fruits, vegetables, and crackers to create visual appeal. Perfect time to prep tomorrow’s lunch! Here’s where I used to struggle with my Christmas Tree Charcuterie Board – learn from my experience! I would try to make it too perfect. Just have fun with it!
- Add Festive Touches: Use rosemary sprigs to create the “branches” of the tree. They add a lovely aroma and a festive look. Your Christmas Tree Charcuterie Board should smell amazing by now!
- Create a Star: Use a star-shaped cookie cutter to cut a star out of a slice of cheese or a piece of fruit (like a melon). Place the star at the top of your tree. Don’t worry if your Christmas Tree Charcuterie Board looks a little wonky – that’s part of its charm!
- Fill in the Gaps: Fill in any gaps with olives, small berries, or nuts to make the tree look full and abundant. Common concerns about making a holiday charcuterie board is can it be done under an hour. Yes, with a little planning it’s easy!
- Serve and Enjoy: Serve your Christmas Tree Charcuterie Board immediately. It’s best enjoyed fresh! While your Christmas Tree Charcuterie Board is cooking, take a moment to appreciate creating comfort for your family! It’s also a great conversation starter.
How We Love to Eat This!
My kids devour this comforting Christmas Tree Charcuterie Board when I serve it with some warm apple cider. It’s the perfect combination of savory and sweet. I love seeing my kids’ faces when they see the board, it’s an instant holiday boost!
This Christmas Tree Charcuterie Board is perfect for those busy weeknights when we need comfort food fast! I often make it on Christmas Eve while we watch our favorite holiday movies. It becomes an interactive family event.
For presentation, I like to use a wooden board. It gives it a rustic, cozy feel. For a fun twist, try using different colored cheeses to create a more vibrant tree. One Christmas, I used some cranberry cheese and it was a huge hit.
Leftovers? No problem! We use leftover cheese and meats in omelets or sandwiches the next day. Nothing goes to waste! This Christmas Tree Charcuterie Board reminds me of another family favorite, my Mexican Street Corn Soup, it’s just as fun and comforting!
My friends always rave about how beautiful and delicious the holiday grazing board is. It’s a guaranteed crowd-pleaser!
FAQs: Your Questions Answered
Is this Christmas Tree Charcuterie Board really filling enough for growing kids?
Absolutely! It’s packed with protein from the cheese and meats, plus healthy fruits and vegetables. Serve it with some whole-grain crackers or a side of soup to make it a complete meal. If your kids love this hearty recipe, they’ll go crazy for my Spicy Mexican Street Corn Chicken Rice Bowl, another comfort-food winner!
What if my picky eater won’t try this Christmas Tree Charcuterie Board?
Start by offering them one or two items they already like. Maybe it’s just the cheese or the crackers. Then, encourage them to try one new thing. Make it fun and playful. “Let’s see if you can find the hidden berry treasure!” Sometimes, just the presentation of the DIY Christmas charcuterie is enough to entice them.
Can I meal prep this Christmas Tree Charcuterie Board for busy weeks ahead?
You can definitely prep the ingredients ahead of time. Cut the cheese, slice the meats, and wash the fruits and vegetables. Store everything in separate containers in the fridge. Then, when you’re ready to assemble, it will only take a few minutes.
How long will this Christmas Tree Charcuterie Board last?
It’s best enjoyed fresh, but it will last for a couple of hours at room temperature. If you have leftovers, wrap them tightly and store them in the fridge. For more simple comfort food ideas for busy families, check out MommiesMore, we are always in the kitchen trying out new snacks!
Can I make this Christmas Tree Charcuterie Board vegetarian?
Of course! Simply omit the meats and add more cheese, vegetables, fruits, and nuts. You can also add some hummus or other vegetarian dips.
What kind of crackers should I use?
Use a variety of crackers to add different textures and flavors. I like to include some plain crackers, some flavored crackers, and some gluten-free crackers for those with dietary restrictions.
Is there a specific cutting board size that works best?
A board that is 12 inches or larger gives you plenty of room to create your tree. But don’t worry, get creative with what you have in the kitchen!
Final Thoughts:
This Christmas Tree Charcuterie Board is more than just a pretty appetizer. It’s a way to create a fun, festive, and memorable experience for your family and friends. It is one of the most simple holiday charcuterie board ideas to make.
- Pre-cut cheese: Saves so much time!
- Kid-friendly assembly: Let the kids help arrange the ingredients.
- Don’t stress the perfection: The imperfections make it charming!
- Sweet & Savory: Add chocolate-covered pretzels, candied nuts, and dried cranberries.
- Mediterranean: Include feta cheese, olives, sun-dried tomatoes, and pita bread.
- Kid-Friendly: Use mini mozzarella balls, pepperoni slices, and colorful fruit.
My son loves the sweet and savory version. My daughter prefers the classic cheese and cracker combination.
Remember, there’s no right or wrong way to make a Christmas Tree Charcuterie Board. Make it your own! Add your favorite ingredients and let your creativity shine. And when you need some extra help try searching for simple Christmas charcuterie board ideas on sites like Facebook!
I hope this brings your family as much joy as it brings mine. Creating a Christmas Tree Charcuterie Board is so easy, especially after reading tips at sources like this Christmas Tree Charcuterie Board | Ain’t Too Proud To Meg.
Go ahead, give it a try! You might be surprised at how much fun you have creating your own delicious and festive Christmas Tree Charcuterie Board. I know your family will enjoy it, while watching some people put together ugly Christmas sweater charcuterie boards! Happy holiday grazing! For another simple Christmas treat, try my Twisted Christmas Cookies! And remember that twisted, imperfect cookies are still delicious!
\n \n Print
Christmas Tree Charcuterie Board

Create a festive and delicious Christmas Tree Charcuterie Board with an assortment of cheeses, meats, fruits, and crackers. This easy-to-assemble appetizer is perfect for holiday gatherings and parties.
- Prep Time: 20 minutes
- Cook Time: 0 minutes
- Total Time: 20 minutes
- Yield: 8 servings
- Category: Appetizer
- Method: No-Cook
- Cuisine: American
Ingredients
- Assorted cheeses (cheddar, brie, goat cheese)
- Cured meats (salami, prosciutto, pepperoni)
- Fresh fruits (grapes, berries, apple slices, pomegranate seeds)
- Crackers (various shapes and flavors)
- Olives (green and black)
- Nuts (almonds, walnuts, pecans)
- Rosemary sprigs (for decoration)
- Mini pickles
- Dried apricots
- Honey or jam (optional)
Instructions
- Arrange a large cutting board or platter.
- Start by placing a star-shaped cheese or a small bowl of dip at the top of the board to serve as the “star” of the tree.
- Begin layering cheeses, meats, and crackers in rows, gradually widening each row as you move down to create a triangular tree shape.
- Fill in the gaps with fruits, olives, nuts, and mini pickles.
- Use rosemary sprigs to create a garland effect and add a festive touch.
- Add a small bowl of honey or jam for dipping, if desired.
- Serve immediately or chill until ready to serve.
Notes
For a vegetarian option, omit the meats and add more cheese varieties, vegetables, and dips like hummus or baba ghanoush.