I remember the first time I attempted Christmas Lights Cookies. My daughter, Lily, saw a picture in a magazine and her eyes lit up brighter than a Christmas tree! I thought, “Okay, how hard can this be?” Famous last words, right? The first batch was… well, let’s just say the royal icing looked more like a Jackson Pollock painting than delicate strings of lights. But Lily didn’t care! She loved them, and that’s all that mattered. We munched away happily, and that’s when I knew I had a comfort food win! Now, every year making Christmas Lights Cookies is a must-do to kick off the holiday season.
This Christmas Lights Cookies recipe brings a little bit of sparkle and a whole lot of fun to our cozy chaos. It is a perfect way to bring the family together for some holiday baking. It became a tradition, and it reminds me that even kitchen “fails” can turn into beautiful memories.
If you’re a busy mom looking for a simple and comforting way to make the holidays a bit sweeter, keep reading! I’ll share my sanity-saving tips, so you don’t have a Jackson Pollock moment in your kitchen.
INGREDIENTS You’ll Need:
Here’s what you’ll need to whip up a batch of these festive treats. Trust me, this Christmas Lights Cookies ingredient list is simple because busy moms need comfort without complexity!
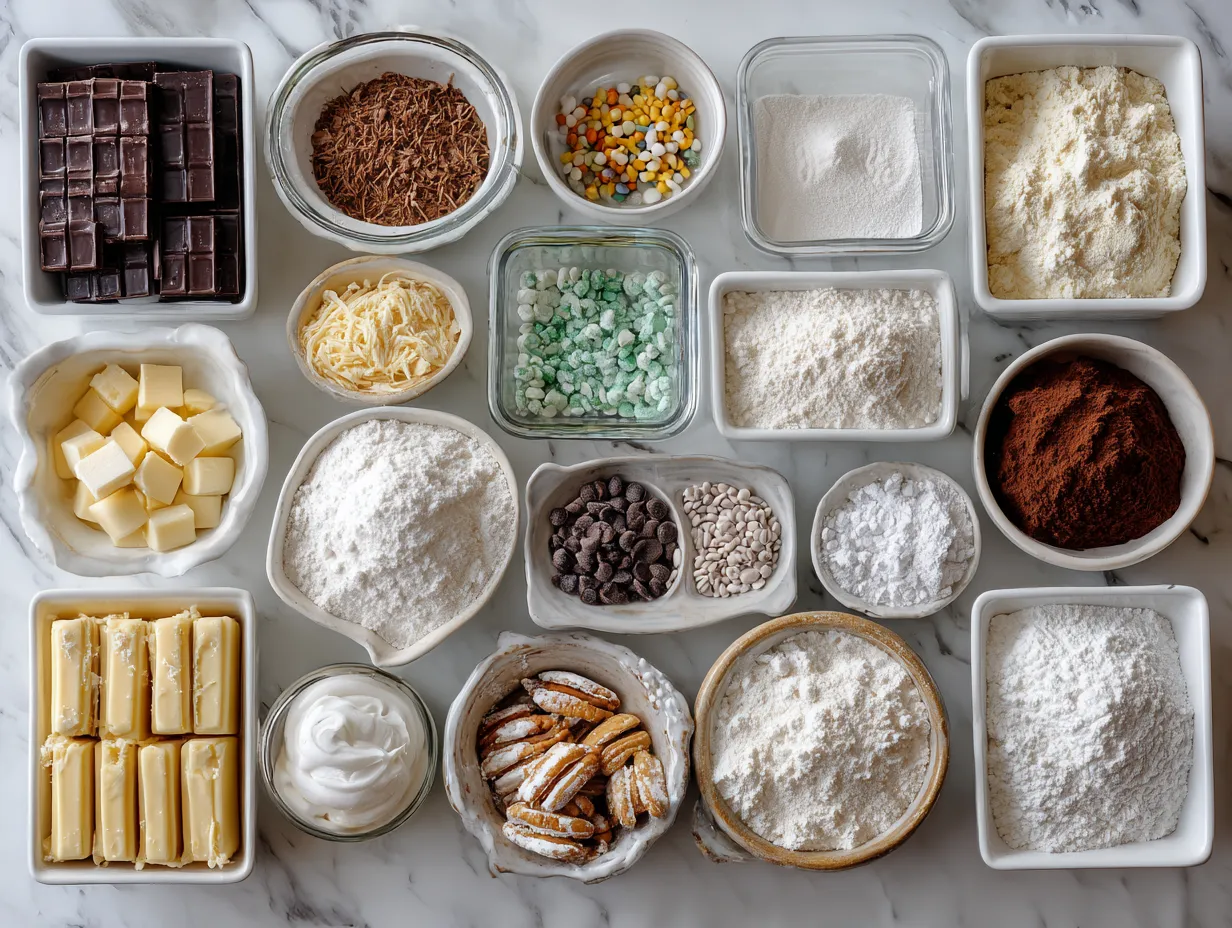
- 3 cups all-purpose flour: This gives the sugar cookies their base. If you are looking for a gluten free option, there are many available in your local grocery store.
- 1 cup (2 sticks) unsalted butter, softened: Butter adds richness and tenderness. No worries if you forgot to soften it! I use the microwave at 50% power for about 30 seconds.
- 1 cup granulated sugar: For sweetness, of course!
- 1 large egg: This binds the dough together.
- 1 teaspoon vanilla extract: Adds a warm, comforting flavor. My family gets extra comfort when I add a splash more!
- 1/2 teaspoon baking powder: Helps the cookies rise slightly.
- 1/4 teaspoon salt: Balances the sweetness.
- Royal Icing: You can use store-bought to save time, or make your own with:
- 4 cups powdered sugar: For that perfect icing sweetness.
- 3 tablespoons meringue powder: This helps the icing harden properly.
- 1/2 cup warm water: Add more or less to reach the desired consistency.
- Gel food coloring: For vibrant “Christmas light” colors.
- Sprinkles: Always a must!
You can find these simple ingredients at your regular grocery store. This Christmas Lights Cookies proves delicious doesn’t mean expensive. I sometimes double the batch and freeze half the dough for later. It is such a sanity saver during the holidays.
Here’s a Christmas Lights Cookies comfort hack that changed our family’s cookie baking experience. When I can’t find meringue powder, I whip up an egg white to stiff peaks and add that to my powdered sugar and water. Works like a charm!
Let’s Make it Happen!
Okay, gather your ingredients, put on some holiday tunes, and let’s get baking! Remember, it’s all about fun, not perfection.
- Make the Dough: In a large bowl, cream together the softened butter and granulated sugar until light and fluffy. Beat in the egg and vanilla extract.
- Combine Dry Ingredients: In a separate bowl, whisk together the flour, baking powder, and salt. Gradually add the dry ingredients to the wet ingredients, mixing until just combined. Be careful not to overmix!
- Chill the Dough: Divide the dough in half, flatten into discs, wrap in plastic wrap, and chill for at least 1 hour. This is important! Chilling prevents the cookies from spreading too much while baking. In my busy kitchen, this comforting Christmas Lights Cookies process usually takes 2 hours from start to cutting, because I usually forget to take the butter out to soften, and I am doing a million things at once.
- Roll and Cut: Preheat your oven to 375°F (190°C). On a lightly floured surface, roll out the dough to about 1/4 inch thickness. Use cookie cutters to cut out your desired shapes. I like to use circle or oval cookie cutters for Christmas Lights Cookies to give me lots of “string” space.
- Bake: Place the cookies on a baking sheet lined with parchment paper. Bake for 8-10 minutes, or until the edges are lightly golden brown. Perfect time to prep tomorrow’s lunch!
- Cool: Let the cookies cool on the baking sheet for a few minutes before transferring them to a wire rack to cool completely. Your Christmas Lights Cookies should smell amazing by now!
- Make the Royal Icing: In a large bowl, combine the powdered sugar, meringue powder, and warm water. Beat with an electric mixer until stiff peaks form. Divide the icing into several bowls and tint with gel food coloring to create your desired “Christmas light” colors. Find ideas for decorating at Royal icing cookie decorating tips needed.
- Decorate: Transfer the royal icing to piping bags or squeeze bottles fitted with small round tips. Pipe a “string” of icing across each cookie. Then, pipe small dots of different colored icing along the string to resemble Christmas Lights Cookies. Add sprinkles for extra sparkle! Don’t worry if your Christmas Lights Cookies looks a little wonky. That is what makes them unique!
- Let the icing harden completely before storing. This can take several hours, or even overnight.
Here’s where I used to struggle with my Christmas Lights Cookies. I would try to decorate them before they cooled. Learn from my experience. Wait for them to cool. It makes a huge difference. While your Christmas Lights Cookies is cooling, take a moment to appreciate creating comfort for your family!
How We Love to Eat This!
These Christmas Lights Cookies are more than just a treat; they’re a tradition!
My kids devour this comforting Christmas Lights Cookies when I serve it with a big glass of milk and some sliced apples. It is the perfect comfort treat after a long day at school.
This Christmas Lights Cookies is perfect for those holiday parties when we need a festive and fun dessert. I also love packing them in little bags for our neighbors.
Presentation Tip: Arrange them on a pretty platter with some fresh cranberries and rosemary sprigs for a festive touch.
Leftovers? If you have any (which is rare!), store them in an airtight container at room temperature. They stay fresh for several days.
Seasonal Variation: Add a hint of orange zest to the dough for a citrusy twist. You can check out another great cookie recipe with orange juice at Christmas Cookies with Orange Juice!
Guest Reactions: Everyone always raves about how cute and delicious these Christmas Lights Cookies are. They’re always a hit!
FAQs: Your Questions Answered
I get it; you’re busy! Here are some answers to common questions about making these Christmas Lights Cookies.
- Is this Christmas Lights Cookies really filling enough for growing kids?Yes! While they are a treat, the flour and butter give them substance. Plus, the joy of decorating them adds to the experience!
- What if my picky eater won’t try this Christmas Lights Cookies?Get them involved in the decorating process! Let them choose the colors and sprinkles. Kids are more likely to try something they helped create.
- Can I meal prep this Christmas Lights Cookies for busy weeks ahead?Absolutely! You can make the dough ahead of time and freeze it. Or, bake the cookies and freeze them undecorated. Just thaw and decorate when you’re ready.
- How do I prevent the icing from running?Make sure your royal icing is thick enough. It should hold its shape when you lift the mixer. You can also outline the cookies with a thicker icing and then fill it in with a thinner icing.
- Can I use different cookie cutters?Of course! Get creative with your shapes. Stars, trees, or even simple squares work great for Christmas Lights Cookies.
- What if I don’t have meringue powder?As I mentioned before, you can whip up an egg white to stiff peaks and add that to your powdered sugar and water. Works like a charm! I found this comfort hack on the Christmas Lights Cookies with Royal Icing | Dessert for Two blog.
- Are these cookies really as good as they look?Honestly? They’re even better! The combination of the sweet cookie and the colorful icing is irresistible. Plus, the joy of making them with your family makes them extra special. If you want another cookies recipe that tastes as good as it looks, here’s twisted Christmas Cookies for you to try!
Final Thoughts:
These Christmas Lights Cookies are more than just a recipe; they’re a way to create lasting memories with your family. And in my book, that is a win! If you need more cookie recipes to create Christmas cheer, you can look to Christmas Sugar Cookies Recipe with Easy Icing – Sally’s Baking
- Get the kids involved: Let them help with measuring, mixing, and decorating.
- Don’t stress about perfection: Wonky lights and imperfect shapes just add to the charm.
- Make it a tradition: Bake these cookies every year to create a special holiday memory.
- Chocolate Chip Christmas Lights Cookies: Add chocolate chips to the dough for a richer flavor. My son, loves this version.
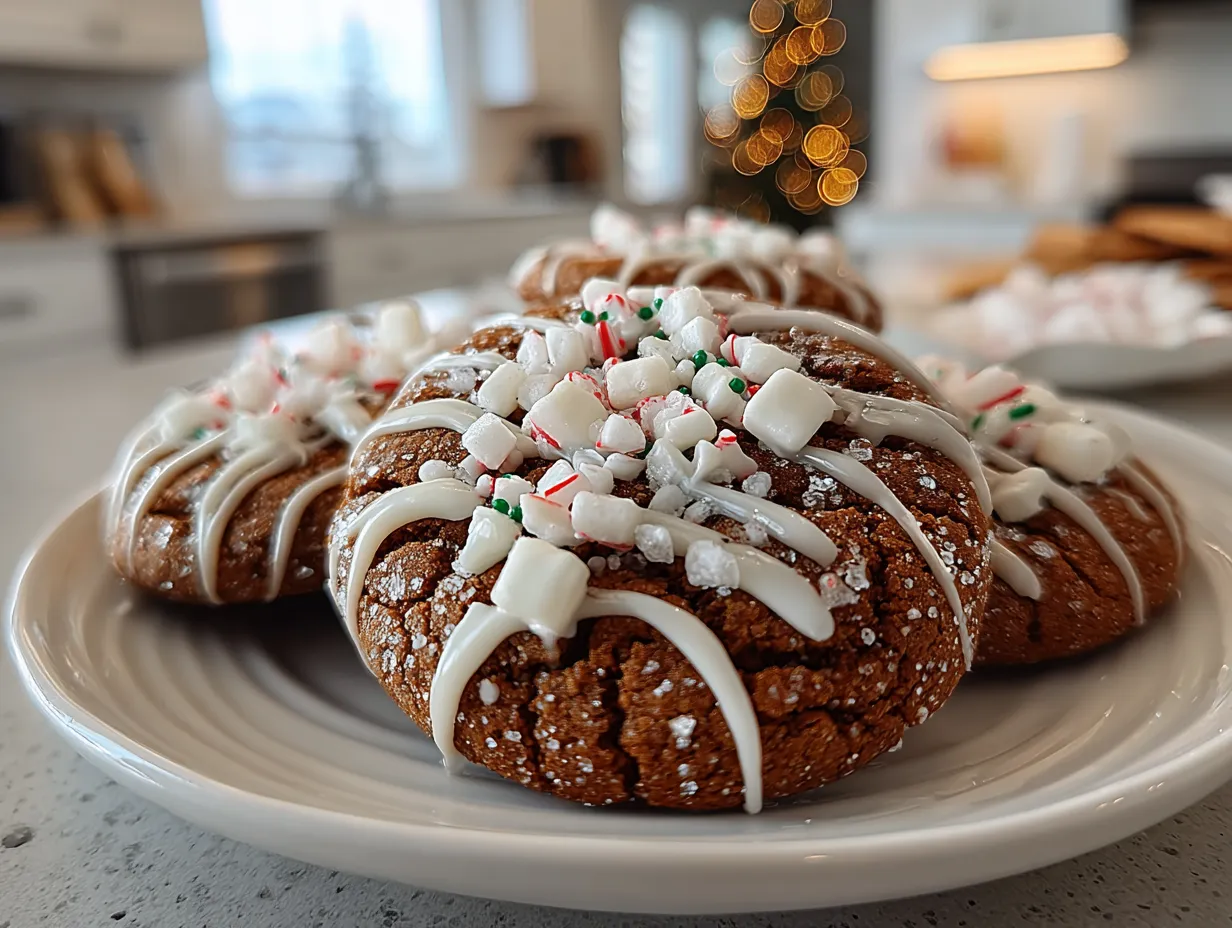
- Peppermint Christmas Lights Cookies: Add peppermint extract to the dough and crushed candy canes to the icing. My daughter prefers this one!
- Lemon Christmas Lights Cookies: Add lemon zest to the dough for a bright and citrusy flavor. I love this version!

I hope these Christmas Lights Cookies bring your family as much joy as they bring mine. Remember, it’s all about creating simple comfort and making memories that will last a lifetime. Now go, make your own version of this satisfying Christmas Lights Cookies and let your family enjoy every single bite! You got this, Mama!
Christmas Lights Cookies
These adorable Christmas Lights Cookies are perfect for the holidays! Soft sugar cookies are decorated with colorful icing and edible lights for a festive treat everyone will love.
- Prep Time: 30 minutes
- Cook Time: 10 minutes
- Total Time: 40 minutes
- Yield: 24 cookies
- Category: Dessert
- Method: Baked
- Cuisine: American
Ingredients
- 1 cup (2 sticks) unsalted butter, softened
- 1 1/2 cups granulated sugar
- 2 large eggs
- 1 teaspoon vanilla extract
- 3 cups all-purpose flour
- 1 teaspoon baking powder
- 1/2 teaspoon salt
- Royal icing (prepared or homemade)
- Edible Christmas light sprinkles or candies
- Gel food coloring (various colors)
Instructions
- In a large bowl, cream together the butter and sugar until light and fluffy.
- Beat in the eggs one at a time, then stir in the vanilla.
- In a separate bowl, whisk together the flour, baking powder, and salt.
- Gradually add the dry ingredients to the wet ingredients, mixing until just combined.
- Divide the dough in half, flatten each half into a disc, wrap in plastic wrap, and refrigerate for at least 1 hour.
- Preheat oven to 375°F (190°C). Line baking sheets with parchment paper.
- On a lightly floured surface, roll out the dough to 1/4 inch thickness. Use Christmas cookie cutters to cut out shapes.
- Place cookies on prepared baking sheets and bake for 8-10 minutes, or until edges are lightly golden.
- Let cookies cool on baking sheets for a few minutes before transferring to a wire rack to cool completely.
- Prepare royal icing according to package directions or your favorite recipe. Divide icing into several bowls and tint with gel food coloring.
- Decorate the cookies with icing and Christmas light sprinkles or candies. Let icing set completely before serving.
Notes
For a richer flavor, add a pinch of almond extract to the dough. You can also use store-bought sugar cookie dough for a quicker option.