Okay, here we go! Let’s chat about the most comforting, surprisingly simple dessert that’s become a total staple in our house: Burnt Honey Pie. I know, I know, “burnt” doesn’t exactly sound appetizing. But trust me, this Burnt Honey Pie is pure magic. The slightly caramelized honey flavor takes this burnt honey pie to a whole new level of cozy, and my family absolutely devours it.
I remember being so intimidated the first time I tried to make this Burnt Honey Pie. I thought, “Burnt? That sounds complicated!” But honestly, it’s one of the easiest pies I make. What started as a slightly experimental bake has become a serious comfort food win, especially on those chaotic weeknights when we all need a little something sweet.
My daughter, Lily, is my biggest fan of this burnt honey pie. She says it tastes like sunshine and rainbows. It’s the perfect dessert to end a long day.
This Burnt Honey Pie has become a go-to in my kitchen. And it’s exactly why I started MommiesMore – to share sanity-saving comfort food recipes that are actually achievable for busy moms like us!
So, grab your aprons, fellow comfort seekers! Let’s bake some magic together. This Burnt Honey Pie will bring comfort to your table, too.
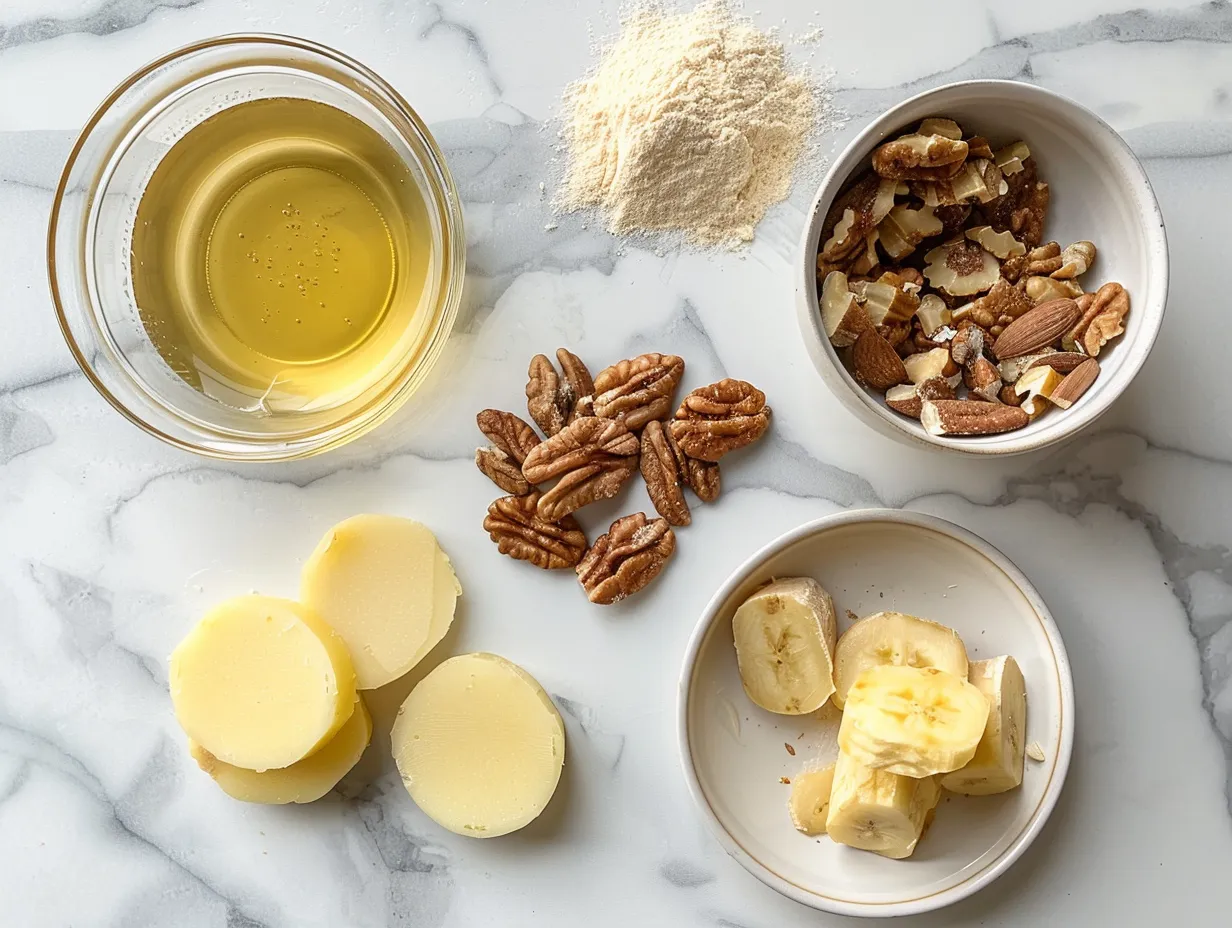
INGREDIENTS You’ll Need
Here’s what you need to make this delicious Burnt Honey Pie. Don’t worry, the ingredient list is short and sweet because, let’s be honest, busy moms need comfort without complexity!
- 1 pre-made pie crust: Save yourself some time and grab one from the store!
- 1 cup heavy cream: This is what makes the honey custard pie so creamy.
- ½ cup honey: Use a good quality honey, you can find these simple ingredients at your regular grocery store
- 3 large eggs: Adds richness and structure to the filling.
- ¼ cup granulated sugar: Adds sweetness to the honey custard pie.
- 2 tablespoons unsalted butter, melted: Adds a little richness and helps the pie crust brown.
- 1 teaspoon vanilla extract: Enhances the flavor of the honey.
- Pinch of sea salt: Balances the sweetness and brings out the flavors.
And guess what? This Burnt Honey Pie proves delicious doesn’t mean expensive or complicated! I usually have all these ingredients on hand, which makes it easy to whip up whenever the craving strikes. My family gets extra comfort when I add a dash of cinnamon to the filling, especially during the fall.
If you don’t have vanilla extract, a little almond extract can add a warm, nutty flavor.
Let’s Make it Happen!
Alright, let’s dive into making this dreamy Burnt Honey Pie. I promise, it’s easier than you think!
- Preheat your oven to 350°F (175°C). Get that oven nice and warm, ready to bake some comforting goodness.
- Place your pie crust in a pie dish. If you’re using a store-bought crust, just unroll it and gently press it into the dish.
- In a saucepan, combine the heavy cream and honey. Heat over medium heat, stirring occasionally, until the honey dissolves and the mixture is heated through. You want the honey to cook so that it caramelizes into a burnt sugar pie.
- Remove from heat and let it cool slightly. This is perfect time to prep tomorrow’s lunch!
- In a separate bowl, whisk together the eggs, sugar, melted butter, vanilla extract, and salt. Whisk until smooth.
- Slowly drizzle the warm honey mixture into the egg mixture, whisking constantly. This is important to prevent the eggs from scrambling!
- Pour the filling into the prepared pie crust. Be careful not to overfill it!
- Bake for 45-55 minutes, or until the filling is set around the edges but still slightly jiggly in the center. Don’t worry if your Burnt Honey Pie looks a little wobbly when you take it out; it will firm up as it cools. Your Burnt Honey Pie should smell amazing by now!
- Let the pie cool completely before slicing and serving. This is the hardest part, I know! This gives the honey custard pie time to set.
In my busy kitchen, this comforting Burnt Honey Pie usually takes about an hour from start to finish. Here’s where I used to struggle with my Burnt Honey Pie– learn from my experience! I was always impatient and tried to slice it while it was still warm, resulting in a gooey mess. Now I know the importance of letting it cool completely.
While your Burnt Honey Pie is cooking, take a moment to appreciate creating comfort for your family!
How We Love to Eat This!
Okay, now for the best part: eating this delicious Burnt Honey Pie!
The kids devour this comforting Burnt Honey Pie when I serve it with a scoop of vanilla ice cream. A dollop of whipped cream and a sprinkle of cinnamon also work wonders! My husband loves it with a strong cup of coffee.
This Burnt Honey Pie is perfect for those busy weeknights when we need comfort food fast! It’s also great for potlucks or family gatherings. I even made it for Thanksgiving last year, and it was a huge hit!
I’ve also tried making this pie with different types of honey. My family says that wildflower honey adds a delicious floral note.
For presentation, I like to dust the top of the pie with powdered sugar or drizzle it with a little extra honey. A few fresh berries on top also add a pop of color.
And if you happen to have any leftovers (which is rare in our house!), they’re delicious straight from the fridge.
This Burnt Honey Pie reminds me of another family favorite, Hot Honey Mozzarella Eggs. If your kids love this hearty recipe, they’ll go crazy for this pie!
FAQs: Your Questions Answered
I know you probably have some questions about this Burnt Honey Pie, so let’s get to them!
Q: Is this Burnt Honey Pie really filling enough for growing kids?
A: Absolutely! The honey custard pie is rich and satisfying.
Q: What if my picky eater won’t try this Burnt Honey Pie?
A: Start by offering them a small slice with a scoop of ice cream or whipped cream. The sweetness might just win them over! You could also tell them it’s a baked honey dessert.
Q: Can I meal prep this Burnt Honey Pie for busy weeks ahead?
A: Yes! You can bake the pie a day or two in advance and store it in the fridge. Just make sure to cover it tightly.
Q: Can I freeze this Burnt Honey Pie?
A: While you can freeze it, the texture of the crust might change slightly.
Q: Can I use a gluten-free pie crust?
A: Absolutely! Just make sure to use a good quality gluten-free crust that you trust.
Q: What kind of honey should I use?
A: I usually use clover honey, but any good quality honey will work. Different types of honey will give the pie a slightly different flavor.
Q: How do I know when the pie is done?
A: The filling should be set around the edges but still slightly jiggly in the center. It will firm up as it cools.
For more simple comfort food ideas for busy families, check out Salted Honey Pie – David Lebovitz.
Final Thoughts
This Burnt Honey Pie is more than just a dessert; it’s a symbol of comfort, love, and family. It’s a reminder that even on the busiest of days, we can still create moments of joy and connection around the table.
My Burnt Honey Pie Comfort Hacks:
- Use a store-bought crust to save time.
- Add a dash of cinnamon or nutmeg for extra warmth.
- Serve it with a scoop of ice cream or whipped cream for the ultimate comfort.
Here are a few family-tested Burnt Honey Pie variations:
- Salted Honey Pie: Add a sprinkle of sea salt to the top of the pie before baking for a salty-sweet treat. Check out this Salted Honey Pie! (Recipe in Comments!)
- Burnt Honey Tart: Use a tart pan instead of a pie dish for a more elegant presentation. You can find inspiration at Burnt Honey Tart – by Edd Kimber – The Boy Who Bakes
- Spiced Honey Pie: Add a pinch of ginger, cloves, or cardamom to the filling for a warm, aromatic twist.
My daughter, Lily, loves the salted honey version, while my husband prefers the classic. And me? I love them all!
I hope this Burnt Honey Pie brings as much joy and comfort to your family as it has to mine. Remember, cooking is about connection, not perfection.
So, go ahead and give this satisfying Burnt Honey Pie a try. You got this, mama! 💕
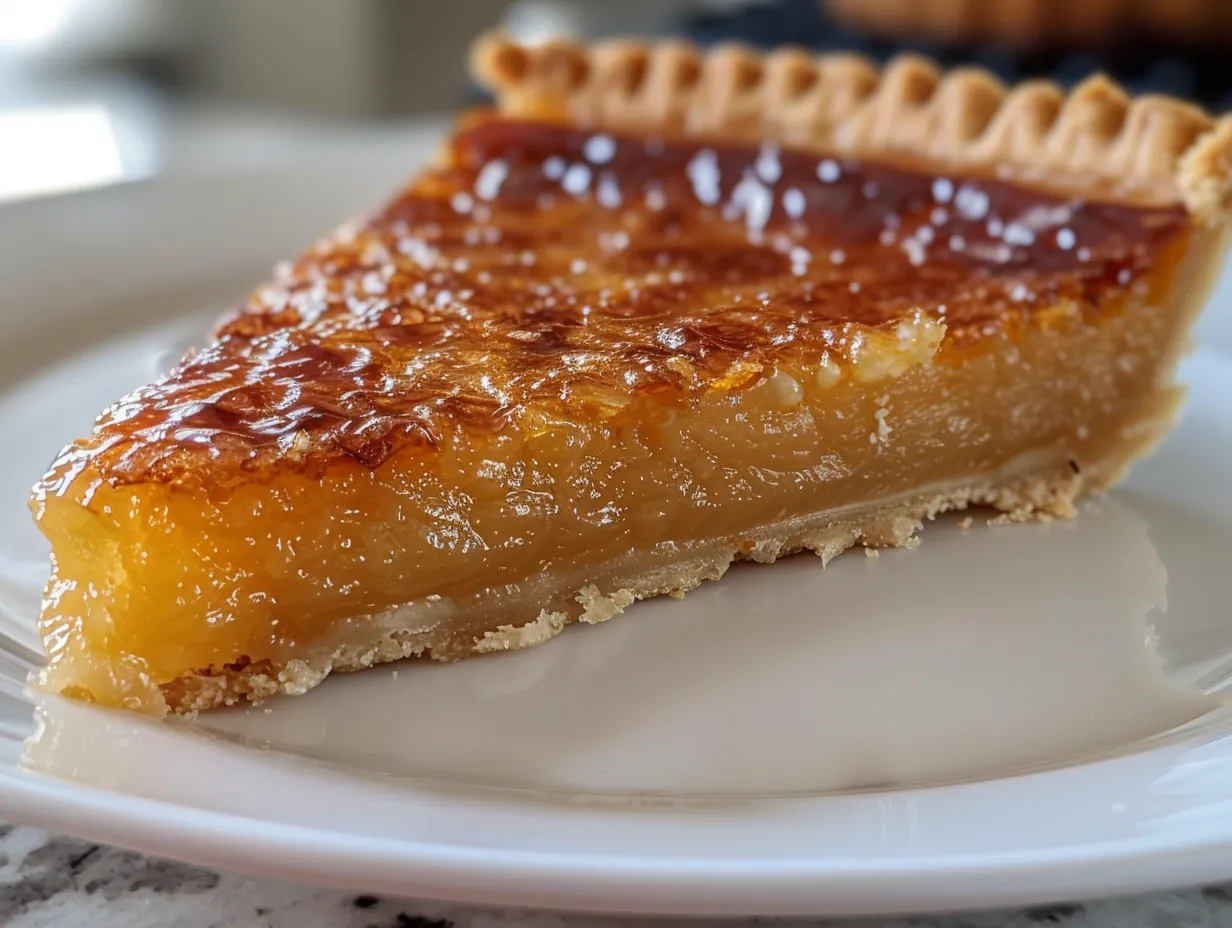
Burnt Honey Pie
This Burnt Honey Pie features a deeply flavorful, caramelized honey filling with a hint of smokiness, baked in a flaky pie crust. It’s a unique and delicious dessert that’s sure to impress!
- Prep Time: 30 minutes
- Cook Time: 40 minutes
- Total Time: 1 hour 10 minutes
- Yield: 8 servings
- Category: Dessert
- Method: Baked
- Cuisine: American
Ingredients
- 1 1/4 cups all-purpose flour, plus more for dusting
- 1/2 teaspoon salt
- 1/2 cup (1 stick) cold unsalted butter, cut into cubes
- 1/4 cup cold vegetable shortening, cut into cubes
- 5-7 tablespoons ice water
- 1 cup heavy cream
- 1/2 cup honey
- 1/4 cup granulated sugar
- 1/4 teaspoon salt
- 3 large egg yolks
- 1 tablespoon cornstarch
- 1 teaspoon vanilla extract
Instructions
- Make the crust: In a large bowl, whisk together the flour and salt. Cut in the butter and shortening using a pastry blender or your fingers until the mixture resembles coarse crumbs.
- Gradually add ice water, 1 tablespoon at a time, mixing until the dough just comes together. Form the dough into a disc, wrap in plastic wrap, and refrigerate for at least 30 minutes.
- On a lightly floured surface, roll out the dough to a 12-inch circle. Transfer to a 9-inch pie plate. Trim and crimp the edges.
- Make the filling: Preheat oven to 375°F (190°C). In a medium saucepan, combine the heavy cream, honey, sugar, and salt. Cook over medium heat, stirring occasionally, until the mixture comes to a simmer and the honey starts to caramelize slightly (about 8-10 minutes). Be careful not to burn it.
- In a separate bowl, whisk together the egg yolks and cornstarch until smooth. Gradually whisk in a small amount of the hot cream mixture to temper the eggs. Then, pour the egg yolk mixture into the saucepan with the remaining cream mixture.
- Cook over medium-low heat, stirring constantly, until the filling thickens (about 2-3 minutes). Remove from heat and stir in the vanilla extract.
- Pour the filling into the prepared pie crust. Bake for 30-35 minutes, or until the crust is golden brown and the filling is set but still slightly jiggly in the center.
- Let the pie cool completely on a wire rack before serving.
Notes
Serve chilled or at room temperature. A dollop of whipped cream or a scoop of vanilla ice cream makes a delicious addition!