Okay, let’s talk about a Halloween treat that’s both spooky and comforting: Halloween Whoopie Pies Treat! I remember the first time I made these. My youngest declared they looked like monster mouths, and suddenly everyone was fighting over the “best-looking” monster. It was such a fun way to add a little bit of comfort and laughter to our Halloween celebrations.
These aren’t your average bake-sale cookies; they’re soft, cakey, and filled with a sweet, creamy surprise. They’ve become a staple in our house, and I’m excited to share my sanity-saving version with you. This Halloween Whoopie Pies Treat brings a little magic to mealtime.
Are you a busy mom looking for a simple way to add a little comfort to your Halloween season? Then keep reading. You’ll find that this Halloween Whoopie Pies Treat is a home run for your family. Let’s bring some cozy chaos into the kitchen together.
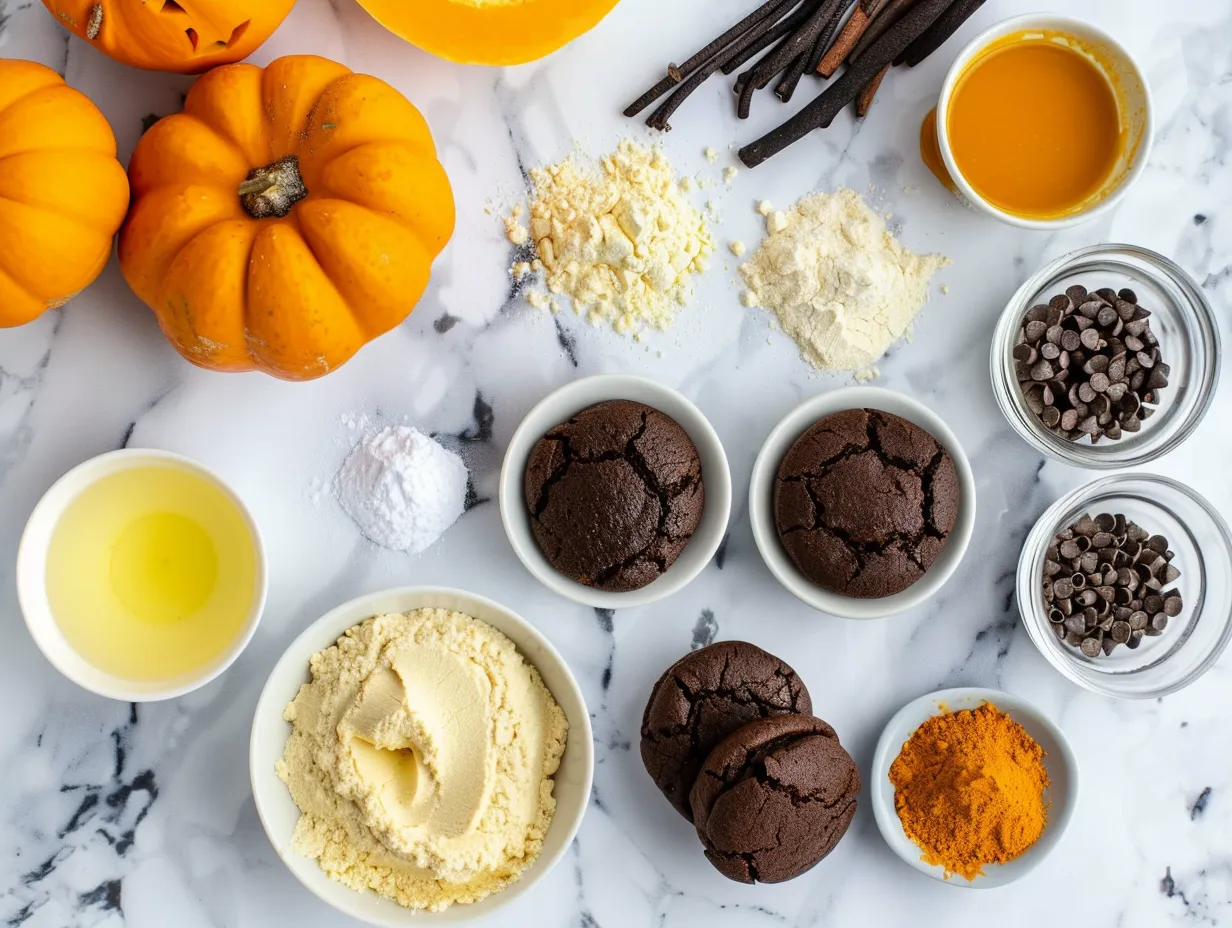
INGREDIENTS You’ll Need:
Here’s what you need to whip up these fun Halloween Whoopie Pies Treat. Don’t worry, you probably already have most of these ingredients in your pantry.
- 2 cups all-purpose flour: This is the foundation of our cakey pies.
- 1 teaspoon baking soda: This gives the pies a lift and a tender crumb.
- 1/2 teaspoon salt: Enhances the sweetness and balances the flavors.
- 1/2 cup unsweetened cocoa powder: For that rich, chocolatey goodness in chocolate Halloween whoopie pies Halloween.
- 1 cup granulated sugar: Adds sweetness and helps keep the pies moist.
- 1/2 cup (1 stick) unsalted butter, softened: Adds richness and flavor. No worries if you only have salted, though! I use it all the time.
- 1 cup milk: You can use whatever milk you have on hand. My family loves it with whole milk!
- 1 teaspoon vanilla extract: A touch of vanilla brings out all the other flavors.
- 1 large egg: Binds everything together.
- For the filling:
- 1 cup (2 sticks) unsalted butter, softened: The base of our creamy filling.
- 4 cups powdered sugar: For sweetness and structure.
- 1 teaspoon vanilla extract: Adds a touch of flavor to the filling.
- 1/4 cup milk: To achieve the perfect consistency.
- Orange food coloring (optional): To make it extra spooky!
Trust me, this Halloween Whoopie Pies Treat ingredient list is simple because busy moms need comfort without complexity! You can find these simple ingredients at your regular grocery store. This Halloween Whoopie Pies Treat proves delicious doesn’t mean expensive. My family gets extra comfort when I add a dash of cinnamon to the filling.
Let’s Make it Happen!
Ready to get started? These Halloween Whoopie Pies Treat are easier than you think. Let’s tackle it one step at a time.
- Preheat and Prep: Preheat your oven to 375°F (190°C). Line baking sheets with parchment paper or silicone mats. This makes cleanup a breeze!
- Combine Dry Ingredients: In a medium bowl, whisk together the flour, baking soda, salt, and cocoa powder. Make sure there are no lumps!
- Cream Butter and Sugar: In a separate large bowl, cream together the softened butter and sugar until light and fluffy. This usually takes about 3-5 minutes.
- Add Wet Ingredients: Beat in the egg and vanilla extract. Mix well.
- Alternate Wet and Dry: Gradually add the dry ingredients to the wet ingredients, alternating with the milk. Begin and end with the dry ingredients. Mix until just combined. Do not overmix!
- Drop by Spoonfuls: Drop rounded tablespoons of batter onto the prepared baking sheets, leaving about 2 inches between each. This is where the magic happens!
- Bake: Bake for 8-10 minutes, or until the pies spring back lightly when touched. Don’t worry if your Halloween Whoopie Pies Treat looks a little puffy at first; they’ll flatten as they cool.
- Cool Completely: Let the pies cool on the baking sheets for a few minutes before transferring them to a wire rack to cool completely. This is the perfect time to prep tomorrow’s lunch!
- Make the Filling: While the pies are cooling, make the filling. In a large bowl, cream together the softened butter and powdered sugar until light and fluffy. Beat in the vanilla extract and milk until smooth. Add orange food coloring, if desired.
- Assemble the Pies: Once the pies are completely cool, spread a generous amount of filling on the flat side of one pie and top with another pie, flat side down.
- Chill and Serve: Refrigerate the assembled Halloween Whoopie Pies Treat for at least 30 minutes before serving. This helps the filling set up and makes them easier to handle.
Here’s where I used to struggle with my Halloween Whoopie Pies Treat – I would always overbake them. Learn from my experience and check them early! In my busy kitchen, this comforting Halloween Whoopie Pies Treat usually takes about 20 minutes total to prepare. While your Halloween Whoopie Pies Treat is cooking, take a moment to appreciate creating comfort for your family! Your Halloween Whoopie Pies Treat should smell amazing by now.
If you want to try a variation of the recipe, you can check out Halloween Whoopie Pies – Delicious Little Bites.
How We Love to Eat This!
My kids devour this comforting Halloween Whoopie Pies Treat when I serve it with a glass of cold milk. These are the perfect Halloween dessert ideas for a family gathering or a spooky movie night. They’re also great for packing in school lunches as a special treat.
For a fun presentation, try adding candy eyeballs to the filling before topping with the other pie. You can also dust the finished pies with powdered sugar for a snowy effect. We love to make spooky whoopie pies!
Leftover Halloween Whoopie Pies Treat can be stored in an airtight container in the refrigerator for up to 3 days. I’ve even frozen them before, and they thaw beautifully. If you like that idea, you might like these ghost mini taco pies, so be sure to check it out!
This Halloween Whoopie Pies Treat is perfect for those busy weeknights when we need comfort food fast! Friends always ask for the recipe when I bring these to potlucks. Another variation is adding pumpkin spice to the chocolate batter to make pumpkin whoopie pies Halloween.
FAQs: Your Questions Answered
Got questions? I’ve got answers! Here are some common concerns about these Halloween Whoopie Pies Treat from fellow busy moms.
- Is this Halloween Whoopie Pies Treat really filling enough for growing kids? Absolutely! The cakey pies and creamy filling provide a good balance of carbohydrates and fats to keep them satisfied.
- What if my picky eater won’t try this Halloween Whoopie Pies Treat? Try letting them help you make them! Kids are more likely to try something they’ve helped create. You can also add sprinkles or other fun toppings to make them more appealing.
- Can I meal prep this Halloween Whoopie Pies Treat for busy weeks ahead? Yes! You can bake the pies ahead of time and store them in an airtight container. Make the filling just before assembling to keep it fresh.
- Can I make these gluten-free? Yes, substitute the all-purpose flour with a gluten-free all-purpose blend.
- Can I reduce the sugar content? You can reduce the sugar in both the pies and the filling by about 1/4 cup each without significantly affecting the taste or texture.
- How do I prevent the pies from spreading too much while baking? Make sure your butter is not too soft when creaming it with the sugar. Also, avoid overmixing the batter.
- What if my filling is too runny? Add more powdered sugar, a tablespoon at a time, until it reaches the desired consistency.
I know that I often get asked about my inspiration for the Halloween whoopie pie recipe. I originally learned it from my grandma and then I tweaked it over time to get my recipe.
If you are a fan of other Halloween Treats, you might like Halloween Whoopie Pies – Cookies for Days. And if you really want to get creative, check out Halloween whoopie pies {soft chocolate sandwich cookies} – It’s …
Final Thoughts:
This Halloween Whoopie Pies Treat supports my family’s comfort food goals because it’s a fun, festive, and relatively simple treat that everyone enjoys. It’s also a great way to get the kids involved in the kitchen!
My Halloween Whoopie Pies Treat Comfort Hacks:
- Use store-bought frosting: In a pinch, use store-bought frosting for the filling to save time.
- Add sprinkles: Add Halloween-themed sprinkles to the filling or on top of the pies for extra flair.
- Make mini pies: Use a smaller cookie scoop to make mini whoopie pies, perfect for little hands.
Family-Tested Variations:
- Peanut Butter Filling: Replace half of the butter in the filling with peanut butter for a delicious twist. My son loves this version!
- Mint Chocolate: Add a few drops of peppermint extract to the filling for a refreshing mint chocolate flavor.
- Pumpkin Spice: Add pumpkin pie spice to the cake batter and the filling for a festive fall treat.
Remember, these are YOUR Halloween Whoopie Pies Treat now! Make them your own way, and don’t be afraid to experiment with flavors and decorations. For more simple comfort food ideas for busy families, check out these loaded cream cheese Halloween brownies.

I hope your family enjoys these Halloween Whoopie Pies Treat as much as mine does. They are a simple, comforting way to celebrate the season and create lasting memories. I’m sure you’ll love these Halloween Swirl Oreo Cream Cheese Brownies too! Happy baking! You got this!
Halloween Whoopie Pies Treat

These Halloween Whoopie Pies are a spooky and delicious treat, perfect for parties or a fun baking project. Soft, cake-like cookies filled with a sweet and creamy frosting, decorated for the holiday!
- Prep Time: 25 minutes
- Cook Time: 10 minutes
- Total Time: 35 minutes
- Yield: 12 whoopie pies
- Category: Dessert
- Method: Baked
- Cuisine: American
Ingredients
- For the Cookies:
- 2 1/2 cups all-purpose flour
- 1/2 cup unsweetened cocoa powder
- 1 1/2 teaspoons baking soda
- 1/2 teaspoon baking powder
- 1/2 teaspoon salt
- 1 cup granulated sugar
- 1/2 cup (1 stick) unsalted butter, softened
- 1/2 cup vegetable shortening
- 2 large eggs
- 1 teaspoon vanilla extract
- 1 cup buttermilk
- 1 cup hot coffee
- For the Filling:
- 1 cup (2 sticks) unsalted butter, softened
- 4 cups powdered sugar
- 1 teaspoon vanilla extract
- 1/4 cup milk
- Orange and Black food coloring
- Sprinkles for decoration
Instructions
- Make the Cookies: Preheat oven to 375°F (190°C). Line baking sheets with parchment paper.
- In a large bowl, whisk together the flour, cocoa powder, baking soda, baking powder, and salt.
- In a separate bowl, cream together the sugar, butter, and shortening until light and fluffy. Beat in the eggs one at a time, then stir in the vanilla extract.
- Gradually add the dry ingredients to the wet ingredients, alternating with the buttermilk, beginning and ending with the dry ingredients. Beat until just combined.
- Stir in the hot coffee until smooth.
- Drop rounded tablespoons of batter onto the prepared baking sheets, leaving space between each cookie.
- Bake for 8-10 minutes, or until the cookies spring back when lightly touched.
- Let the cookies cool on the baking sheets for a few minutes before transferring them to a wire rack to cool completely.
- Make the Filling: In a large bowl, beat the butter until light and fluffy.
- Gradually add the powdered sugar, beating until smooth. Stir in the vanilla extract and milk.
- Divide the filling into two bowls. Add orange food coloring to one bowl and black to the other.
- Assemble the Whoopie Pies: Spread a generous amount of frosting on the flat side of one cookie. Top with another cookie, flat side down, to form a sandwich.
- Roll the edges of the whoopie pies in sprinkles, if desired.
- Refrigerate for at least 30 minutes before serving.
Notes
For a richer flavor, use dark chocolate cocoa powder. Store leftover whoopie pies in an airtight container in the refrigerator.