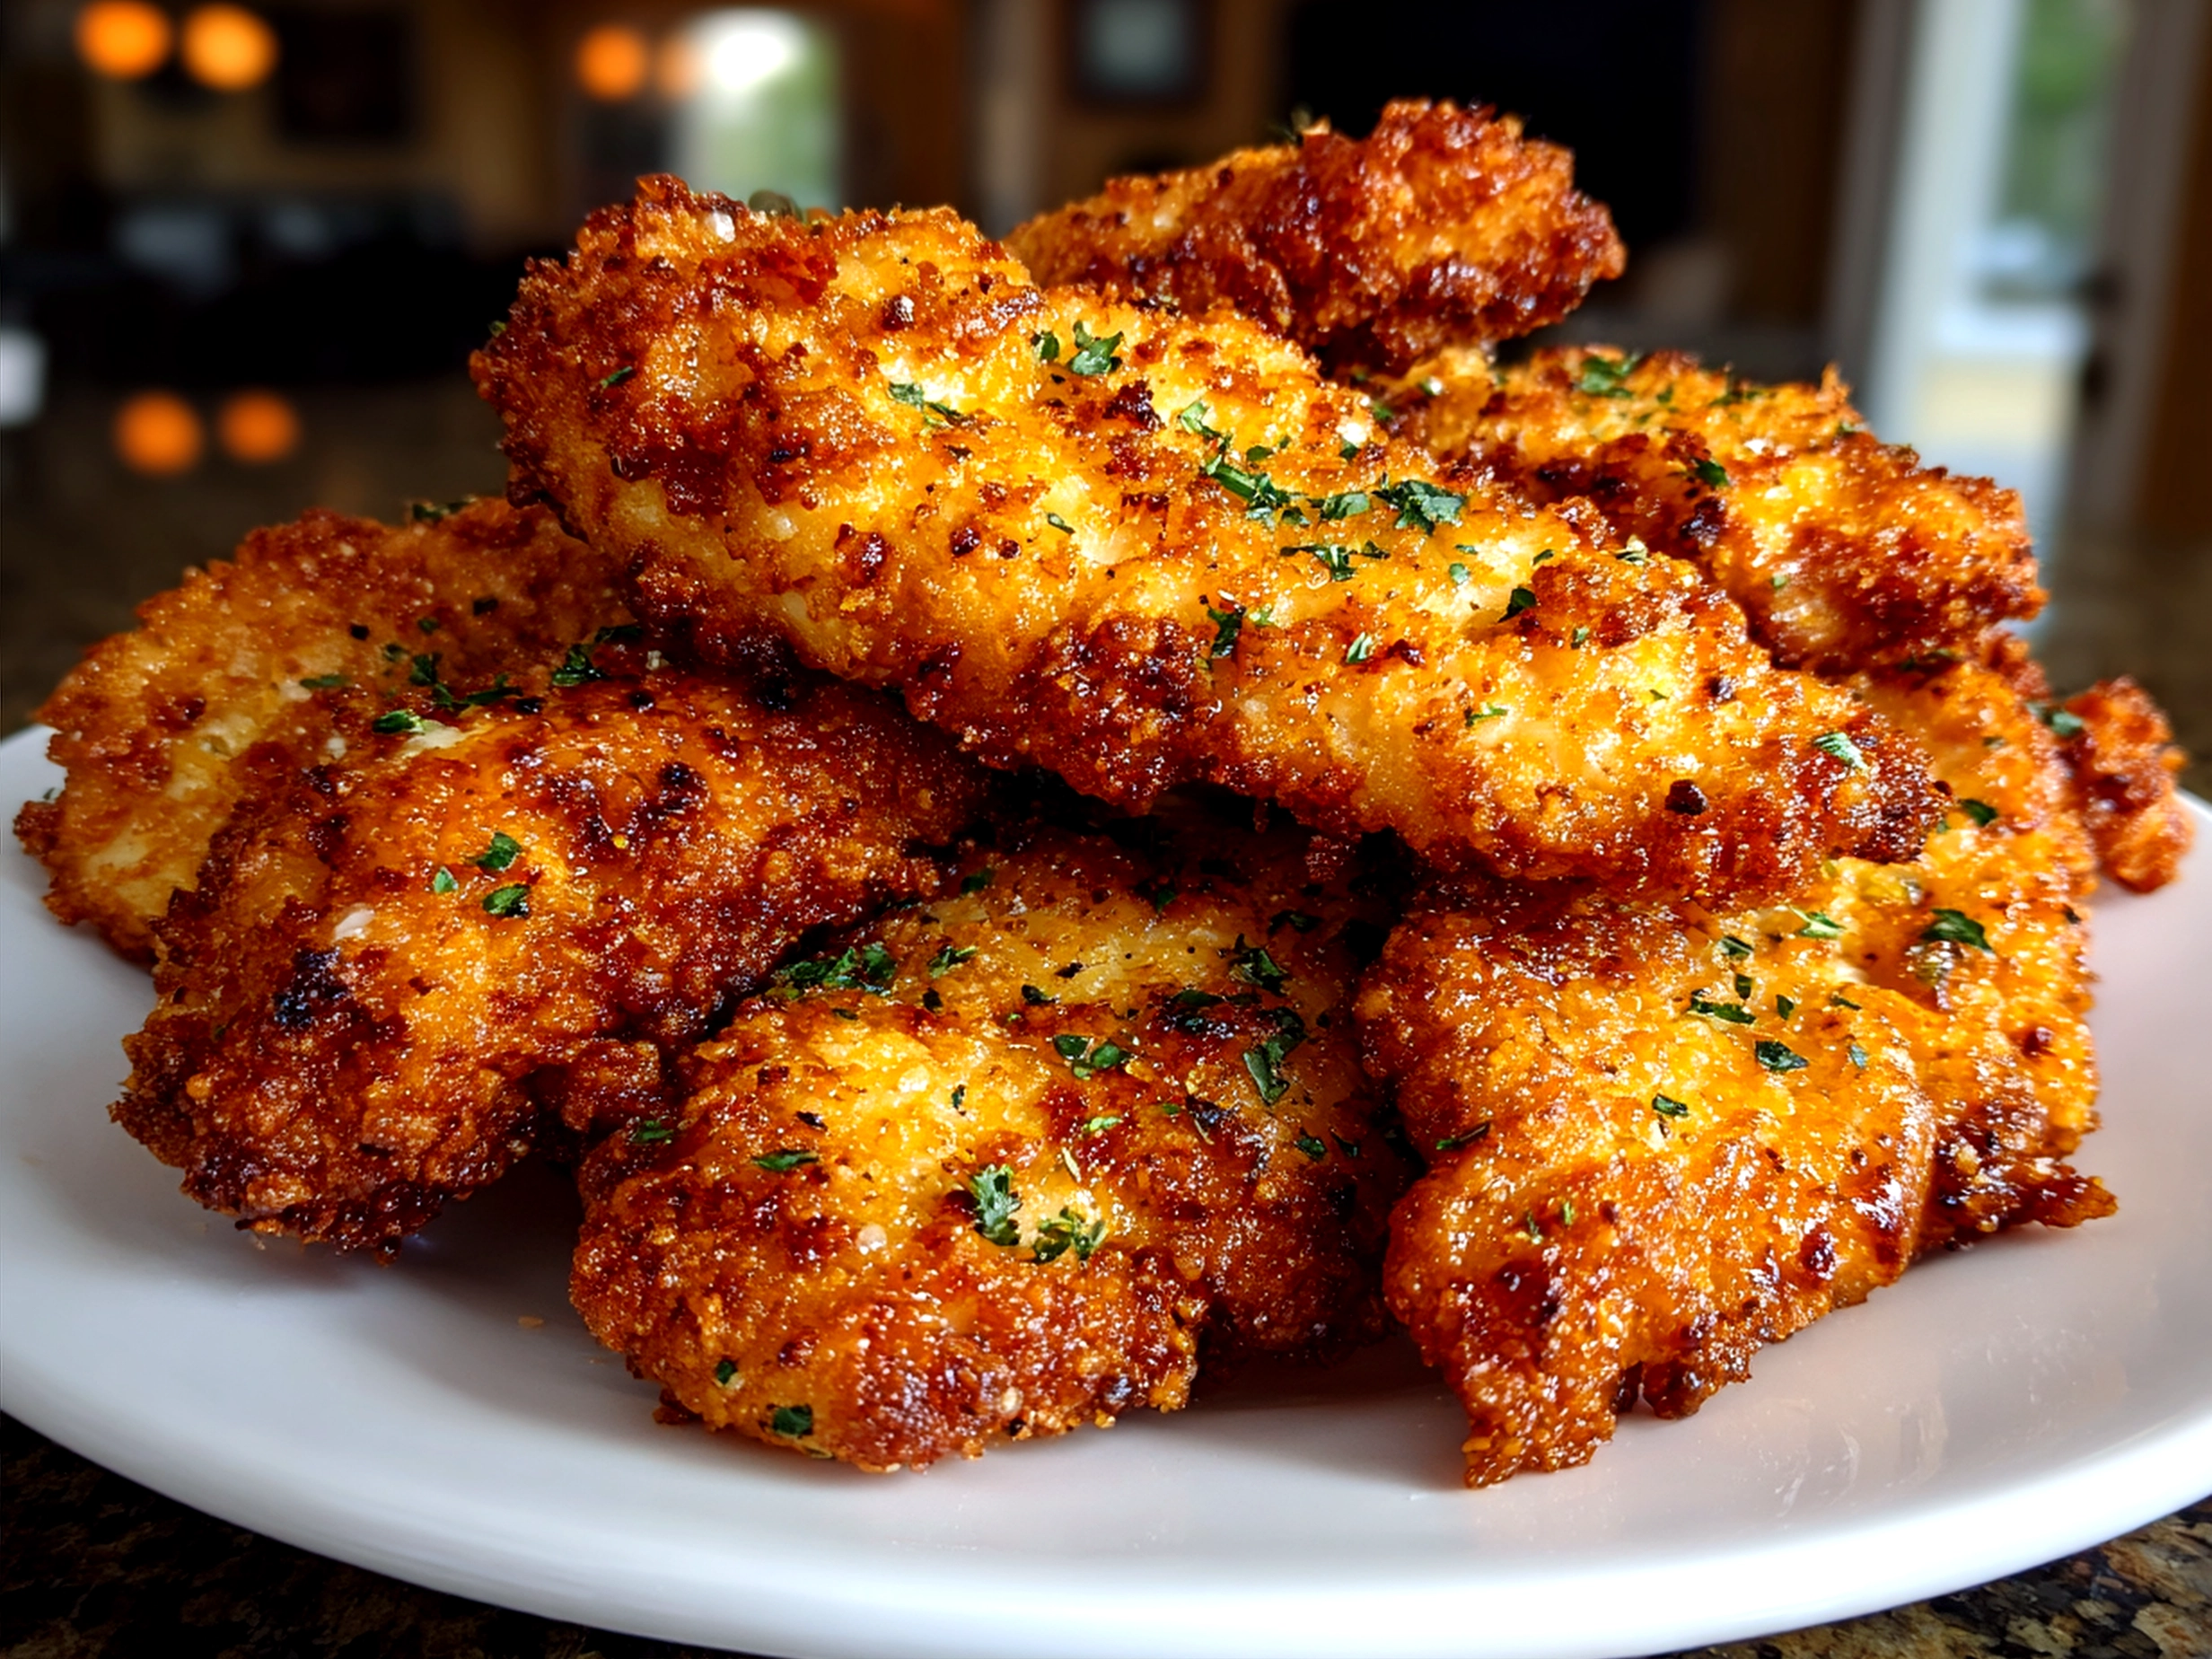
I still remember the first time I made chicken tenders for my crew. Those crispy chicken strips weren’t just dinner; they became a cozy comfort blanket for my family’s busy evenings. Honestly, it started because my little ones were picky eaters who found most dinners overwhelming. I wanted something simple, tasty, and most importantly, something that brought smiles without adding stress to my kitchen chaos. When I finally nailed a homemade chicken tenders recipe that my family loved, it felt like a small victory in my journey of feeding my crew well without losing my mind.
After a few tries, I learned the beauty of combining textures and flavors that appealed to everyone—even my husband, who’s known for his “tender critic” taste buds. Those fried chicken tenders with their golden crunch and juicy insides became a weekly staple, comforting us all in different ways. It wasn’t about fancy ingredients but about creating a meal that felt like a hug after a long day.
If you’re juggling homework, work, and all the everyday madness, this chicken tenders recipe might be just the comfort hack you need. It’s flexible, forgiving, and totally doable for busy families who want simple dinners everyone can enjoy. Trust me, you’ll want to keep these chicken tenders in your meal rotation—they bring more than just food to the table, they bring a little peace to the “cozy chaos” we call family life!
Ingredients You’ll Need:

- 1 lb chicken tenderloins (easy to find pre-trimmed at your regular grocery store)
- 1 cup all-purpose flour (for that crispy coating; swap with gluten-free flour for a special touch or check out my gluten-free chicken tenders recipe for more options)
- 2 large eggs (for binding the coating with the chicken tenders)
- 1 cup panko breadcrumbs (this gives that perfect crunch; use regular breadcrumbs if you’re on a budget—still delicious!)
- 1 teaspoon garlic powder (adds warmth and a homey flavor)
- 1 teaspoon paprika (smoky comfort in every bite)
- ½ teaspoon salt (bring out the flavors)
- ½ teaspoon black pepper
- Cooking oil (for frying, or spray if you’re baking)
No worries if you don’t have panko breadcrumbs—you can crush some cornflakes for an extra comforting crunch on your chicken tenders. My family loves it when I add a pinch of dried oregano in the breading mix—it’s a little twist that elevates our dinnertime comfort every single time. These ingredients are easy to keep on hand, saving busy moms both time and stress.
Let’s Make it Happen!
- Prep your chicken tenders by patting them dry with paper towels. This simple step helps the coating stick better and keeps the chicken tenders crispy!
- Set up your breading station: In one bowl, combine the flour, garlic powder, paprika, salt, and pepper. In the second bowl, whisk the eggs. In the third bowl, place your panko breadcrumbs.
- Dredge each chicken tenderloin in the flour mix, shaking off any excess. Then dip it in the eggs, and finally coat it well with the panko breadcrumbs. Trust me, this three-step breading method is the key to crispy chicken strips that your family will adore.
- For frying: Heat about ½ inch of oil in a sturdy skillet over medium heat until hot but not smoking. Cook the chicken tenders in batches for about 3-4 minutes on each side or until golden and cooked through. Your kitchen will start smelling like comfort in no time!
- For baking: Preheat your oven to 425°F. Place your breaded chicken tenders on a baking sheet lined with parchment paper. Spray the tops with cooking spray for extra crispiness. Bake for 15-20 minutes, flipping halfway. You’ll love this baked chicken tenders recipe for less mess and still plenty of crunch! Check out this Truly Crispy Oven Baked Chicken Tenders – RecipeTin Eats for a lifesaver in the kitchen.
- While your chicken tenders cook, use the time to pack school lunches or wipe down the kitchen. That’s a little comfort food win for busy moms juggling a hundred things.
- Check your chicken tenders by slicing one in the thickest part. Make sure it’s no longer pink and juices run clear. If it’s too dark on the outside but still pink, lower your heat next batch and give it a bit more time—it’s a learning curve we all go through!
I used to worry about the breading falling off, but here’s a chicken tenders hack: chilling them for 10 minutes before cooking helps everything stay put. Plus, it’s a nice break for you to breathe while your little chefs settle down.
How We Love to Eat This!
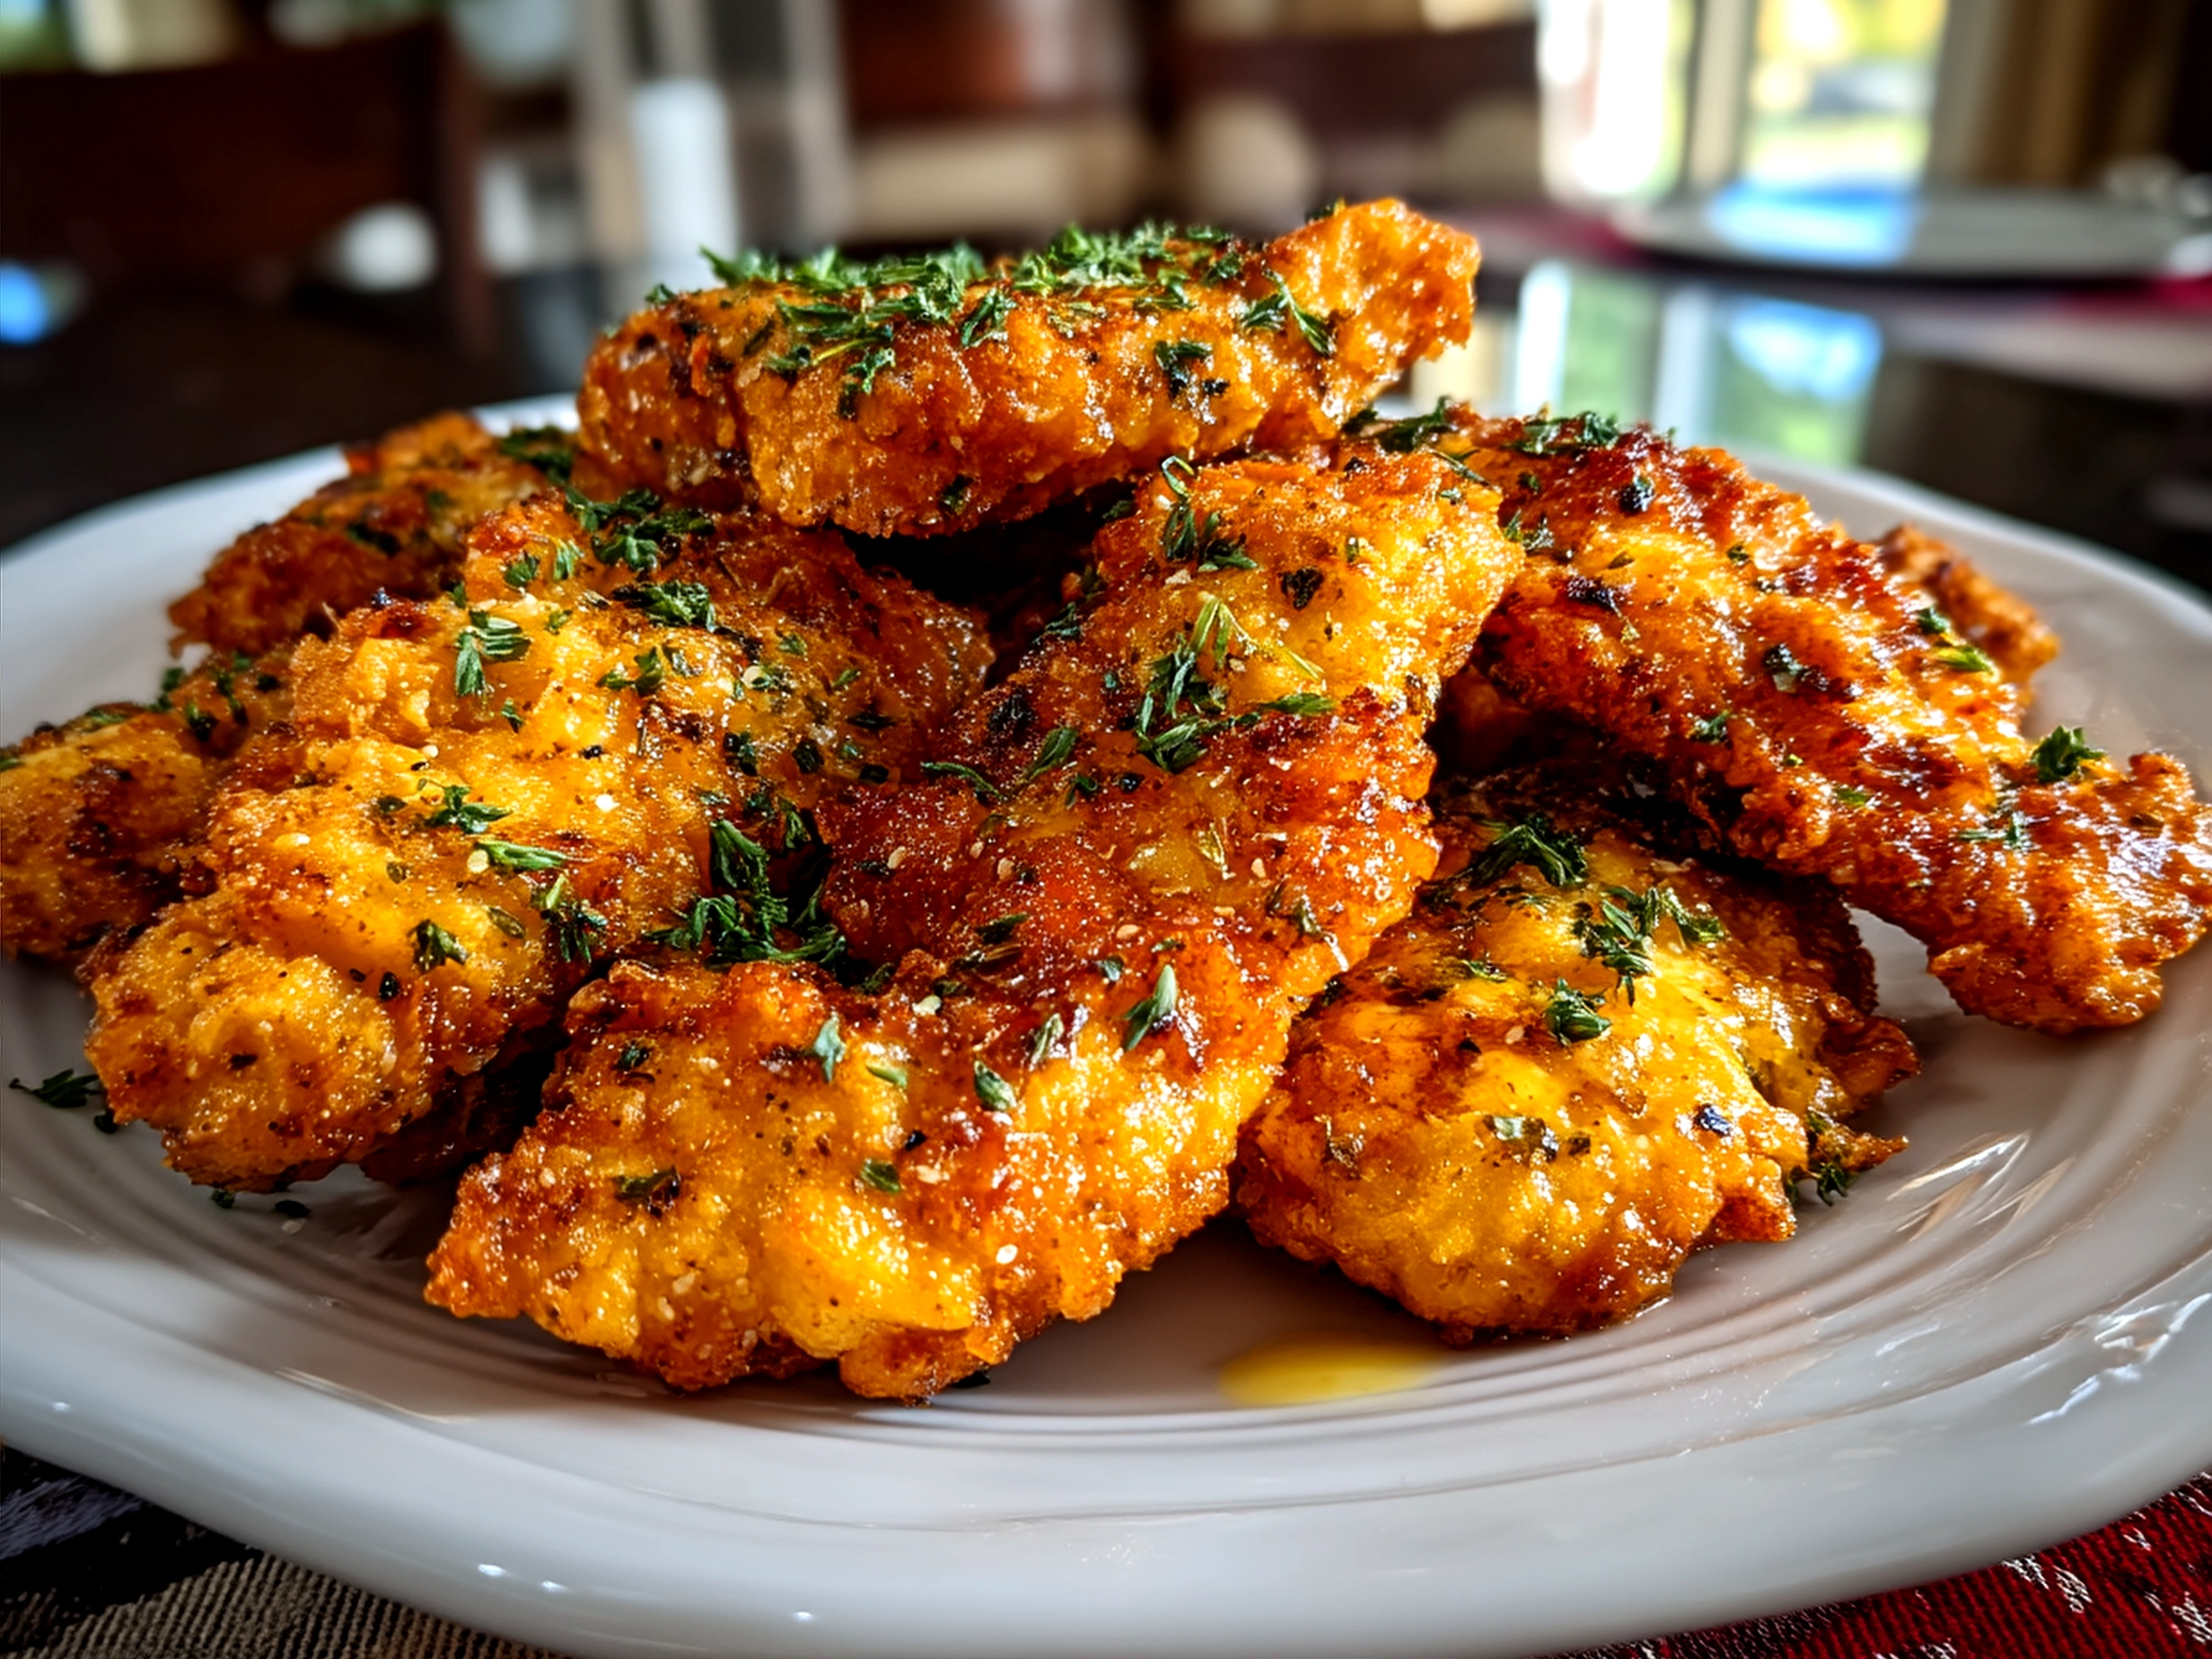
Our family adores these comforting homemade chicken tenders paired with sweet potato fries or a fresh veggie medley. The kids gobble them up when I serve with classic ketchup, but I sometimes sneak in a honey mustard sauce to make them feel extra special.
For those busy weeknights when time is tight, I toss these crispy chicken strips with a quick salad on the side—total dinnertime wins and minimum fuss. Fridays often find us having these chicken tenders with mac and cheese for a cozy, indulgent treat that everyone looks forward to.
Leftovers? Oh yes! These chicken tenders make fantastic sandwiches the next day. Pop them in a warm pita or between slices of bread with lettuce and mayo. My kids love their leftover chicken tenderloin recipes cold or warmed up, especially with a little ranch on the side.
Season-wise, this chicken tenders recipe shines in spring and fall when simple comfort food is best. During those times, I swap panko for crushed cornflakes to give a slight seasonal crunch. When friends come over, they always comment on how irresistibly crispy fried chicken tenders taste—a sure sign this recipe is a keeper!
If you want more family-friendly inspiration, don’t miss my chicken parmesan soup, which pairs perfectly when you crave something warm alongside your chicken tenders.
FAQs: Your Questions Answered
- Is this chicken tenders filling enough for growing kids?
Absolutely. Paired with some wholesome sides like mashed potatoes or steamed veggies, these chicken tenders keep my kids energized through long school days. I sometimes add a little extra protein on the side to satisfy their endless appetites. - What if my picky eater won’t try this chicken tenders?
I totally get it! One comfort hack is to serve these with familiar dips like ketchup or ranch. Sometimes, cutting the chicken tenders into smaller bites makes them less intimidating. If all else fails, I sneak some cheese melted over them—works like magic. - Can I meal prep this chicken tenders for busy weeks ahead?
Yes! Cooked chicken tenders store well in the fridge for about three days. Reheat in the oven or air fryer to revive the crisp. For busy weeks, I double the recipe and freeze portions to grab for quick dinners or after-school snacks—you’re welcome! - Are baked chicken tenders as crispy as fried chicken tenders?
They’re not exactly the same, but oh, they come close! Using panko and spraying them lightly with oil before baking gives you a wonderfully crispy texture without the mess of frying. Perfect for those nights when you need comfort but want less cleanup. Also check out this EXTRA Crispy Oven Baked Chicken Tenders guide. - Can I use chicken breasts instead of tenderloins?
You can, but tenderloins cook quicker and stay juicier, making them perfect for this recipe. If you use breasts, cut them into strips of similar size for even cooking. - How can I make gluten-free chicken tenders?
Swap the all-purpose flour and panko breadcrumbs for gluten-free versions. I love this gluten-free chicken tenders guide for detailed swaps that still deliver great texture and taste. - What sides complement this chicken tenders best?
My family loves these with roasted veggies, mashed potatoes, or a crisp salad. For fun, throw in some mac and cheese or corn on the cob. Your little ones might surprise you with their favorite combos!
For those who love fried versions, Feast and Farm’s Crispy Fried Chicken Tenders is a great read.
Final Thoughts:
This chicken tenders recipe has become a cornerstone in my family’s comfort food cookbook. It hits all the right notes—crispy on the outside, juicy on the inside, and totally doable for busy moms chasing calm through chaos.
Chicken Tenders Comfort Hacks:
– Chill tenders before cooking to keep breading intact
– Use panko or crushed cornflakes for unbeatable crunch
– Make extra to freeze and reheat for quick weeknight meals
Our family tries different versions: the baked chicken tenders for weeknights when I’m low on energy, fried chicken tenders for weekend treats, and a simple grilled version for summer lunches.
My youngest swears by the fried chicken tenders, while my husband loves the baked ones paired with a side salad. It’s proof that simple adjustments make this recipe work for everyone.
I encourage you to try this chicken tenders your way, embrace the cozy chaos, and celebrate those small dinnertime wins. Feeding your family well without overwhelm is possible, and this recipe might just be the comforting companion you’ve been looking for.
Want more nourishing meal ideas to keep your kitchen calm and your family happy? Check out my cozy chili’s chicken enchilada soup recipe for a warm, comforting bowl made with love.
Remember, fellow comfort seekers, good food doesn’t have to be complicated—it just has to bring your family together around the table. Here’s to your next delicious batch of chicken tenders!
Chicken Tenders

Crispy and juicy chicken tenders perfect for a quick and satisfying meal, enjoyed by kids and adults alike.
- Prep Time: 10 minutes
- Cook Time: 10 minutes
- Total Time: 20 minutes
- Yield: 4 servings
- Category: Dinner
- Method: Fried
- Cuisine: American
Ingredients
- 1 lb chicken tenders
- 1 cup all-purpose flour
- 2 large eggs
- 1 cup breadcrumbs
- 1/2 teaspoon salt
- 1/2 teaspoon black pepper
- 1/2 teaspoon paprika
- 1/4 teaspoon garlic powder
- Vegetable oil for frying
Instructions
- In a shallow bowl, mix flour, salt, black pepper, paprika, and garlic powder.
- In a second bowl, beat the eggs.
- Place breadcrumbs in a third bowl.
- Dip each chicken tender into the flour mixture, then into the beaten eggs, and finally coat with breadcrumbs.
- Heat vegetable oil in a skillet over medium heat.
- Fry the chicken tenders for 3-4 minutes on each side until golden brown and cooked through.
- Remove and drain on paper towels before serving.
Notes
For extra crispiness, double-dip the tenders by repeating the egg and breadcrumb steps before frying.