Hey there, fellow comfort seekers! Grab a warm mug – maybe some tea or your favorite coffee – and settle in. Today, I’m bubbling over to share a recipe that truly brought a breath of fresh air and a sprinkle of joy into our cozy chaos: my beloved Cherry Blossom Cookies. These aren’t just any cookies; they’re a tiny, edible hug, a simple reminder that beautiful things can come from our busy kitchens, even when life feels a bit like a tornado in a toy box.
I first stumbled upon the idea for these delicate beauties during a particularly long, gray spring. My kids were bouncing off the walls, school lunches felt repetitive, and honestly, my own energy was dipping lower than a forgotten veggie drawer. I desperately needed something to lift our spirits, something sweet and simple, but also visually enchanting. That’s when I saw a picture of some lovely, pale pink cookies, and the idea of Cherry Blossom Cookies just bloomed in my mind.
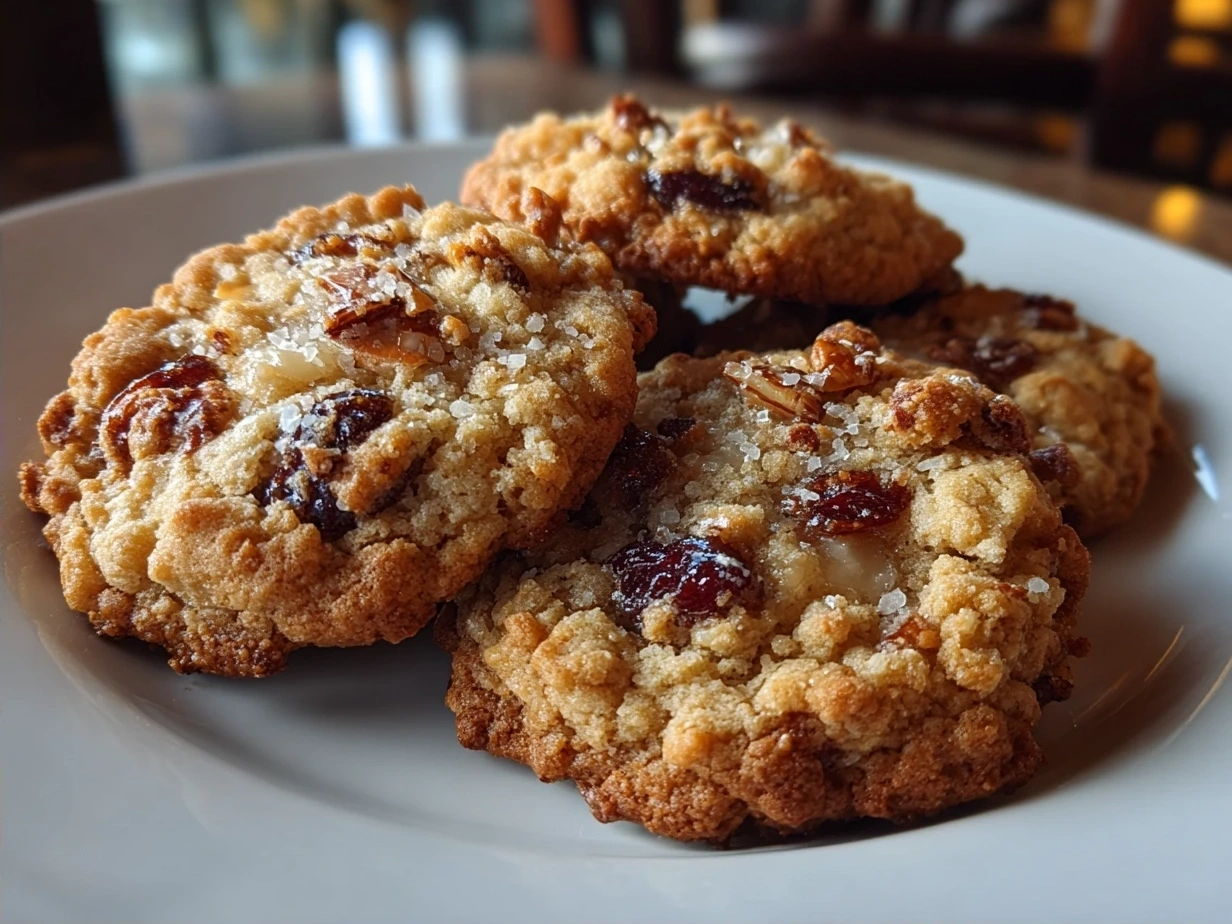
What prompted me to try them was a yearning for simple elegance, a way to bring a bit of outside beauty indoors. I wanted to make something that felt special without adding an ounce of stress to my already full plate. The first time I pulled a tray of these perfect, pale pink Cherry Blossom Cookies from the oven, the smell alone was a comfort. My youngest, who usually needs a sales pitch for anything new, gasped, “Mommy, they’re like little flowers!” Her face lit up, and that, right there, was a dinnertime win.
These Cherry Blossom Cookies quickly became a comfort food win for our family. They’re sweet, buttery, and carry a hint of almond that just sings of spring. It was a beautiful discovery that creating something pretty didn’t have to mean complicated steps or fancy ingredients. It meant connection, a shared smile, and a moment of quiet enjoyment amidst the daily bustle. This simple Sakura cookie recipe transformed a dreary afternoon into a mini celebration, showing me that sometimes, the most profound comfort comes in the smallest, prettiest packages. It truly brought a feeling of warmth and coziness to our table, proving good food can be easy and comforting.
So, if you’re a busy mom like me, looking for simple, satisfying solutions that bring comfort and a little bit of magic to your family’s meals – or even just a sweet treat for yourself – then you’re in the right place. These Cherry Blossom Cookies are a testament to that philosophy. Come on, let’s make some memories and some delicious Cherry Blossom Cookies together!
Ingredients You’ll Need
Okay, sweet friends, let’s gather our ingredients for these delightful Cherry Blossom Cookies. Trust me, this list is simple because busy moms need comfort without complexity! You can find these simple ingredients at your regular grocery store, no special trips needed. We’re all about making life easier, right? This Cherry Blossom Cookies proves delicious doesn’t mean expensive or complicated.
Here’s what you’ll need to create these beautiful Pink spring cookies:
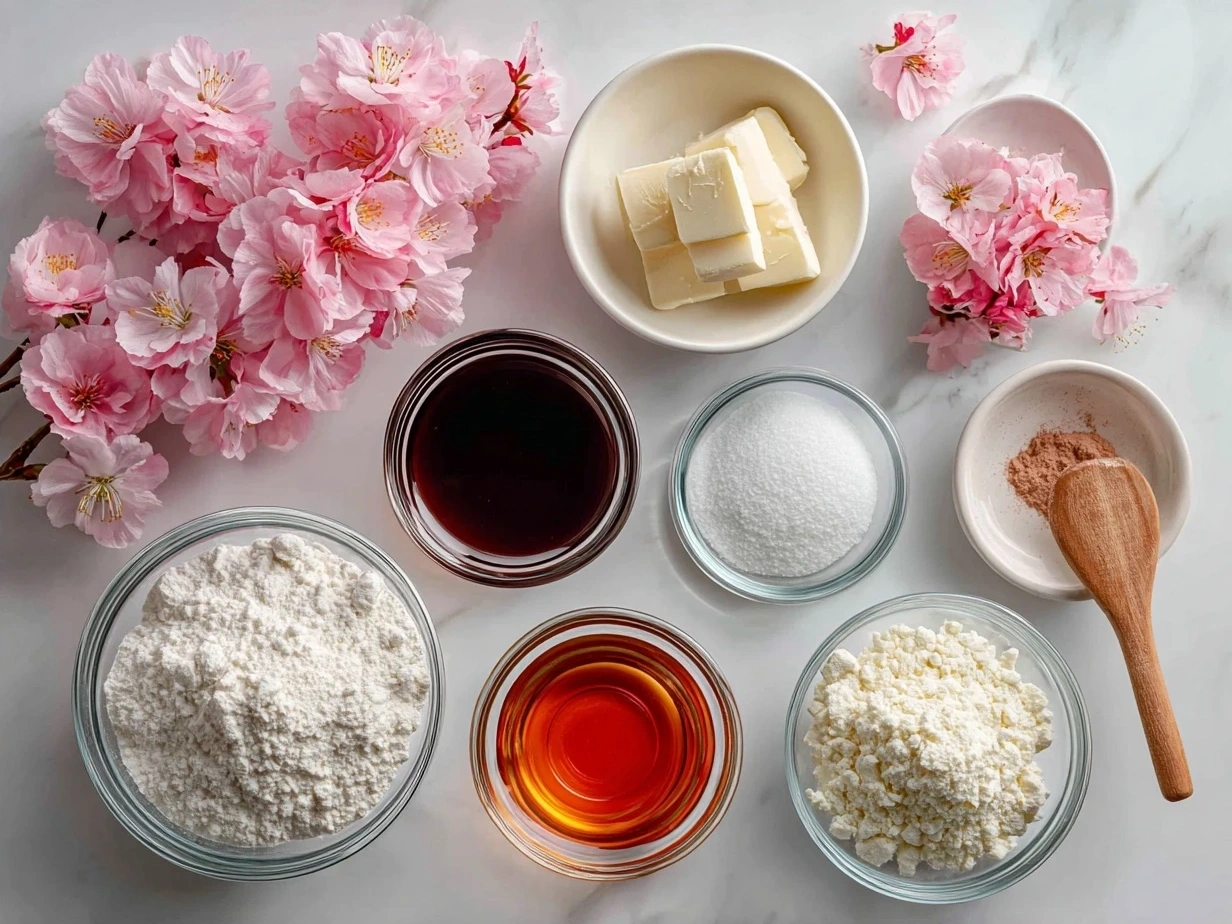
- 1 cup (2 sticks) unsalted butter, softened
- 1 cup granulated sugar
- 1 large egg
- 1 teaspoon almond extract (This is my secret for that wonderful “Almond blossom biscuits” flavor!)
- 2 ½ cups all-purpose flour
- ½ teaspoon baking powder
- ¼ teaspoon salt
- Pink food coloring (gel works best for vibrant color!)
- Optional for glaze: ½ cup powdered sugar, 1-2 tablespoons milk or water, tiny drop almond extract
My family gets extra comfort when I add a little extra almond extract to the Cherry Blossom Cookies dough. It really deepens that delicate, floral-like flavor. If you don’t have almond extract, no worries – vanilla extract works beautifully too and will still give you a lovely, comforting cookie. That’s a comfort hack right there!
For the pink color, a few drops of gel food coloring are my go-to for these Japanese floral desserts. But if you prefer natural, a tiny bit of beet powder or even a tablespoon of raspberry powder can give a beautiful, subtle pink hue. Remember, we’re aiming for simple comfort, not perfection! Just use what you have.
Ingredient prep shortcuts for busy families? Absolutely! I like to measure out all my dry ingredients the night before and keep them in a bowl with a lid. Then, when it’s cookie time, it’s just a quick mix-and-go. Soften your butter by leaving it on the counter for an hour or so, or even gently warming it in the microwave for a few seconds if you’re in a pinch – just don’t melt it! These little steps make whipping up Cherry Blossom Cookies so much more manageable.
Let’s Make it Happen!
Alright, fellow kitchen warriors, let’s roll up our sleeves and get these comforting Cherry Blossom Cookies baking! This is where the magic happens, and I’ll walk you through it just like we’re cooking side-by-side. No stress, just simple steps for a truly delightful Spring themed treat.
- Cream the butter and sugar: In a large bowl, or the bowl of your stand mixer, beat the softened butter and granulated sugar together until it’s light and fluffy. This usually takes about 2-3 minutes. It’s important for the texture of your Cherry Blossom Cookies.
- Add the wet ingredients: Beat in the egg until it’s fully combined. Then, stir in the almond extract. This is where that lovely Almond blossom biscuits scent really starts to come alive! Scrape down the sides of the bowl to make sure everything is mixed well.
- Combine dry ingredients: In a separate medium bowl, whisk together the flour, baking powder, and salt. Whisking ensures everything is evenly distributed, so you don’t get a salty bite or a flat cookie!
- Gradually add dry to wet: With your mixer on low speed, slowly add the dry ingredient mixture to the wet ingredients, mixing until just combined. Be careful not to overmix! Overmixing can make your Cherry Blossom Cookies tough, and we want tender, melt-in-your-mouth comfort.
- Time for color! Now for the fun part that makes these Cherry Blossom Cookies so special. Add a few drops of pink food coloring to the dough. Mix until the color is evenly distributed. You can add more drops until you reach your desired shade of pretty pink. Remember, a little goes a long way, especially with gel coloring!
- Chill that dough: This is a crucial comfort hack for perfect cut-out cookies! Divide the dough in half, flatten each half into a disk, wrap them in plastic wrap, and refrigerate for at least 30 minutes. In my busy kitchen, this comforting Cherry Blossom Cookies dough usually chills for an hour or more, especially if I need to tackle school forms or help with homework. It helps the cookies keep their shape beautifully. If you’re really short on time, you can even chill it in the freezer for about 15-20 minutes.
- Preheat and prep: While your Cherry Blossom Cookies dough is chilling, preheat your oven to 375°F (190°C). Line baking sheets with parchment paper or silicone baking mats. Perfect time to prep tomorrow’s lunch or just steal a moment of quiet!
- Roll and cut: On a lightly floured surface, roll out one disk of chilled dough to about ¼-inch thickness. Use a small flower-shaped cookie cutter (or any shape you love, like a circle if you want simple Pink spring cookies) to cut out the shapes. Carefully transfer the cut-out cookies to your prepared baking sheets. Reroll any scraps and cut out more cookies until all the dough is used. Here’s where I used to struggle with my Cherry Blossom Cookies – trying to roll out warm dough! Learn from my experience; chilled dough is your friend.
- Bake: Bake for 8-10 minutes, or until the edges are lightly golden. The baking time can vary, so keep an eye on them. Your kitchen should smell amazing by now – that lovely Almond blossom biscuits scent will fill the air! Don’t worry if your Cherry Blossom Cookies look a little soft when you pull them out; they’ll firm up as they cool.
- Cool down: Let the Cherry Blossom Cookies cool on the baking sheets for a few minutes before transferring them to a wire rack to cool completely. This prevents breakage and ensures they hold their shape.
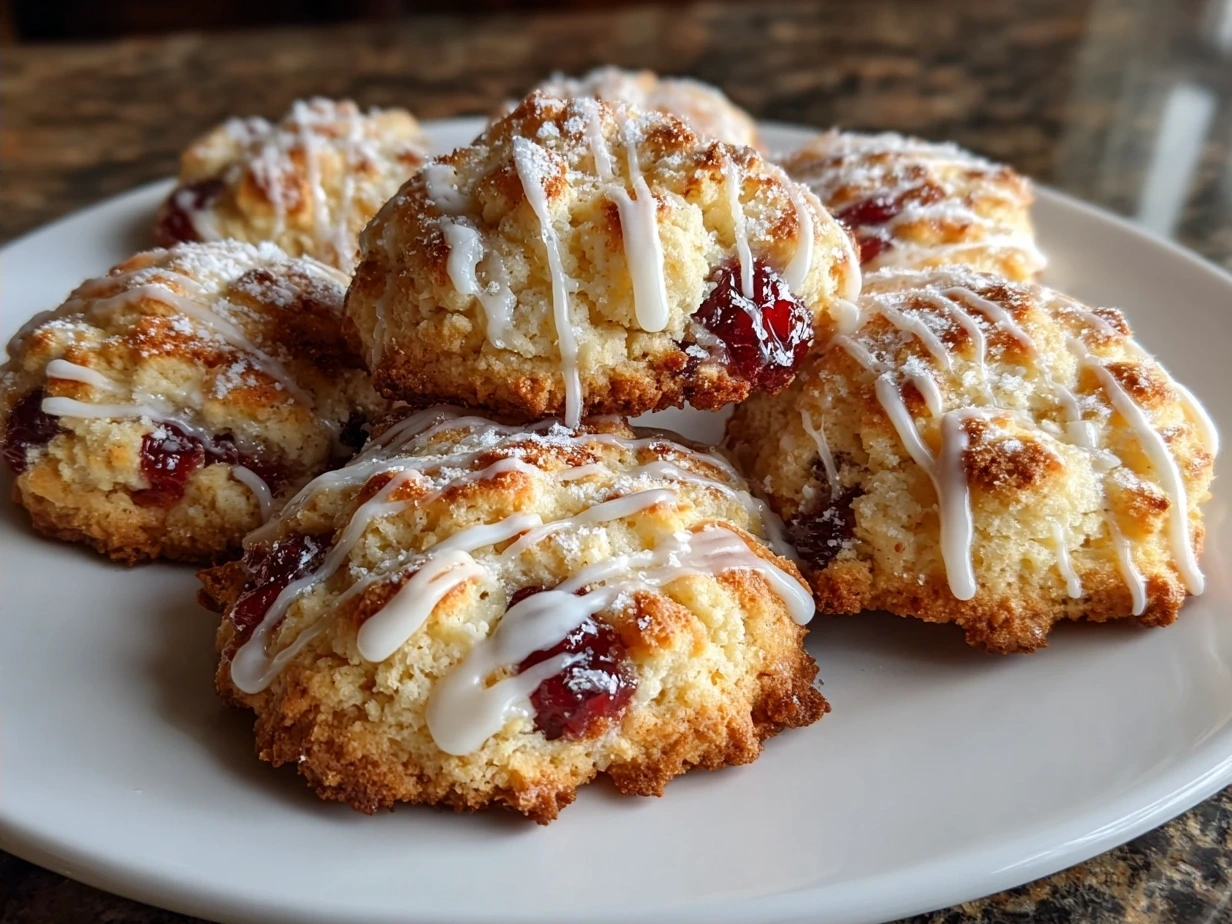
- Optional glaze: If you want a little extra sweetness and shine, whisk together the powdered sugar, milk/water, and a tiny drop of almond extract until smooth. Drizzle or lightly spread over the cooled Cherry Blossom Cookies. This simple glaze adds another layer of delicate flavor and makes them even prettier, truly embracing the Japanese floral desserts vibe. While your Cherry Blossom Cookies are cooling, take a moment to appreciate creating comfort for your family! For another comforting cookie with a delightful almond cherry twist, check out this recipe for almond cherry cookies.
How We Love to Eat This!
Oh, these delightful Cherry Blossom Cookies! They truly bring a smile to everyone’s face in our home. My family enjoys this comforting Cherry Blossom Cookies in so many ways, and they’re definitely a household favorite. They’re such a perfect little moment of sweetness in our often-hectic days.
The kids devour this comforting Cherry Blossom Cookies when I serve it with a tall glass of cold milk after school. It’s that instant pick-me-up that makes them feel special and nourished. For me, I love them with my morning coffee or a quiet cup of tea in the afternoon. The delicate almond flavor in these Pink spring cookies pairs beautifully with a hot drink, making for a truly relaxing moment.
These Cherry Blossom Cookies are perfect for those busy weeknights when we need comfort food fast, or even when we just need a simple, yet beautiful, dessert to share. They make wonderful additions to school lunchboxes as a sweet surprise, and they’re always a hit at potlucks or playdates. I’ve even brought them to teacher appreciation days, and they always get rave reviews! Everyone always asks for the Sakura cookie recipe. If you’re looking for another fun, seasonal cookie, my kids also love these Halloween crinkle cookies.
Presentation tips don’t have to be fancy for these Cherry Blossom Cookies. A simple dusting of powdered sugar makes them look elegant, or a light drizzle of the almond glaze adds a lovely touch. Arranging them on a pretty plate instantly elevates the snack into something special, making even a regular Tuesday feel like a celebration. For a truly unique touch, you could even try making some cherry blossom shortbread cookies with sakura powder for a deeper floral note!
Leftover ideas? We rarely have many, but if you do, these Cherry Blossom Cookies keep wonderfully in an airtight container at room temperature for several days. They’re also fantastic frozen; just layer them with parchment paper in a freezer-safe container. Then, simply grab one or two whenever that sweet craving hits!
Seasonal variations? While these are the quintessential Spring themed treats, I’ve experimented with adding a touch of lemon zest to the dough for a brighter flavor in the summer. In the winter, a hint of cardamom could be lovely. But honestly, the original Cherry Blossom Cookies recipe, with its simple almond essence, is perfect year-round for us. These beautiful cookies are a testament to the joy of simple, comforting food.
FAQs: Your Questions Answered
Alright, mama, I know you’ve got questions when it comes to trying out new recipes, especially when time is precious! I’ve been there, staring at a recipe, wondering if it’s really as simple as it sounds. So, let’s tackle some common concerns about these delightful Cherry Blossom Cookies, drawing from my own kitchen adventures and the questions I often get from fellow moms.
1. Is this Cherry Blossom Cookies really filling enough for growing kids? Yes, absolutely! While these are cookies and not a main meal, they’re wonderfully satisfying as a snack or a light dessert. The butter and flour give them a comforting heartiness. My kids, with their endless energy, find these Cherry Blossom Cookies to be a perfect, comforting treat after school that holds them over until dinner. Paired with milk, it’s a great little energy boost!
2. Can I make the Cherry Blossom Cookies dough ahead of time for busy weeks? Oh, yes, this is one of my favorite comfort hacks! You can prepare the dough for these Cherry Blossom Cookies up to 2-3 days in advance. Just wrap the flattened disks tightly in plastic wrap and keep them in the fridge. When you’re ready to bake, let the dough sit on the counter for about 10-15 minutes to soften slightly, then roll and cut as usual. It’s a lifesaver for making fresh cookies without the immediate fuss.
3. What if my picky eater won’t try this Cherry Blossom Cookies because of the “pink” color or “almond” flavor? I totally get it! Picky eaters can be a challenge. My advice is to involve them in the making of these Cherry Blossom Cookies. Let them help mix, roll, or cut out shapes. When they have a hand in creating it, they’re often more willing to try it. For the flavor, the almond is subtle, not overpowering. You can always use vanilla extract instead of almond, and for the color, you can simply omit the pink food coloring for plain, delicious butter cookies. They’ll still be lovely and comforting!
4. My cookies spread too much in the oven. What did I do wrong with my Cherry Blossom Cookies? Don’t worry, it happens to the best of us! The most common culprits are either your butter was too soft (or even slightly melted), or your dough wasn’t chilled enough. Make sure your butter is softened but still cool to the touch. And truly, don’t skimp on that chilling time for your Cherry Blossom Cookies dough – it’s crucial for preventing spread and helping them hold their delicate shape. Also, ensure your oven temperature is accurate; an oven that’s not hot enough can also cause spreading.
5. Can I freeze baked Cherry Blossom Cookies? Yes, absolutely! These Cherry Blossom Cookies freeze beautifully. Once they’re completely cooled (and glazed, if you choose), arrange them in a single layer on a baking sheet and freeze for about an hour until firm. Then, transfer them to a freezer-safe airtight container, layering them between sheets of parchment paper. They’ll stay fresh for up to 3 months. Just thaw them at room temperature when you’re ready to enjoy that comforting treat!
6. I don’t have a flower cookie cutter. Can I still make these Japanese floral desserts? Of course! The beauty of these Cherry Blossom Cookies isn’t just in the shape, but in the delightful flavor and color. You can use any cookie cutter you have – circles, squares, hearts – or even just cut them into simple squares or rectangles with a knife. They’ll be just as delicious and comforting. The “floral” aspect comes from the pink color and almond flavor, so don’t let a missing cutter stop you! If you’re interested in alternative versions, you might like these Cherry Blossom Almond Flour Cookies Vegan Gluten Free for a different twist.
7. Are there any substitutions for the flour in this Cherry Blossom Cookies recipe? This Sakura cookie recipe is pretty straightforward with all-purpose flour. I haven’t personally experimented with gluten-free flour blends for this specific recipe, but generally, a 1:1 gluten-free baking flour blend designed for cookies could work. However, the texture might be slightly different. For best results and comfort, I stick to all-purpose flour for these delicate cookies. Another delightful option is to explore classic blog entries like this one: sweets over flowers… – she who eats.
Final Thoughts
Well, mama, we’ve walked through the journey of making these beautiful and incredibly comforting Cherry Blossom Cookies together! I hope you feel inspired and ready to bring a little bit of spring magic into your own kitchen. This simple Sakura cookie recipe truly supports our family’s comfort food goals by being straightforward, satisfying, and beautiful without adding any unnecessary stress. It’s all about creating those little moments of joy amidst the daily juggle.
Remember, good food doesn’t have to be complicated to be comforting. These Cherry Blossom Cookies are proof of that! They’re a gentle reminder to pause, enjoy the process, and savor the simple sweetness of life with your family.
Here are My Cherry Blossom Cookies Comfort Hacks for you:
- Dough Chilling is Your Friend: Don’t skip the refrigeration step! It makes rolling and cutting these delicate Pink spring cookies so much easier and helps them keep their beautiful shape. You can even chill the dough overnight for a true sanity-saver.
- Keep the Glaze Simple: A basic powdered sugar glaze with a tiny hint of almond extract is all you need. No need for elaborate decorations; the simple pink color of the Cherry Blossom Cookies speaks for itself.
- Involve the Little Hands: Let your kids help with mixing, adding color, or cutting out shapes. It’s a wonderful activity that creates shared memories and makes them more excited to eat their homemade Spring themed treats!
We have a few family-tested Cherry Blossom Cookies variations that are always a hit. My youngest loves the classic version, simple and pink. My oldest, who’s a bit of a citrus fan, prefers them with a lemon zest added to the dough and a lemon-flavored glaze – a bright twist on the Almond blossom biscuits! My husband enjoys a dark chocolate drizzle over his Cherry Blossom Cookies, which adds a lovely contrast. And sometimes, I’ll even add a tiny pinch of cardamom for a more unique, aromatic touch, creating a truly unique Japanese floral desserts experience. If you’re a fan of comforting bakes, you should also check out my recipe for carrot cake oatmeal cookies for another family favorite.
I encourage you to make these Cherry Blossom Cookies your own way. Adjust the color, try different extracts, or experiment with simple toppings. The most important ingredient is always the love and intention you put into feeding your family. I truly hope these comforting Cherry Blossom Cookies bring as much warmth and delight to your family table as they do to ours. You’ve got this, mama! Happy baking, and happy family comforting!
\n \n Print
Cherry Blossom Cookies
Celebrate the beauty of spring with these enchanting Cherry Blossom Cookies. Delicate, buttery, and beautifully adorned with soft pink icing, they’re a delightful treat perfect for any special occasion or a charming afternoon tea.
- Prep Time: 45 minutes
- Cook Time: 12 minutes
- Total Time: 1 hour 45 minutes
- Yield: About 24 cookies
- Category: Dessert
- Method: Baked
- Cuisine: American
Ingredients
- 1 cup (2 sticks) unsalted butter, softened
- 1 cup granulated sugar
- 1 large egg
- 1 teaspoon vanilla extract
- 1/2 teaspoon almond extract (optional, but recommended)
- 3 cups all-purpose flour
- 1 teaspoon baking powder
- 1/2 teaspoon salt
- For the Royal Icing:
- 2 cups powdered sugar, sifted
- 2-3 tablespoons milk or water, as needed
- 1/2 teaspoon vanilla extract
- 2-3 drops pink food coloring
- Optional: Edible pink sugar pearls or sprinkles for decoration
Instructions
- In a large bowl, cream together the softened butter and granulated sugar until light and fluffy.
- Beat in the egg, vanilla extract, and almond extract (if using) until well combined.
- In a separate bowl, whisk together the all-purpose flour, baking powder, and salt.
- Gradually add the dry ingredients to the wet ingredients, mixing on low speed until just combined and a soft dough forms. Do not overmix.
- Divide the dough in half, flatten each half into a disc, wrap tightly in plastic wrap, and refrigerate for at least 30 minutes (or up to 2 days).
- Preheat your oven to 375°F (190°C) and line baking sheets with parchment paper.
- On a lightly floured surface, roll out one disc of chilled dough to about 1/4-inch thickness. Use a small round or flower-shaped cookie cutter to cut out shapes. Reroll scraps as needed.
- Place the cut-out cookies about 1 inch apart on the prepared baking sheets.
- Bake for 8-12 minutes, or until the edges are lightly golden. Let cool on the baking sheet for 5 minutes before transferring to a wire rack to cool completely.
- While cookies cool, prepare the royal icing: In a medium bowl, whisk together the sifted powdered sugar, 2 tablespoons of milk/water, and vanilla extract until smooth. Add more milk/water 1/2 teaspoon at a time until you reach a pipeable consistency (it should be thick enough to hold its shape but thin enough to spread easily).
- Stir in the pink food coloring until you achieve your desired shade of cherry blossom pink.
- Once cookies are completely cool, spread a thin layer of pink icing over each cookie using a small offset spatula or butter knife.
- If desired, immediately place a few pink sugar pearls or sprinkles in the center of each cookie to resemble the stamen of a cherry blossom.
- Allow the icing to set completely (this can take 1-2 hours, or longer depending on humidity) before storing.
Notes
For an extra delicate touch, use a small paintbrush to add subtle lines or dots of a darker pink icing in the center of the flowers, or use edible glitter for a shimmering effect.