The Sanity-Saving Burnt Basque Cheesecake
Okay, let’s chat about one of my family’s favorite sanity-saving comfort foods: Burnt Basque Cheesecake! The first time I made it, I was stressed about a school bake sale. I needed something easy but impressive, and stumbled upon this Burnt Basque Cheesecake recipe. I was nervous about the “burnt” part, but oh my goodness, the reaction! My kids devoured it!
They said it was the best cheesecake ever.
That’s how this Burnt Basque Cheesecake became a staple. Now, fellow busy moms, are you looking for a dessert that’s both simple and comforting? Something you can whip up without feeling overwhelmed? Then grab your apron and let’s get baking! This Burnt Basque Cheesecake brings pure comfort.
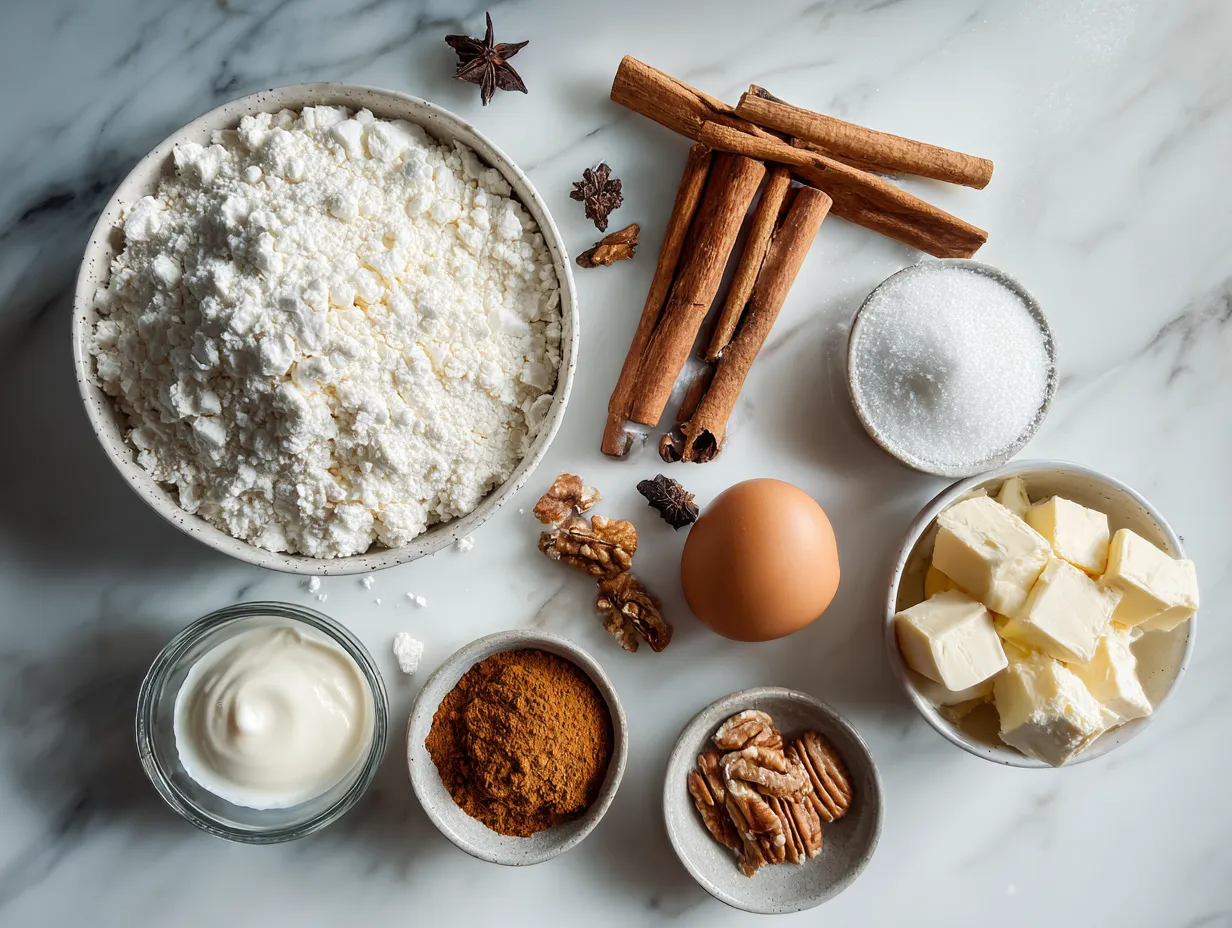
Ingredients You’ll Need
Trust me, this Burnt Basque Cheesecake ingredient list is simple because busy moms need comfort without complexity! You can find these simple ingredients at your regular grocery store. If you’re out of vanilla, a dash of almond extract works in this Burnt Basque Cheesecake.
- 24 ounces cream cheese, softened
- 1 1/4 cups granulated sugar
- 1/4 teaspoon salt
- 2 large eggs
- 2 large egg yolks
- 1 cup heavy cream
- 1 teaspoon vanilla extract
- 1/4 cup all-purpose flour
This Burnt Basque Cheesecake proves delicious doesn’t mean expensive. Here’s a comfort hack that changed our family’s dinnertime: I buy cream cheese in bulk when it’s on sale. This recipe is perfect for using up what you have on hand! My family gets extra comfort when I add a squeeze of lemon juice to the batter for a little tang.
Let’s Make it Happen!
- Preheat your oven to 400°F (200°C). Line an 8-inch springform pan with parchment paper, making sure the paper extends well above the rim. Don’t worry about making it perfect, the wrinkles add character to your Burnt Basque Cheesecake.
- In a large bowl, beat the softened cream cheese with the sugar and salt until smooth. I like to use my stand mixer, but a hand mixer works too. Just make sure there are no lumps! This is key to a creamy Burnt Basque Cheesecake.
- Add the eggs and egg yolks one at a time, mixing well after each addition. Make sure you scrape down the sides of the bowl. Here’s where I used to struggle with my Burnt Basque Cheesecake: overmixing the eggs. Learn from my experience!
- Pour in the heavy cream and vanilla extract, and mix until just combined. It should be smooth and creamy. While your Burnt Basque Cheesecake is cooking, take a moment to appreciate creating comfort for your family! This is one reason I love making the San Sebastian cheesecake.
- Sprinkle in the flour and mix until just combined. Do not overmix. This will prevent a tough crustless cheesecake. In my busy kitchen, this comforting Burnt Basque Cheesecake usually takes about an hour to bake.
- Pour the batter into the prepared pan. It will be quite liquid, which is normal. Don’t worry if your Burnt Basque Cheesecake looks wobbly – it’s supposed to!
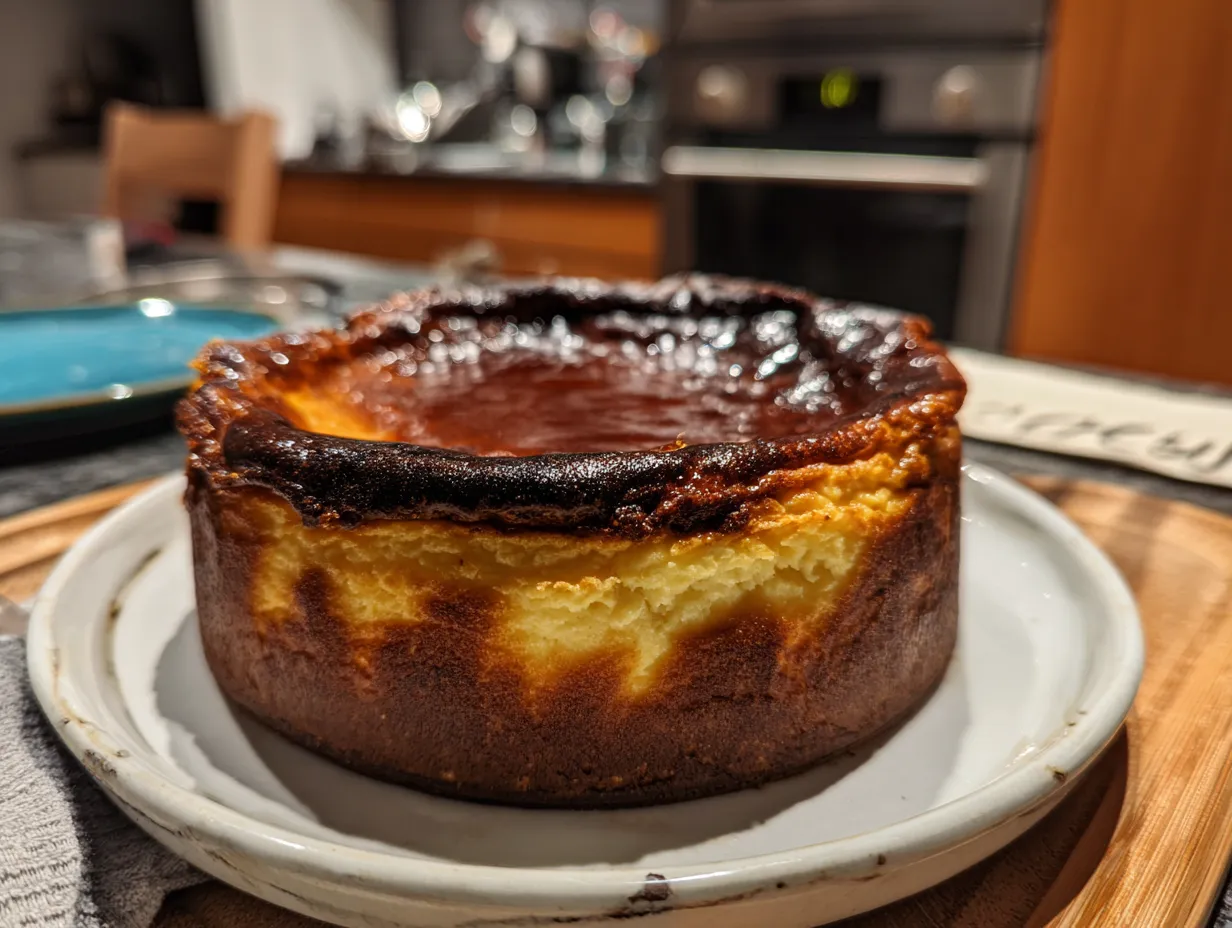
- Bake for 50-60 minutes, or until the top is deeply golden brown and the center is still slightly jiggly. Your Burnt Basque Cheesecake should smell amazing by now. Perfect time to prep tomorrow’s lunch!
- Let the cheesecake cool completely in the pan before refrigerating for at least 4 hours, or preferably overnight. This step is crucial for the best texture. This Tarta de Queso is best served cold!
How We Love to Eat This!
The kids devour this comforting Burnt Basque Cheesecake when I serve it with fresh berries and a dollop of whipped cream. It’s a simple touch that makes it feel extra special. This dessert is perfect for those busy weeknights when we need comfort food fast!
It is also a great make-ahead dessert when you have guests. Everyone thinks it is so fancy when they see the Burnt Basque Cheesecake! I love to serve it with coffee or tea after a cozy meal. The rustic look of this forgiving Basque cheesecake recipe is part of its charm, so don’t worry about making it perfect.
For a seasonal variation, try adding a sprinkle of cinnamon or nutmeg to the batter in the fall. And if you have leftovers, they’re delicious straight from the fridge! This comforting Burnt Basque Cheesecake reminds me of another family favorite!
FAQs: Your Questions Answered
Is this Burnt Basque Cheesecake really filling enough for growing kids?
Absolutely! The cream cheese and eggs make it surprisingly satisfying. My kids always feel full and happy after a slice of this Burnt Basque Cheesecake. Plus, you can pair it with a side of fruit for a balanced dessert.
What if my picky eater won’t try this Burnt Basque Cheesecake?
I get it, picky eaters are a challenge! Start with a small sliver and let them see you enjoying it. The mild, creamy flavor of this Burnt Basque Cheesecake is often a hit, even with the most reluctant eaters. If that doesn’t work, offer a small dollop of whipped cream or a few berries on top.
Can I meal prep this San Sebastian cheesecake for busy weeks ahead?
Yes, absolutely! This Burnt Basque Cheesecake is actually better when made ahead of time. It needs to chill in the fridge for at least 4 hours, but overnight is even better. This makes it a sanity-saver for busy weeks. Just bake it on the weekend and enjoy it throughout the week.
Can I use a different sized pan for this Burnt Basque Cheesecake?
An 8 inch spring form pan is ideal, but you can use a 9 inch pan if you have to. You will want to shorten the baking time by about 10 minutes if you use the larger pan. Remember to use parchment paper and extend it well above the rim.
Is it normal for this easy cheesecake recipe to be jiggly when it is done baking?
Yes, that is exactly what you want. The center should still be jiggly when you take it out of the oven. The recipe will continue to set as it cools.
I don’t have a spring form pan; can I use a regular cake pan?
I don’t recommend that. A springform pan is ideal for this crustless cheesecake because it allows you to easily remove the cheesecake without damaging it. If you don’t have one, you can try using a cake pan lined with parchment paper, but it will be more difficult to remove the cheesecake.
My Burnt Basque Cheesecake sank in the middle, what did I do wrong?
Don’t worry, this is a common problem. This can happen if the oven temperature is too high or if the cheesecake is overbaked. Keep an eye on it, this recipe is done when it is deeply golden brown and the center is jiggly.
If your kids love this hearty recipe, they’ll go crazy for No-Bake Halloween Cheesecake! For more simple comfort food ideas for busy families, check out Where to find Basque Cheesecake in Jacksonville? This comforting Burnt Basque Cheesecake reminds me of another family favorite… pecan pie!
Final Thoughts
This Burnt Basque Cheesecake supports my family’s comfort food goals because it is simple, satisfying, and always a hit. It’s the perfect dessert for busy weeknights or special occasions. Remember the dessert is all about embracing the imperfections and enjoying the process.
My Burnt Basque Cheesecake Comfort Hacks:
- Use softened cream cheese for a smooth batter.
- Don’t overmix the batter to prevent a tough cheesecake.
- Chill the cheesecake for at least 4 hours for the best texture.
Family-Tested Burnt Basque Cheesecake Variations:
- Chocolate: Add 1/4 cup of cocoa powder to the batter.
- Lemon: Add the zest of one lemon to the batter. My daughter loves this easy cheesecake recipe!
- Berry: Swirl in some berry jam before baking.
My son loves the chocolate version, while my husband prefers the classic Burnt Basque Cheesecake. I hope you’ll give this Burnt Basque Cheesecake a try! For tips on the perfect “Burnt” Basque Cheesecake (Tarta de Queso), check out “Burnt” Basque Cheesecake (Tarta de Queso).
I hope this Burnt Basque Cheesecake recipe brings as much joy and comfort to your family as it has to mine. Remember, cooking should be fun and relaxing, even in the midst of a busy life. You got this! Go create some cozy chaos and enjoy a slice of this satisfying Burnt Basque Cheesecake!
Burnt Basque Cheesecake
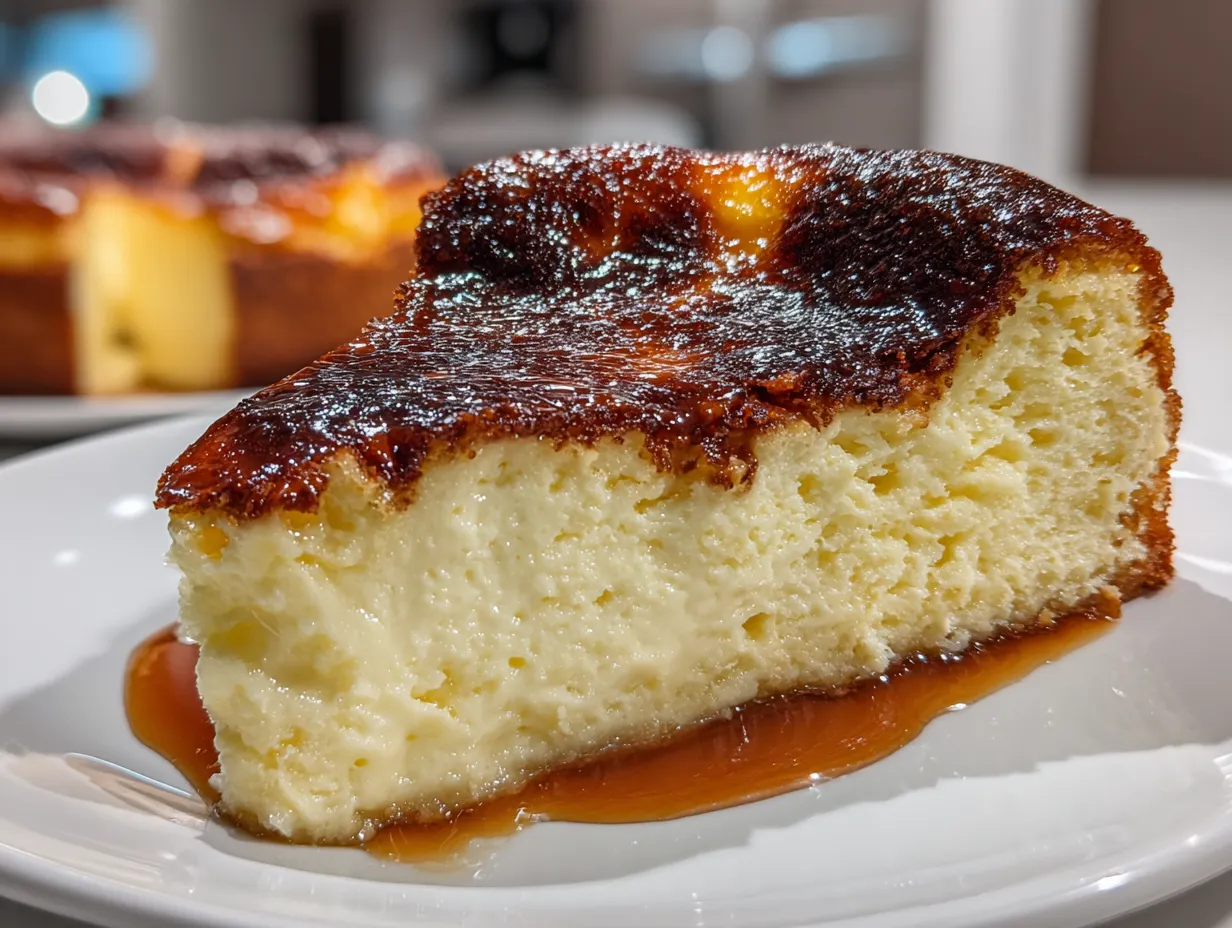
Indulge in the creamy, caramelized perfection of Burnt Basque Cheesecake. This crustless wonder boasts a deeply browned exterior and a luxuriously soft, custardy interior.
- Prep Time: 15 minutes
- Cook Time: 60 minutes
- Total Time: 75 minutes
- Yield: 8 servings
- Category: Dessert
- Method: Baked
- Cuisine: Spanish
Ingredients
- 2 lbs (900g) cream cheese, softened
- 1 3/4 cups (350g) granulated sugar
- 5 large eggs
- 2 cups (480ml) heavy cream
- 1 teaspoon vanilla extract
- 1/4 teaspoon salt
- 2 tablespoons all-purpose flour
Instructions
- Preheat oven to 400°F (200°C). Line a 9-inch springform pan with parchment paper, ensuring it extends well above the rim. Crumple the paper for a more rustic look and better adherence to the sides.
- In a large bowl, beat the softened cream cheese and sugar until smooth and creamy.
- Add the eggs one at a time, beating well after each addition.
- Stir in the heavy cream, vanilla extract, and salt until just combined.
- Sift in the flour and gently fold it into the batter until no lumps remain. Do not overmix.
- Pour the batter into the prepared springform pan.
- Bake for 50-60 minutes, or until the top is deeply browned and the center is still slightly jiggly.
- Let the cheesecake cool completely in the pan before refrigerating for at least 4 hours, or preferably overnight.
- Carefully remove the cheesecake from the pan and parchment paper before serving.
Notes
Serve chilled or at room temperature. A dusting of powdered sugar or a side of fresh berries complements the caramelized flavor beautifully.